CAUSEWAY COAST PHOTO WALK
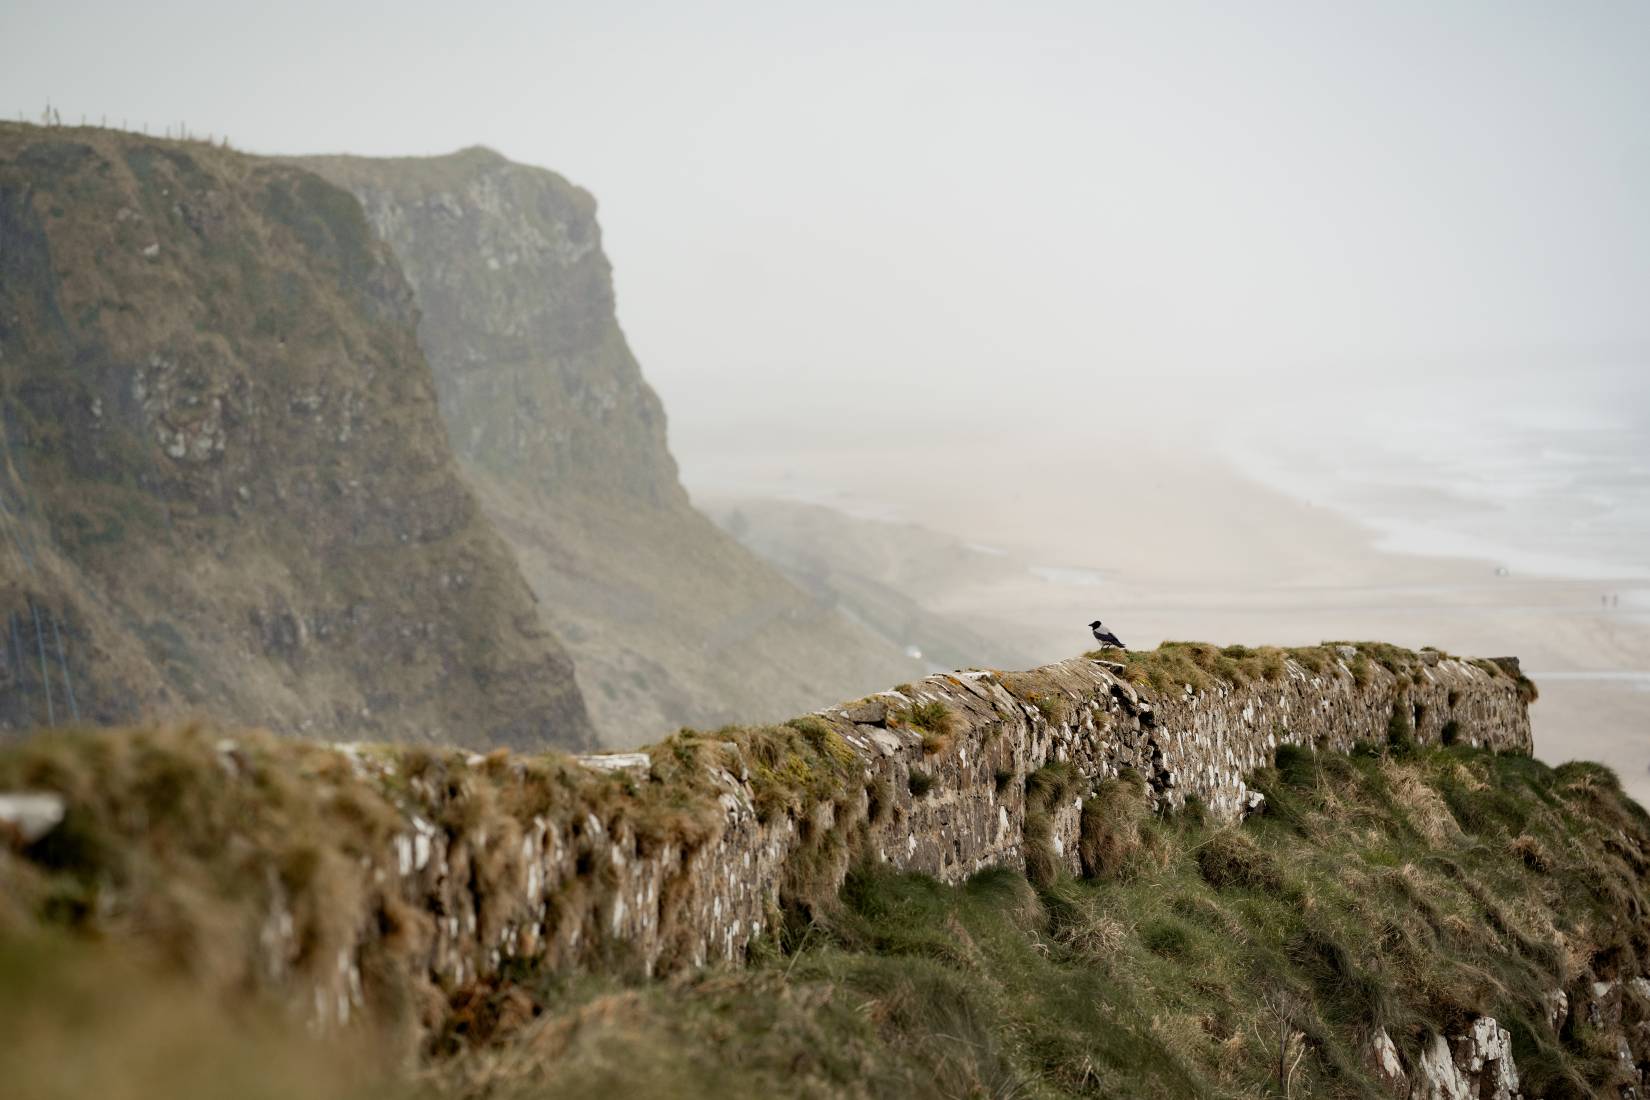
LEARN PHOTOGRAPHY BY THE COAST – CAUSEWAY COAST PHOTO WALK IN IRELAND
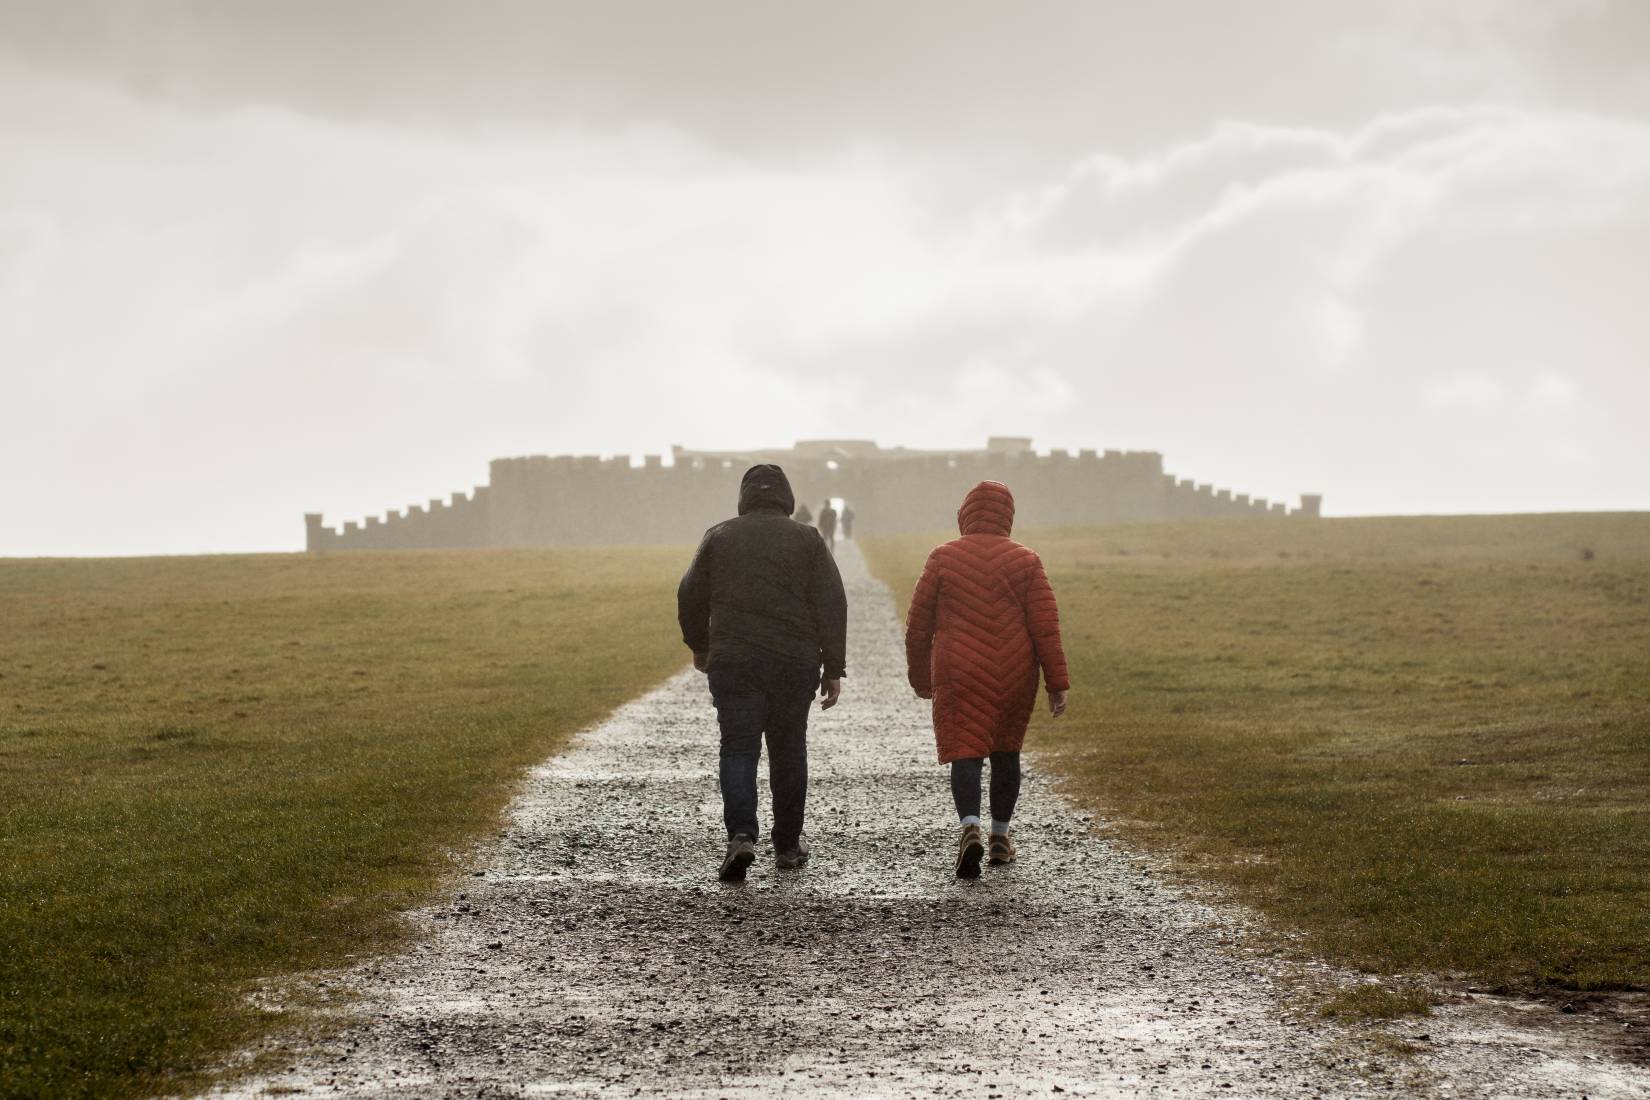
February 2024 saw us return to the north coast of Ireland for our Causeway Coast Photo Walk. In typical Irish style, the weather brought us four seasons in one day. That didn’t dampen our spirits and we spent a relaxing couple of hours with our cameras by the sea.
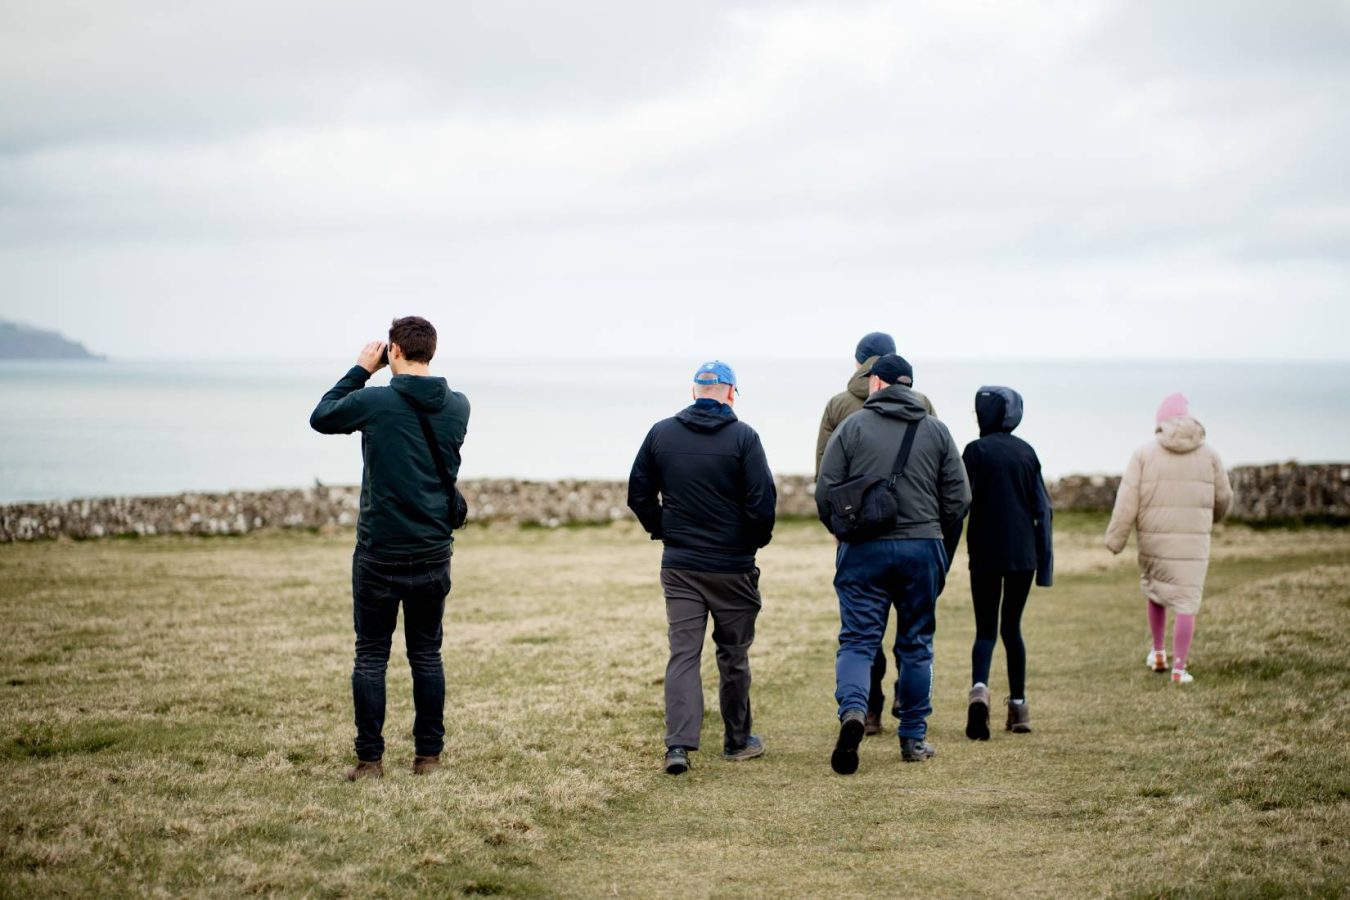
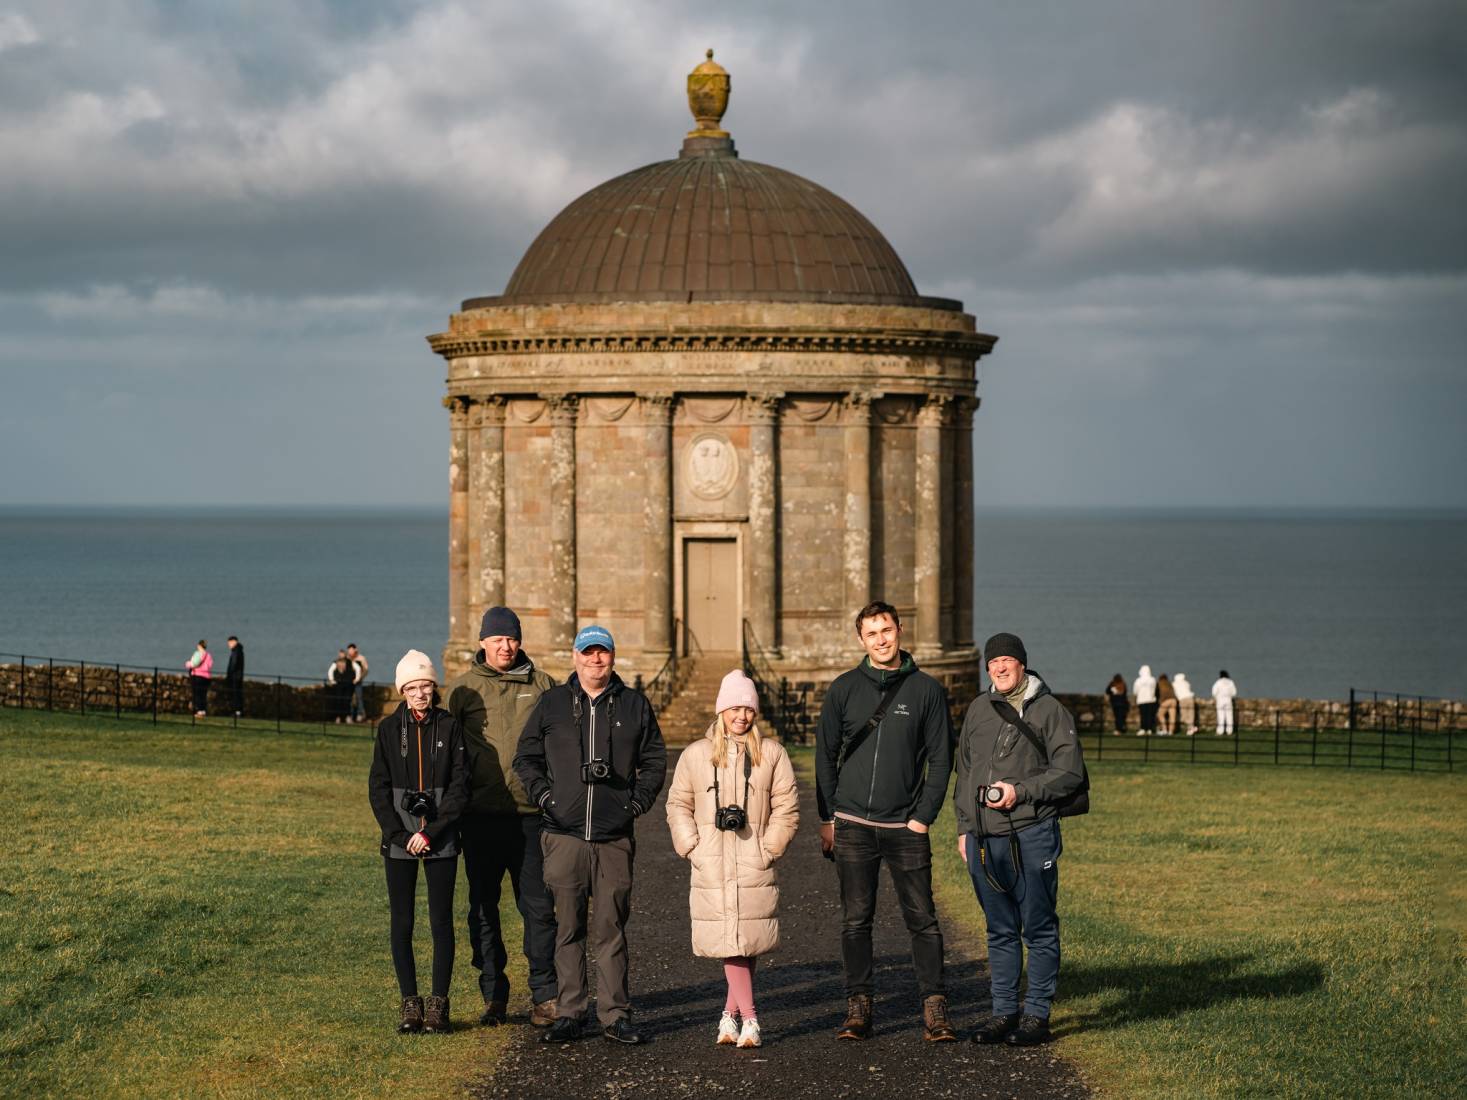
A fantastic group of people booked onto the monthly photo walk. We had people using their smartphone plus camera enthusiasts, each with a passion for photography. We started our photo walk close to Mussenden Temple, and after our introductions and some basic photography tips, we set off towards the picturesque coast.
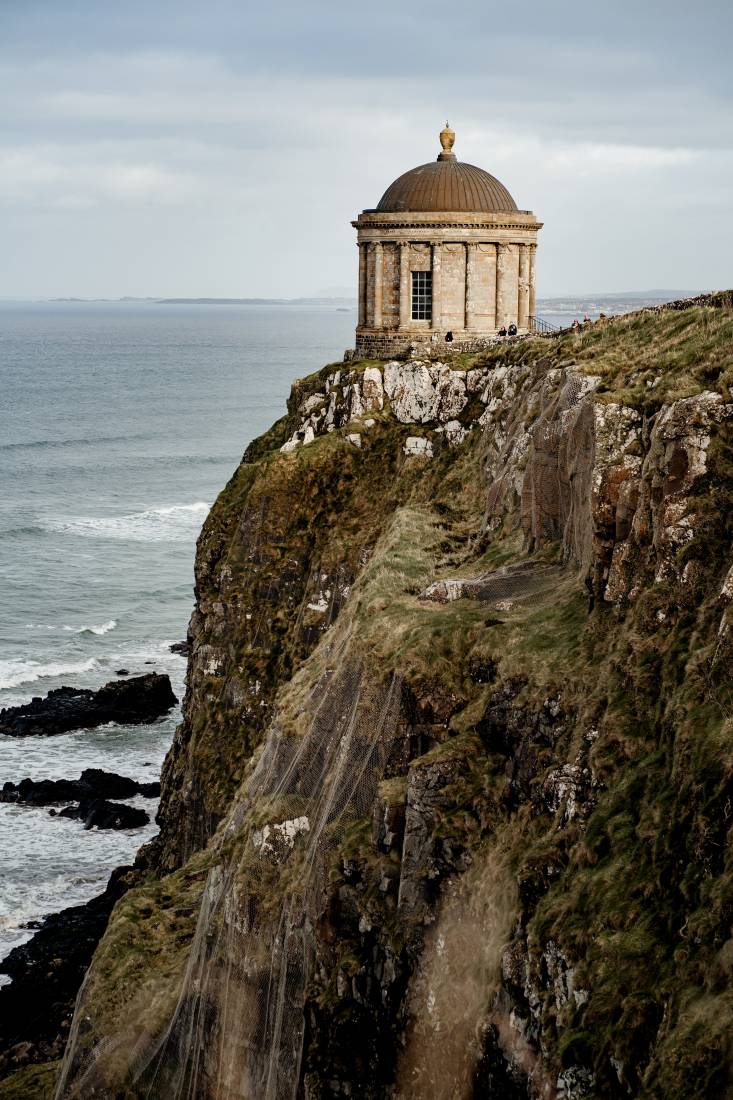
Whilst the weather wasn’t on our side, we took shelter beside Mussenden Temple and waited for the rain to pass. I took the opportunity to speak to each of the attendees and find out more about why they came along to the photo walk. Most people just love being outdoors in nature and meeting other folk with an interest in photography. It’s a great opportunity to network with photographers and even make new friends. There is no better way to spend a few hours on a Sunday!
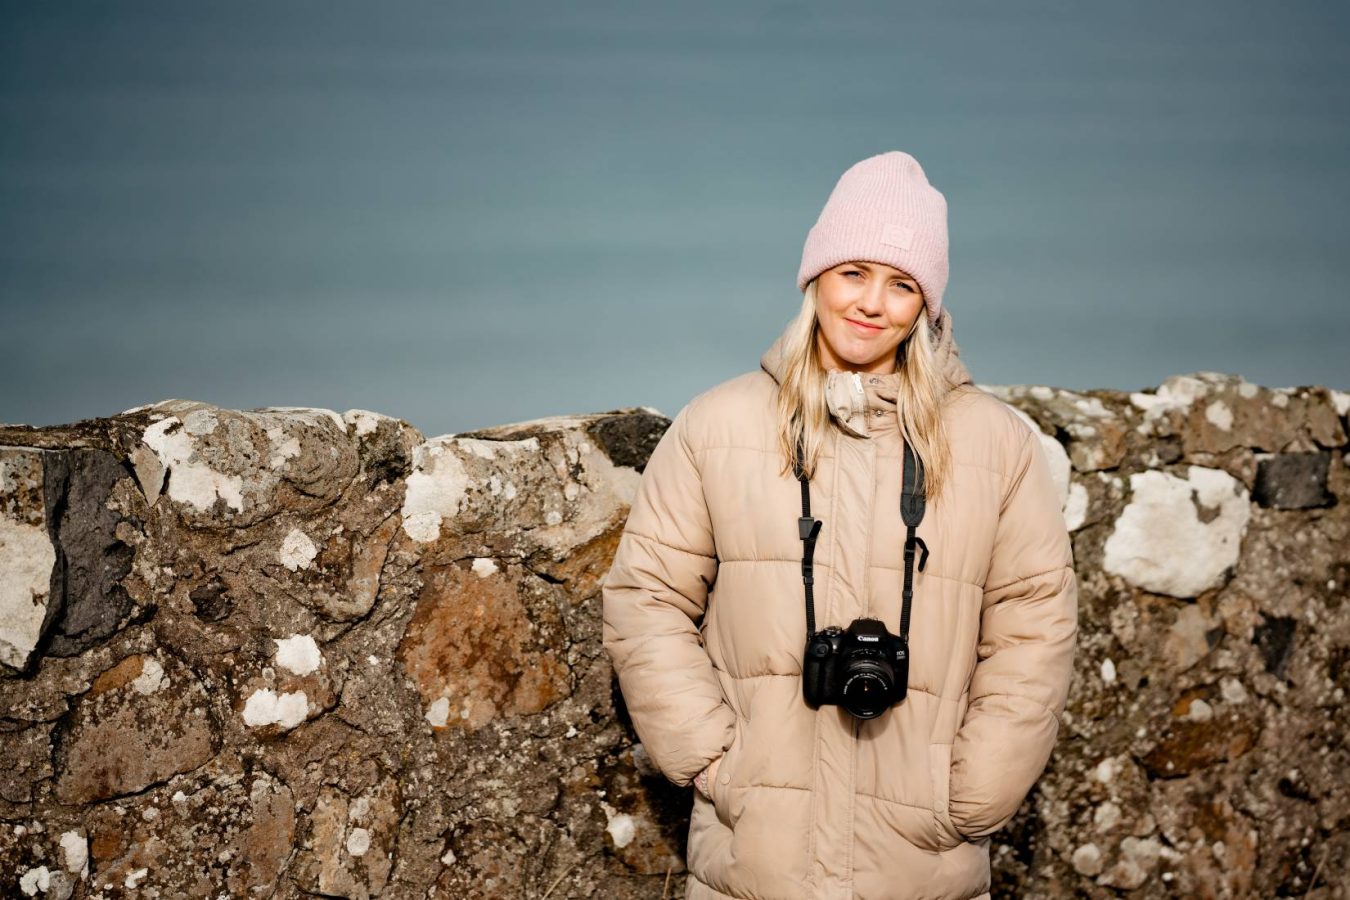
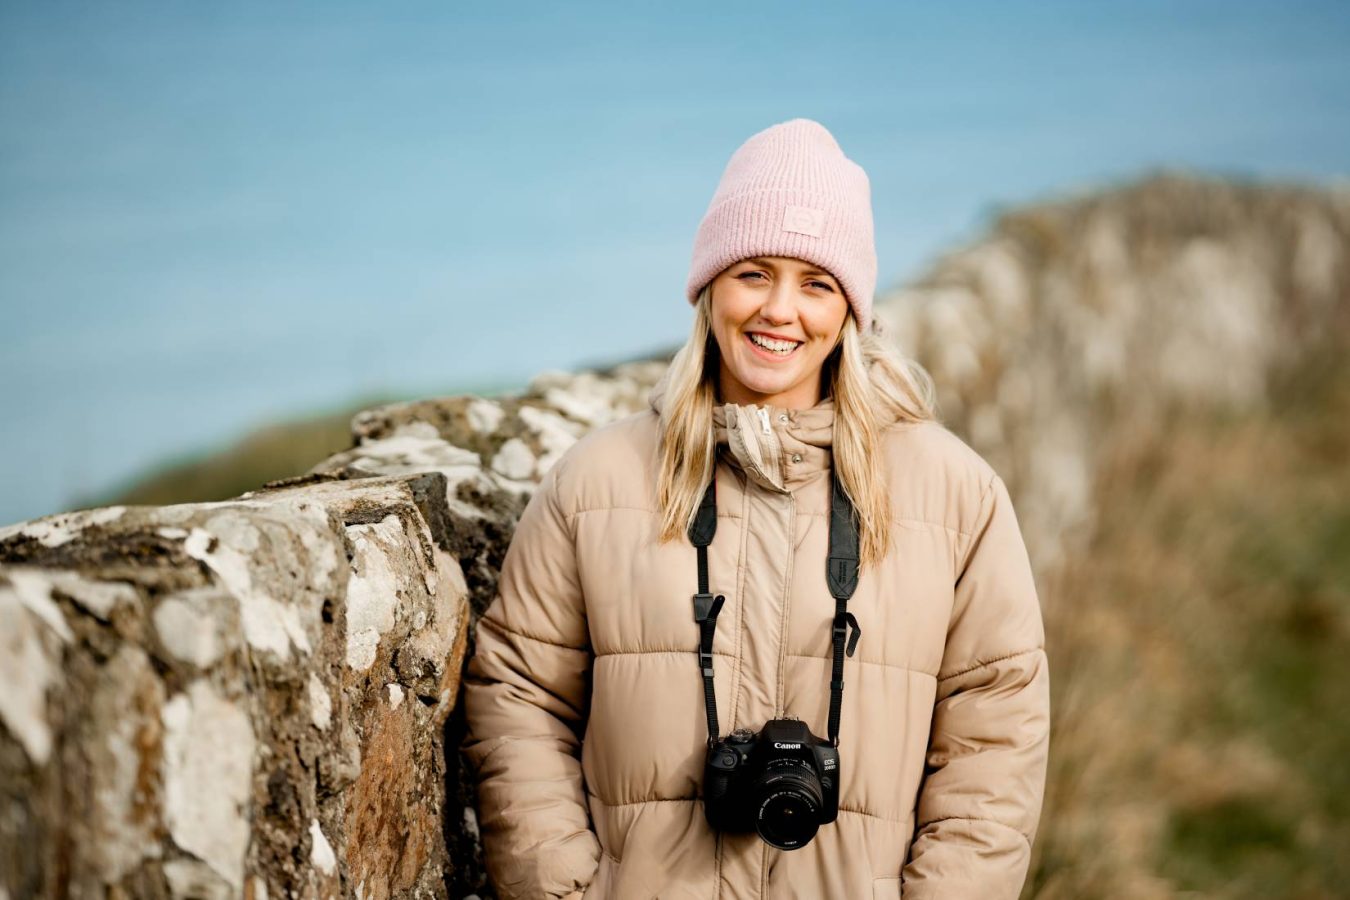
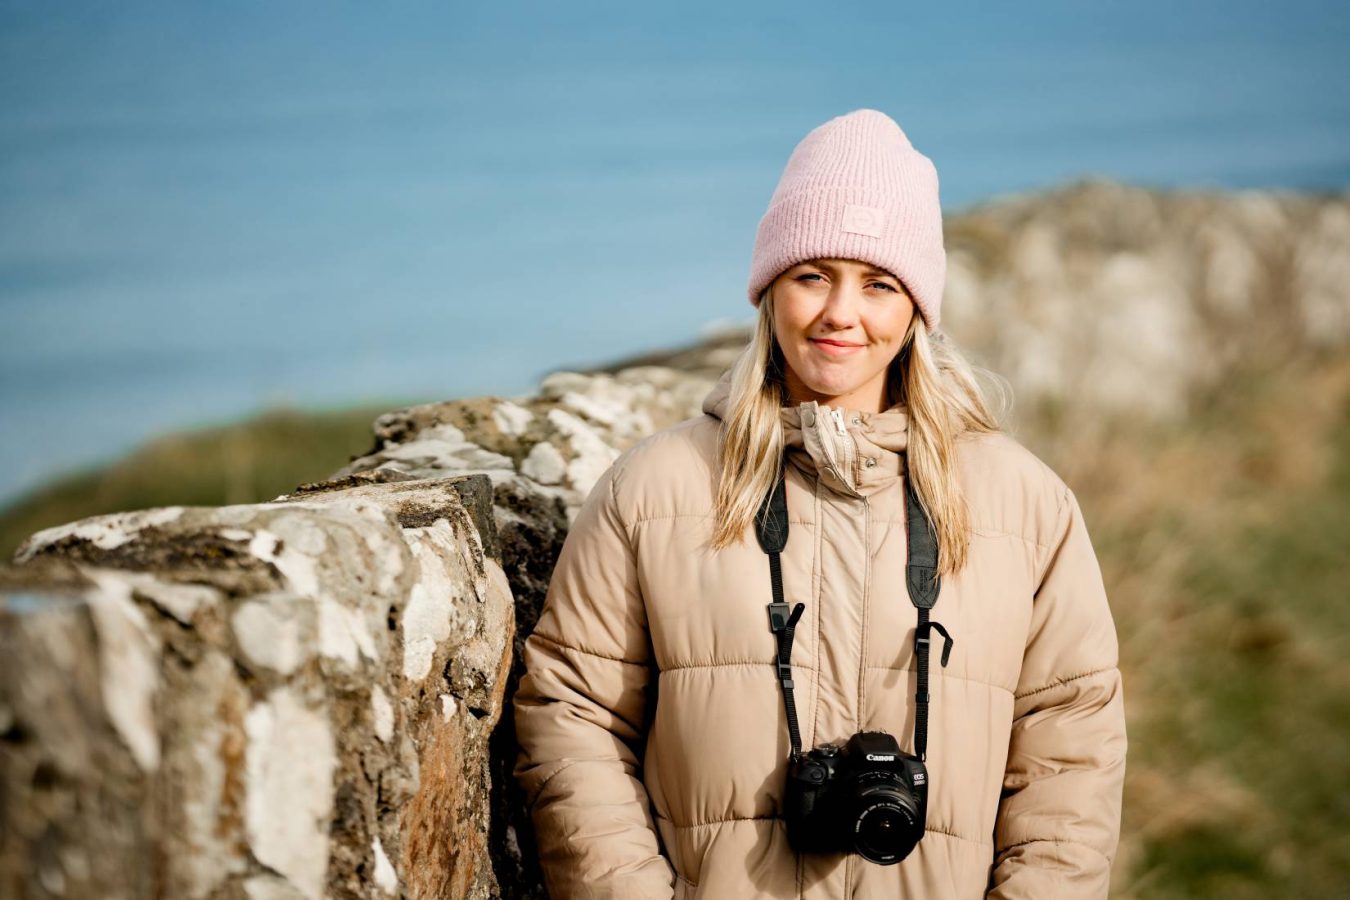
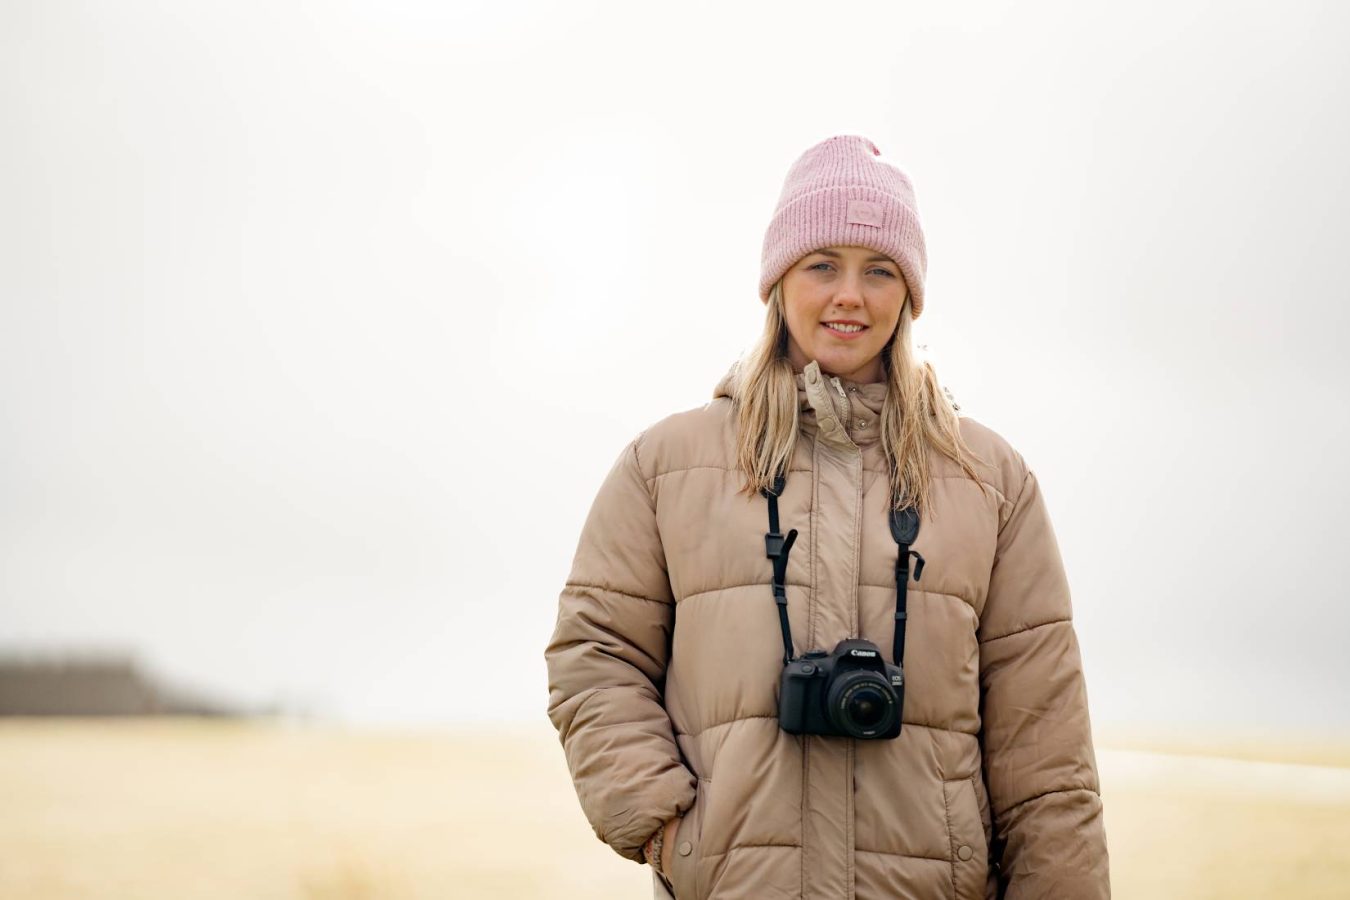
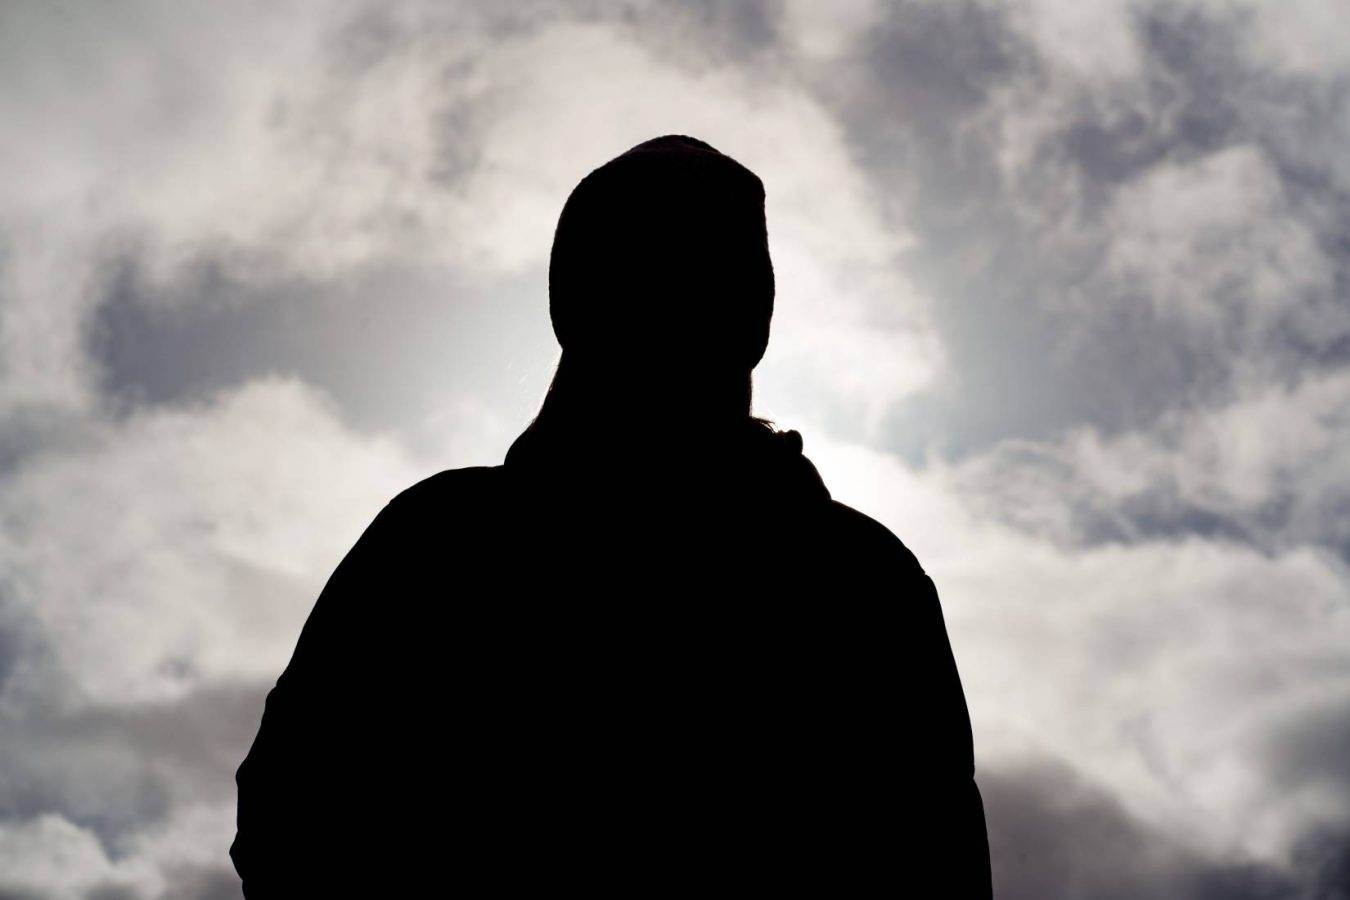
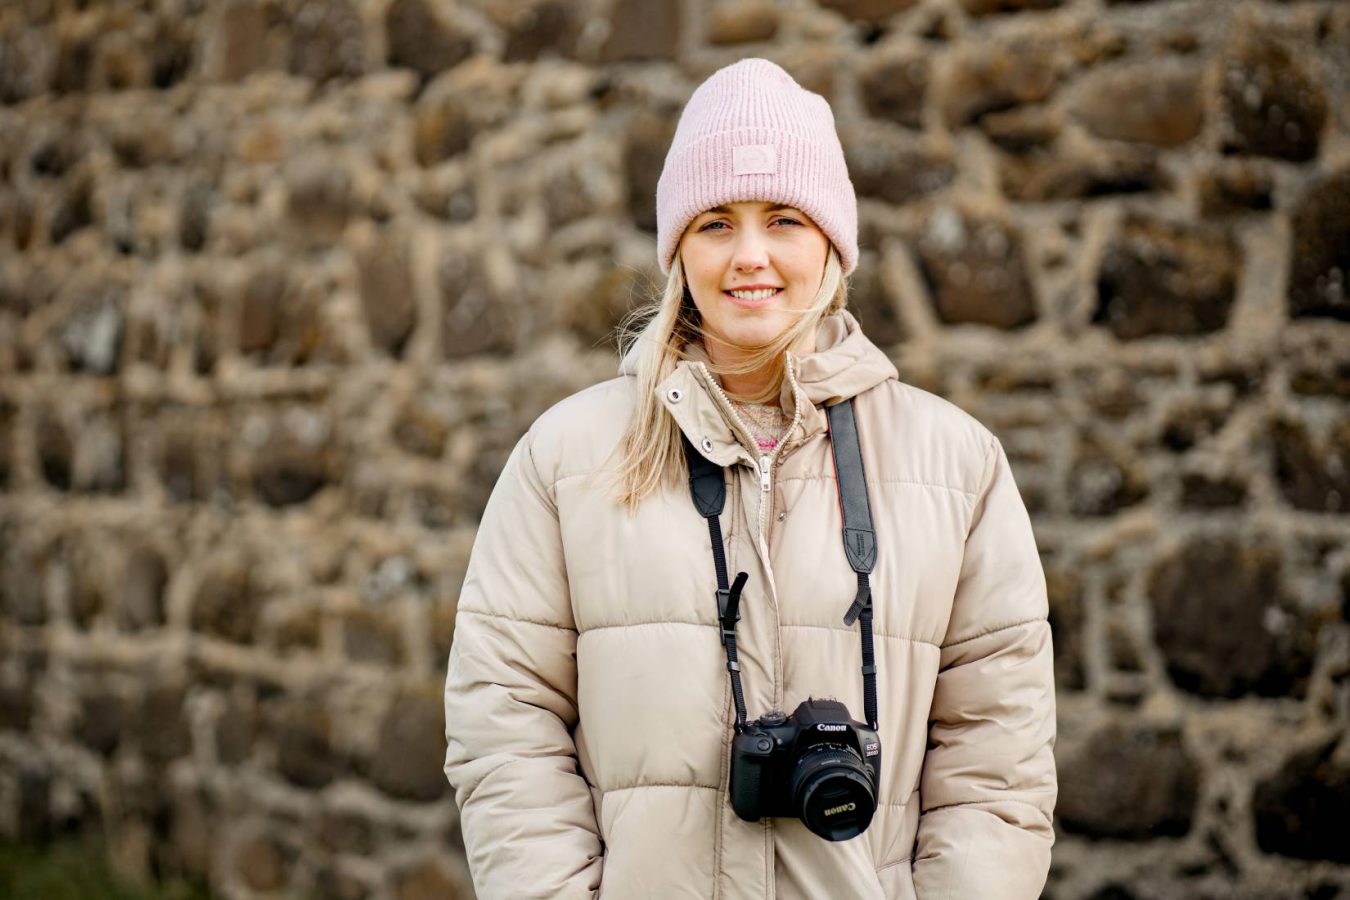
Once the rain cleared, it was time to talk about light. One of the attendees, Shannon, kindly allowed me to take photos of her to demonstrate how important lighting is in portraits. You can see examples below. Finding good light for portraits and learning to master it can make a real difference to your work.
Composition is very important in photography. That’s why I love to spend time with attendees discussing the different tips and techniques that they can try. These include the rule of thirds, the importance of your shooting angle and leading lines.
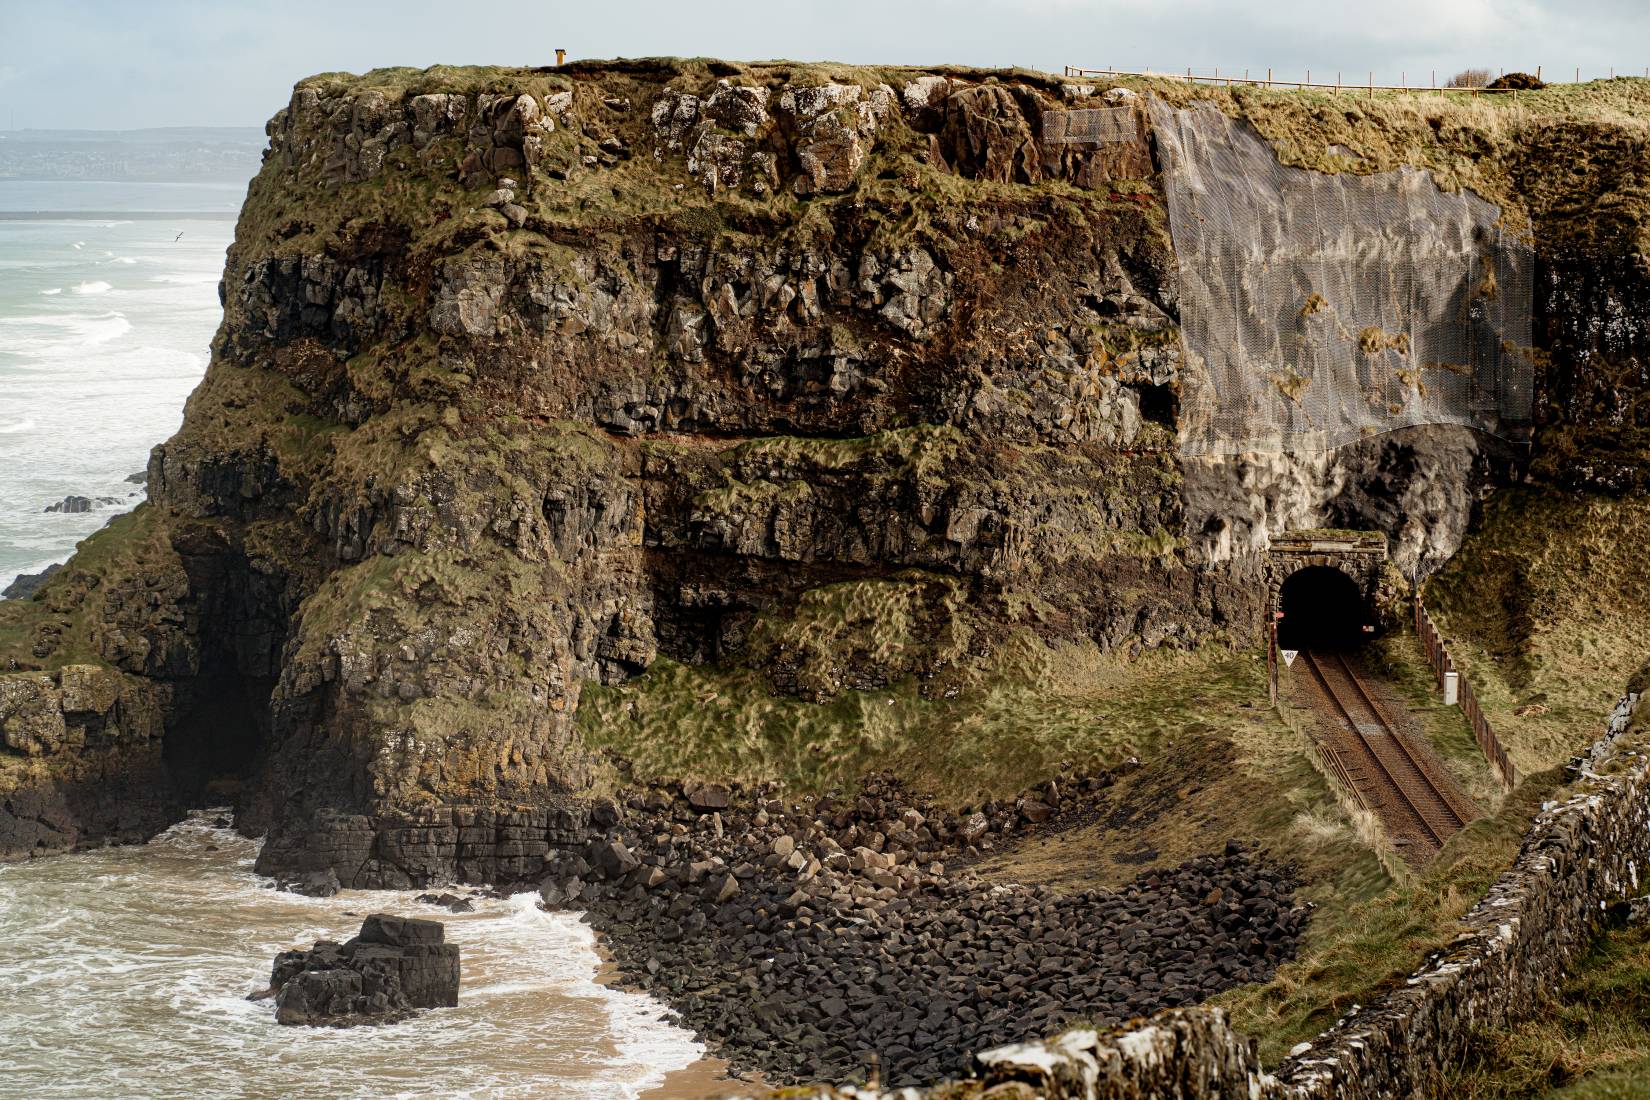
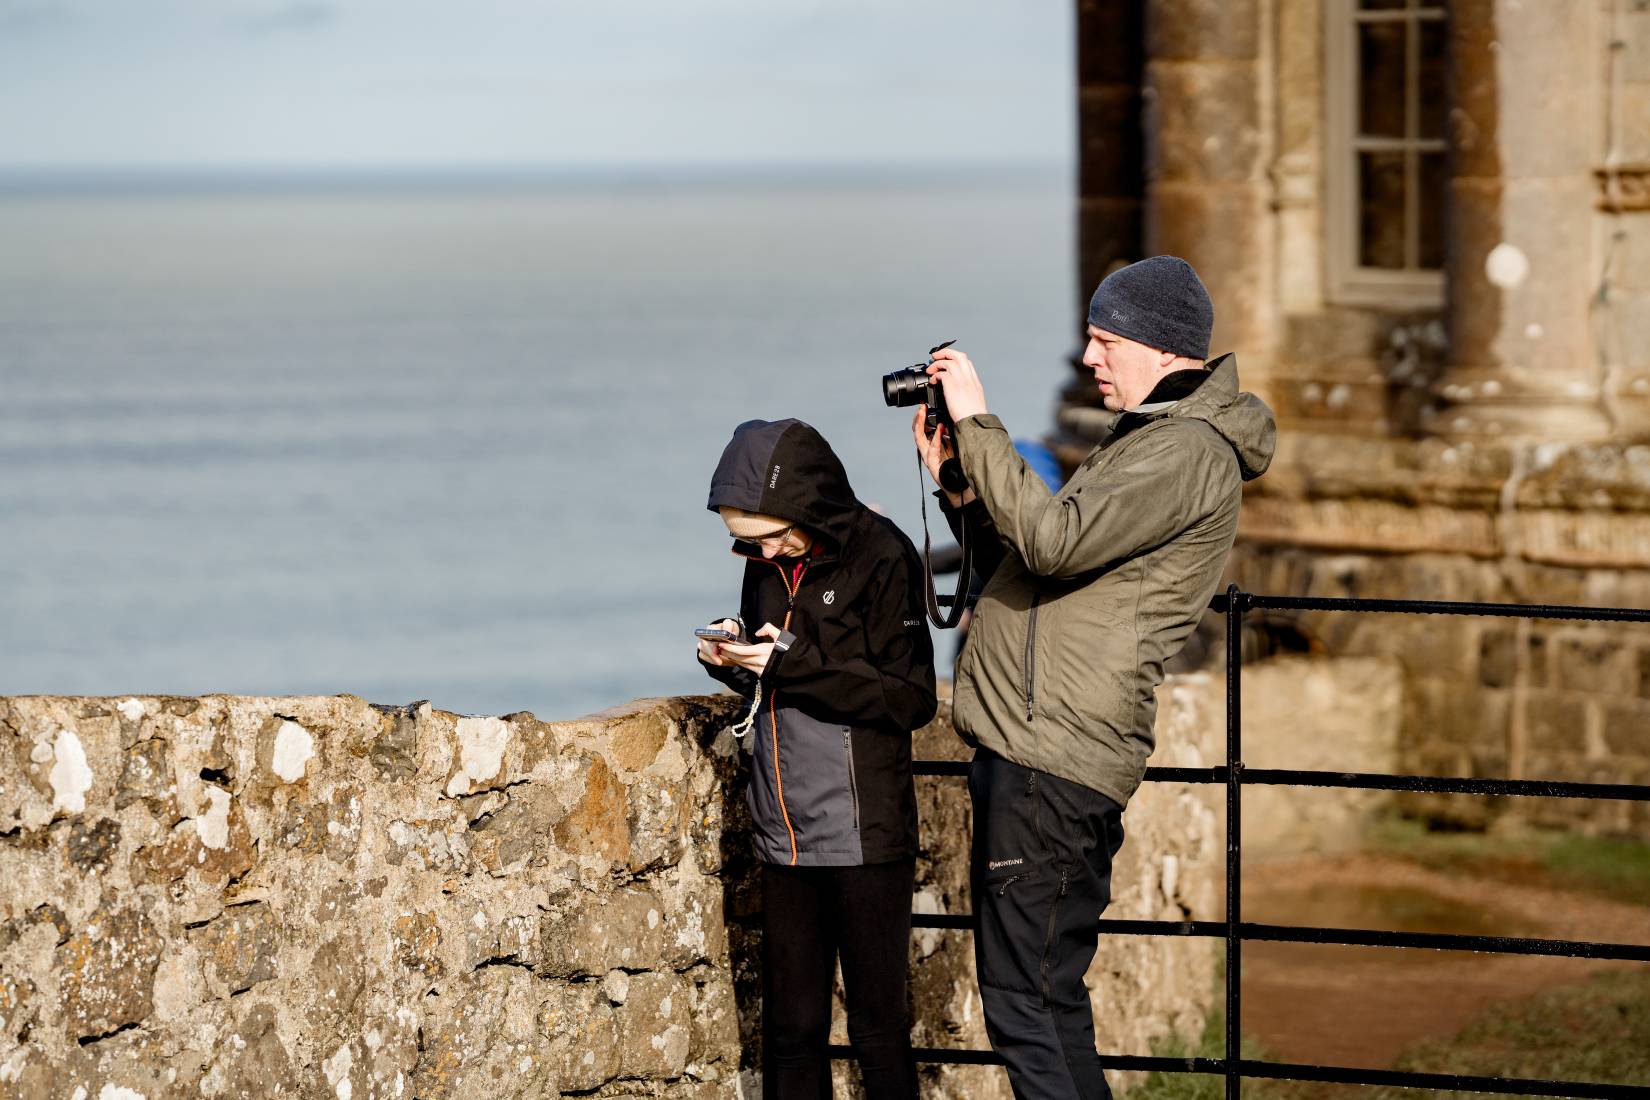
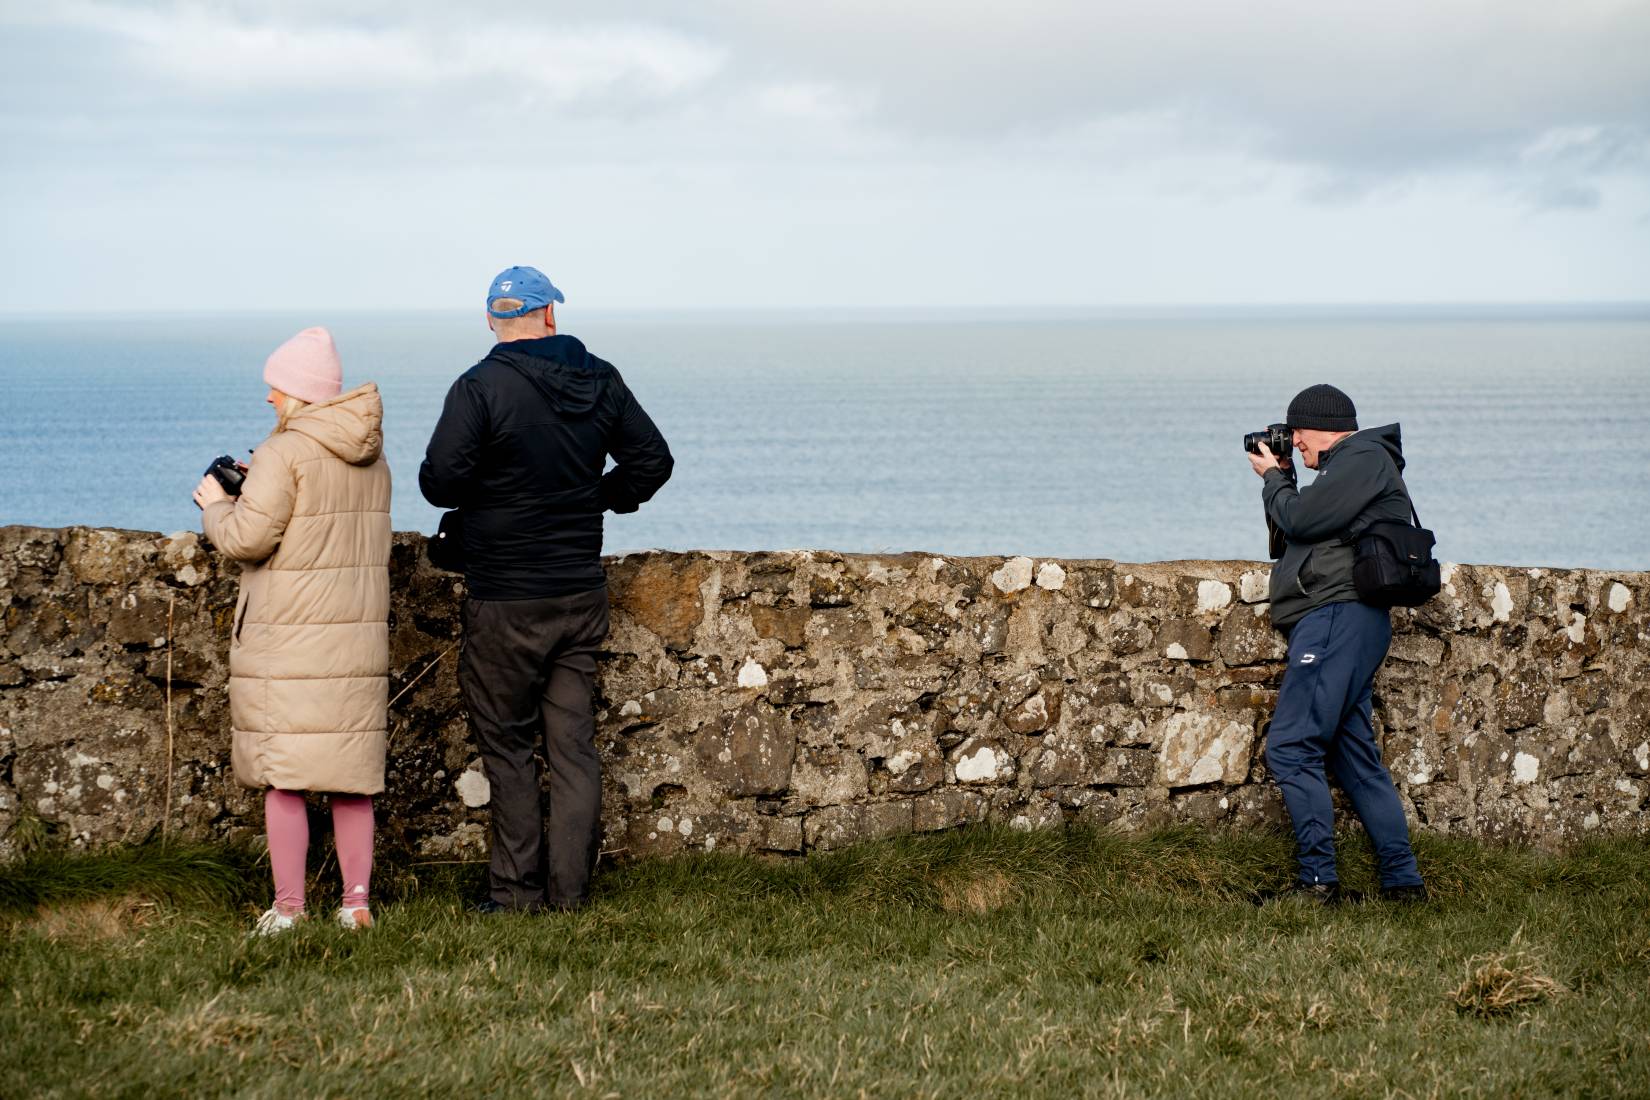
Lens choice is another important factor when taking photos, both of people and landscapes. There are lots of different focal lengths to choose from and they all give a very different look to your photographs. Wide angle lenses take in more of the scene whereas telephoto lenses magnify how things appear in reality. On the photo walk, we discussed when it was best to use the different focal lengths and how important they are in portraits.
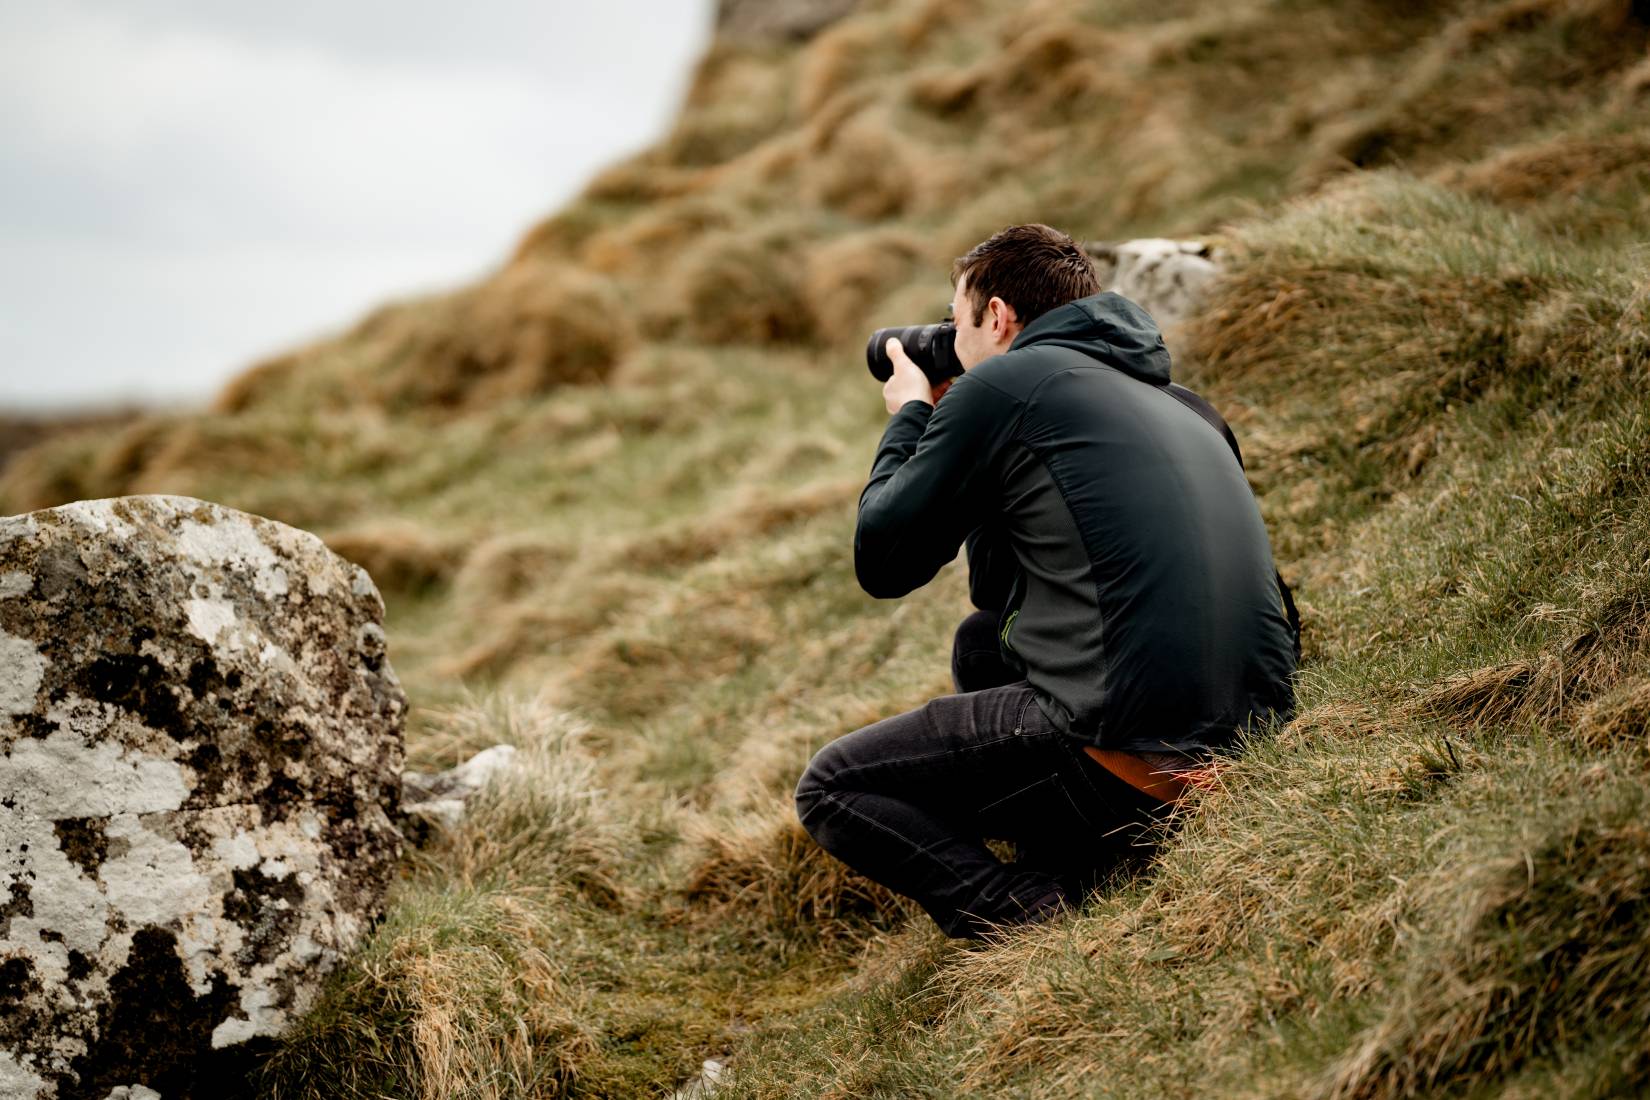
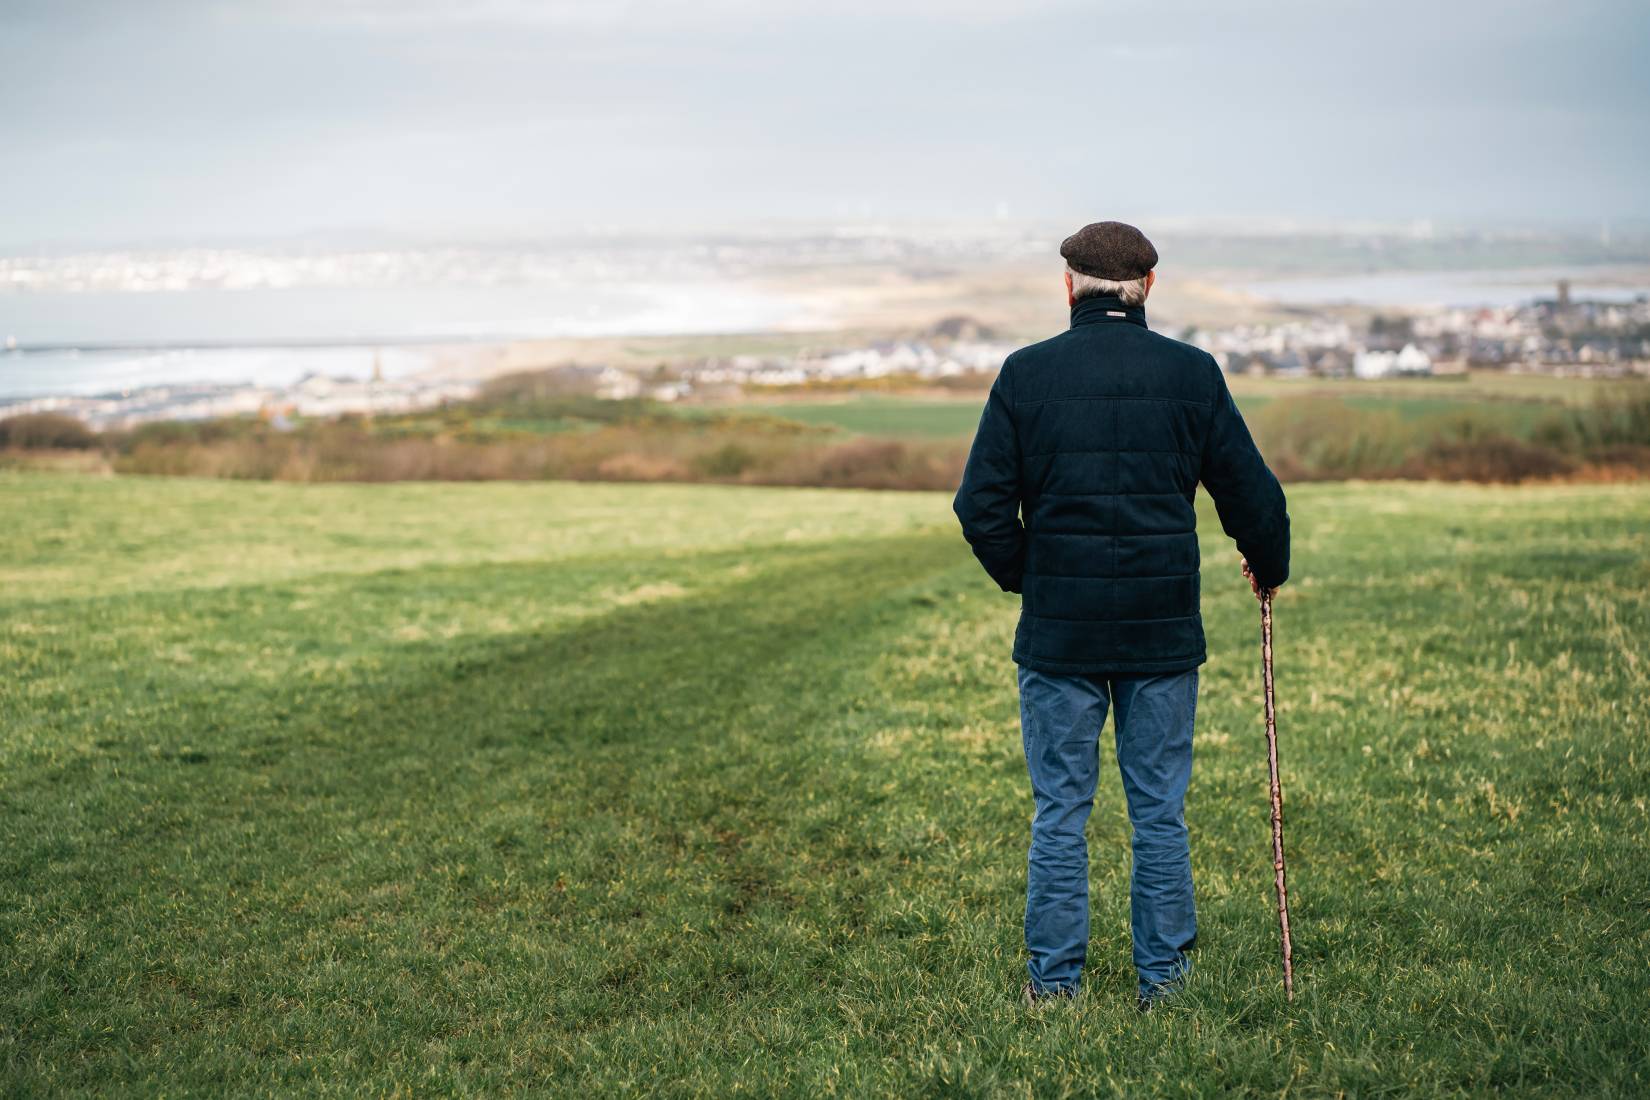
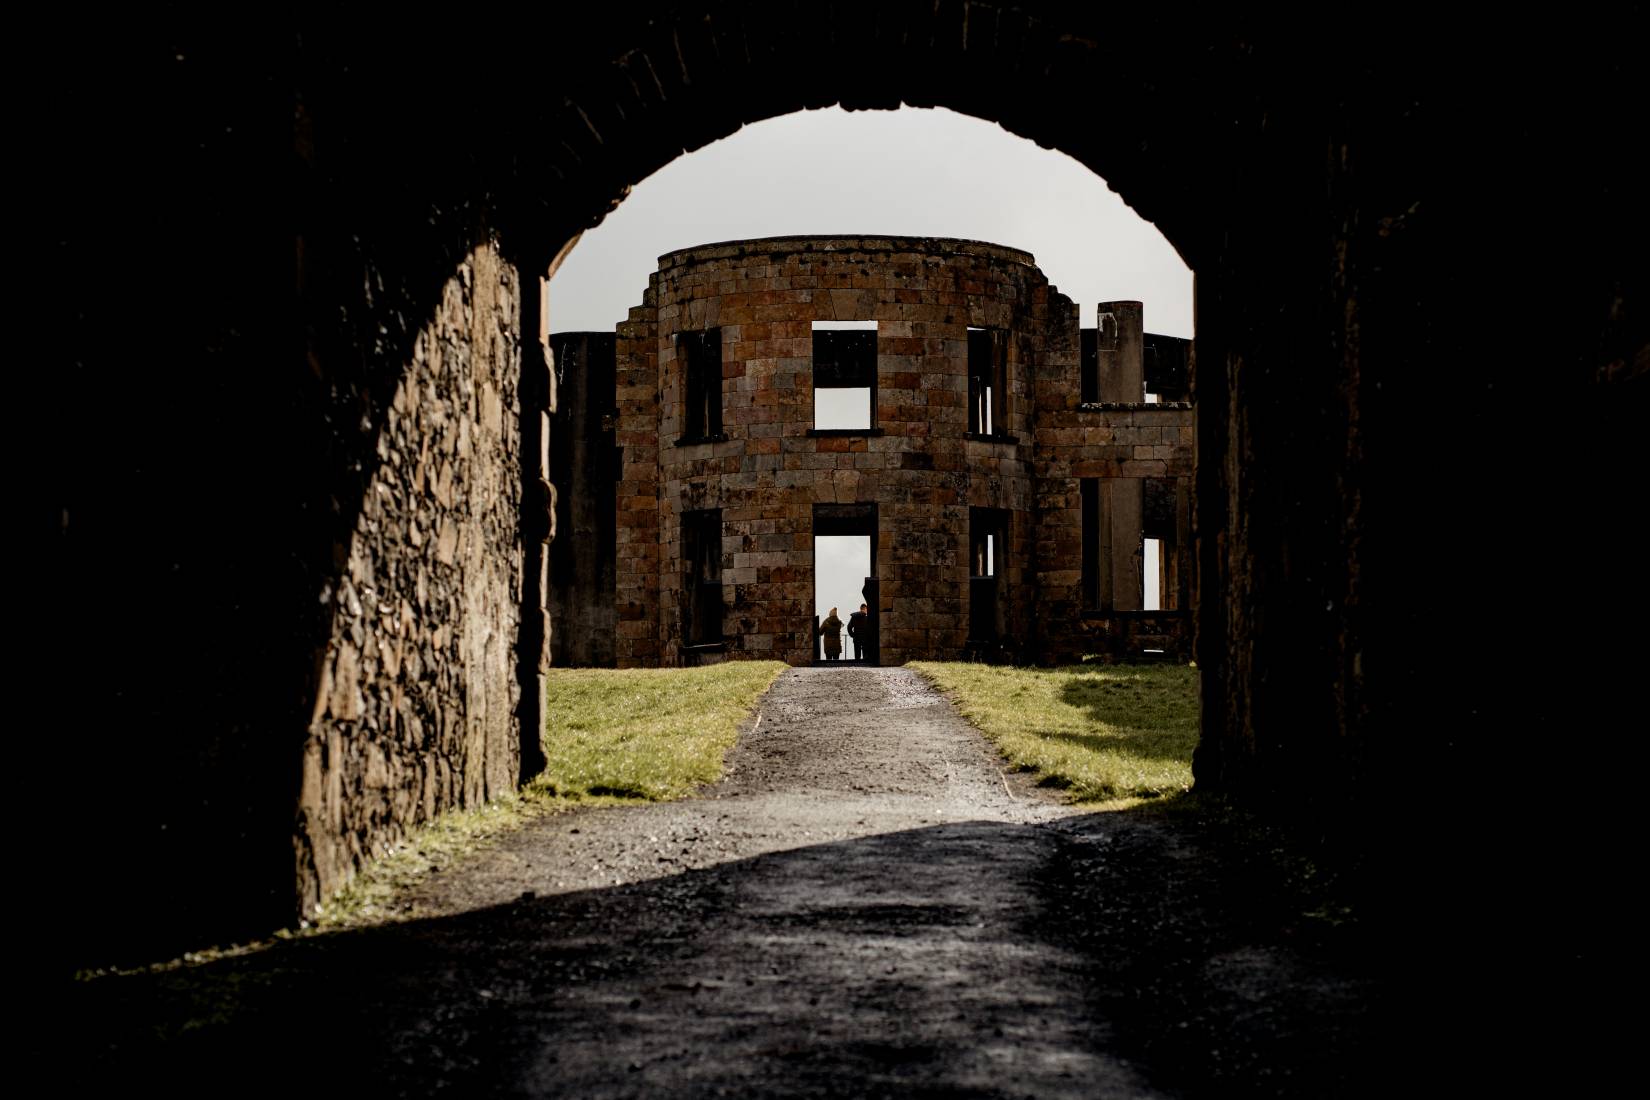
Editing your images
I’m a great advocate for getting it right in camera. However, editing plays an important role in the life of a photographer, particularly if you are shooting in RAW format.
Everyone can develop their own personal style of editing and that’s what makes our work unique. Landscape photography can be a little more challenging, depending on the light at a location. When you view your image in the camera, it may not seem as colourful or vibrant as what we can see with our eyes. As photography is a two dimensional medium, there are different tips and tricks to help you capture landscape shots full of impact. Editing can also help transform your images and make them stand out.
If you use Adobe Lightroom or Photoshop, or other editing software or apps, you can make selective adjustments to your images. This includes darkening the sky, using the brush tool to adjust exposure in parts of the image and boosting saturation or contrast. You can, of course, use filters on your camera when taking your photos to boost contrast, reduce reflection and darken the sky. There are a range to choose from – polarizing filters, ND filters and graduated ND filters. Make sure that you order the correct filter size for the lens that you are going to use it with. You can find the filter size written on the front / side of the lens or search online to check. It’s a personal choice if you prefer whether you prefer to use filters on camera or apply the effects whilst editing.
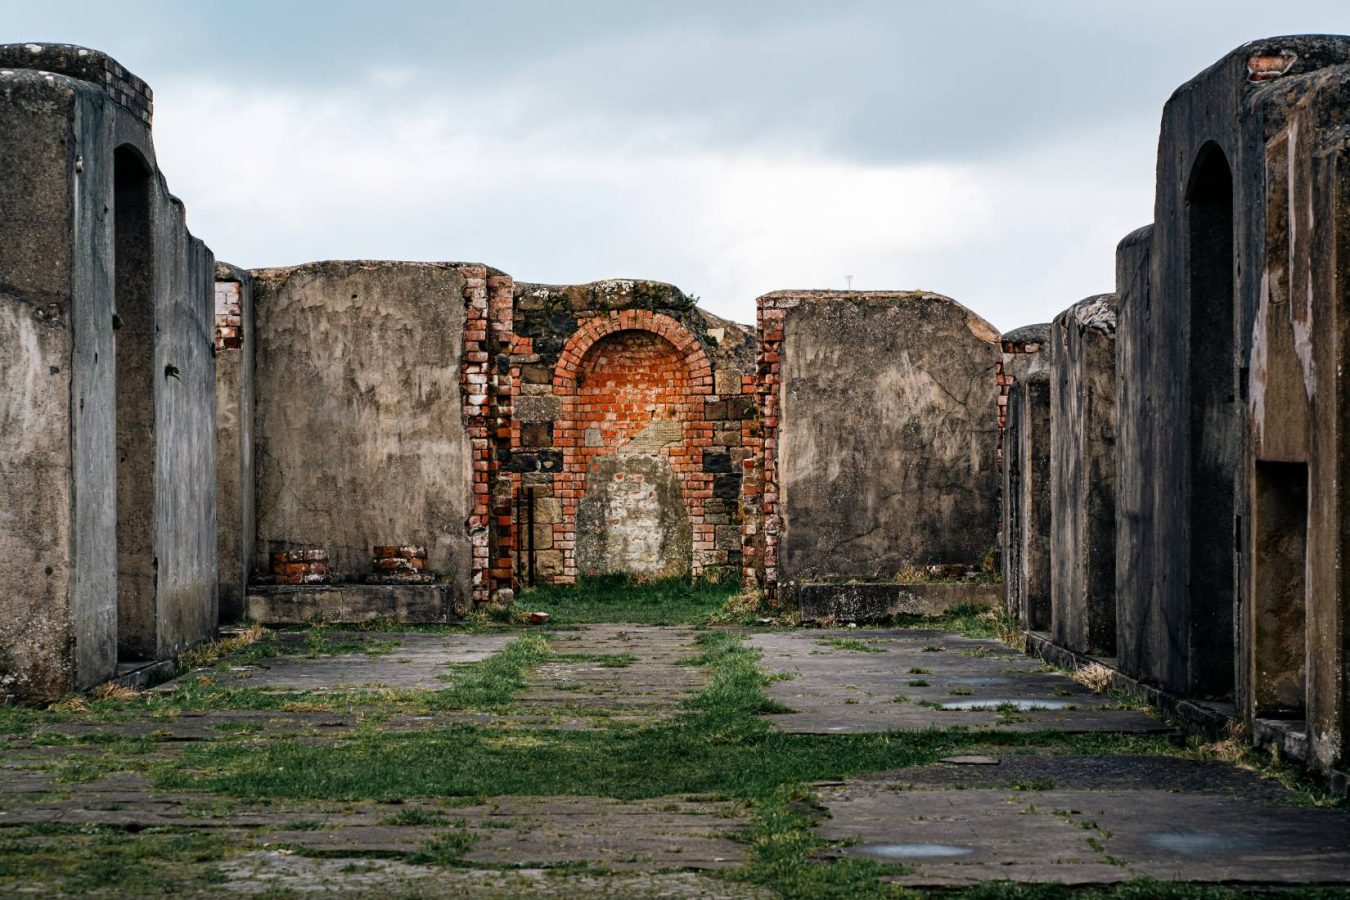
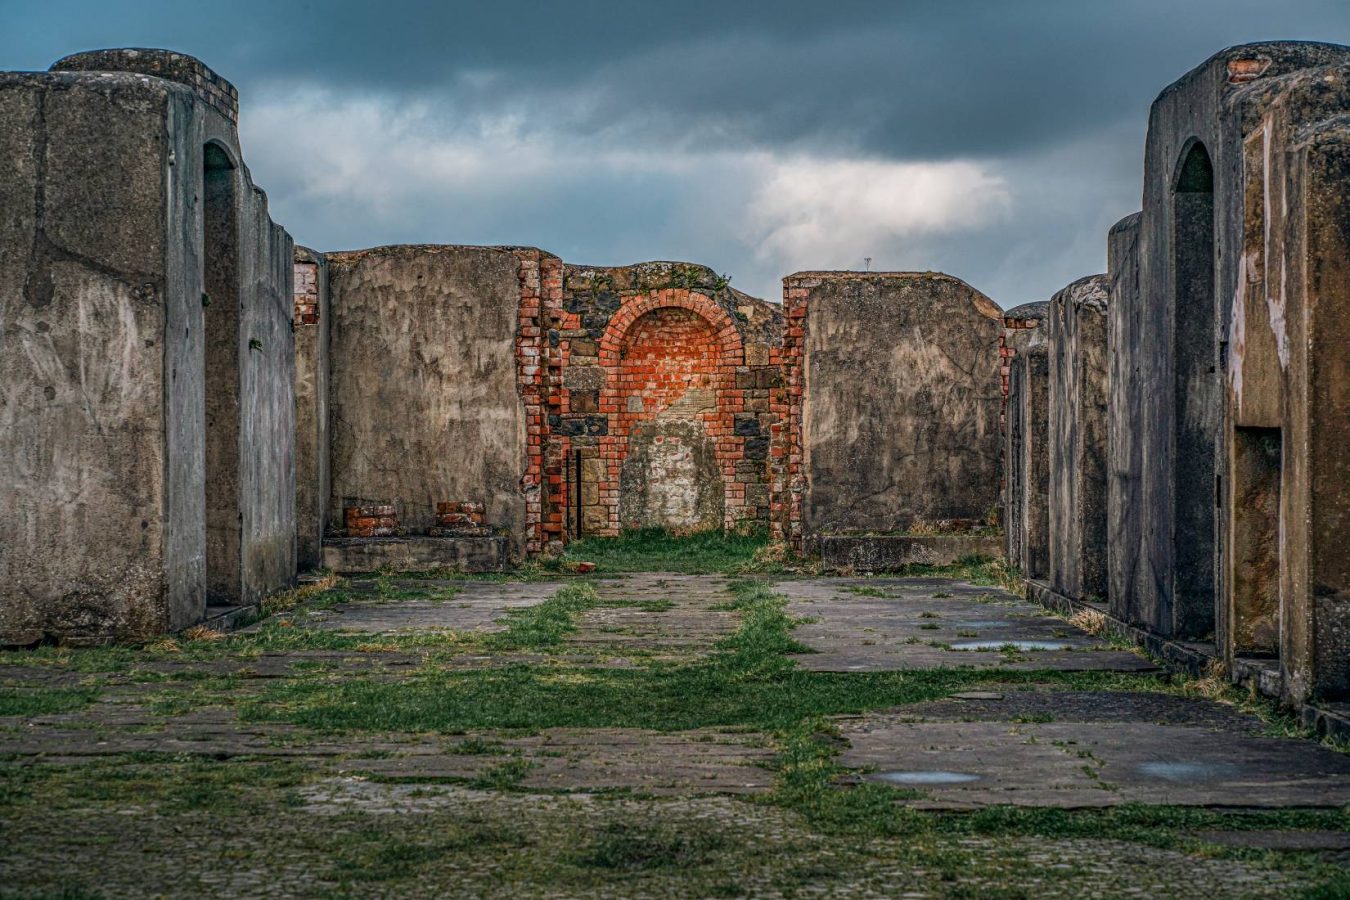
A photography term that I’m often asked about is HDR – what is it and do I like it? HDR stands for High Dynamic Range, means there is a broad contrast of tones in your image. This is often the case in landscape photography, with brighter skies and darker areas, such as the shadow of a mountain etc. You can use HDR settings or techniques in your smartphone or camera at the time of taking your photos or you can adjust in post production whilst editing. I’ve included two images below, one edited normally and one edited using HDR technique. Which do you prefer?
Causeway Coast Photo Walk
There is a lovely little coffee bar in the car park beside Mussenden Temple if you fancy treating yourself to some hot drinks. It was much appreciated on the day to add some warmth back in the bones! Everyone really enjoyed the photo meet up and were keen to get home and put their new skills into practice. One of the reasons I established the photo walks was to bring people together. It’s so amazing to see fellow creatives, of all ages, chatting about photography with a smile on their face.

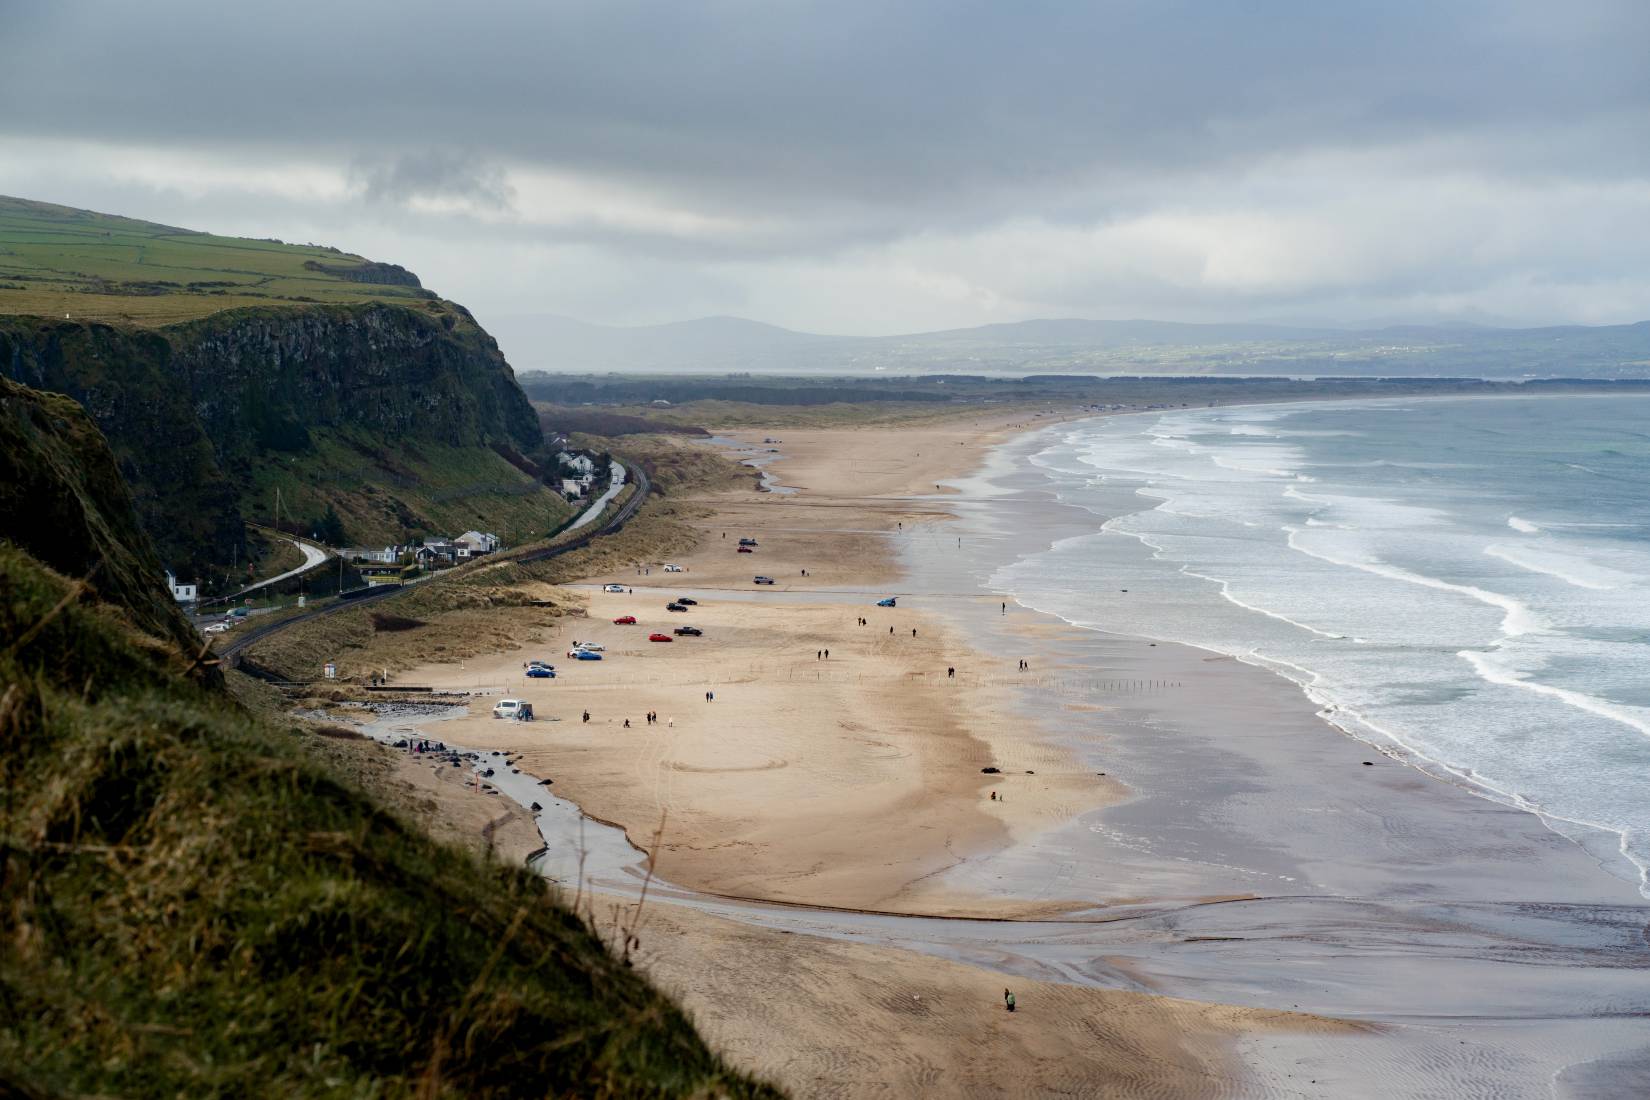
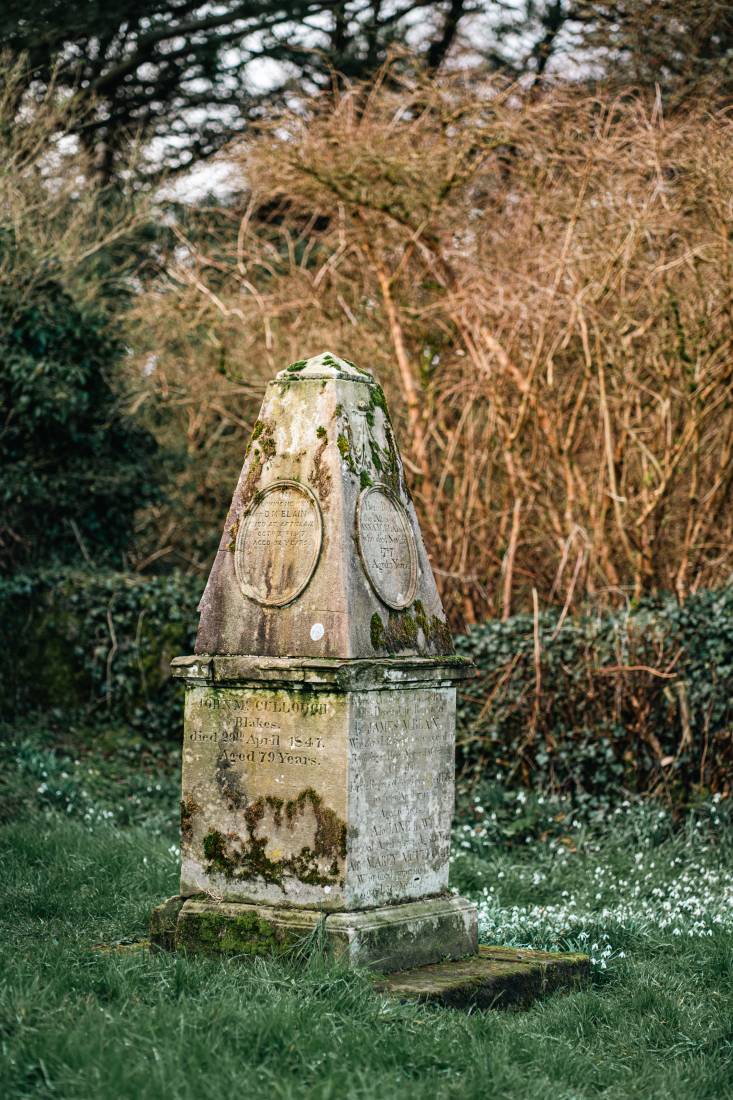
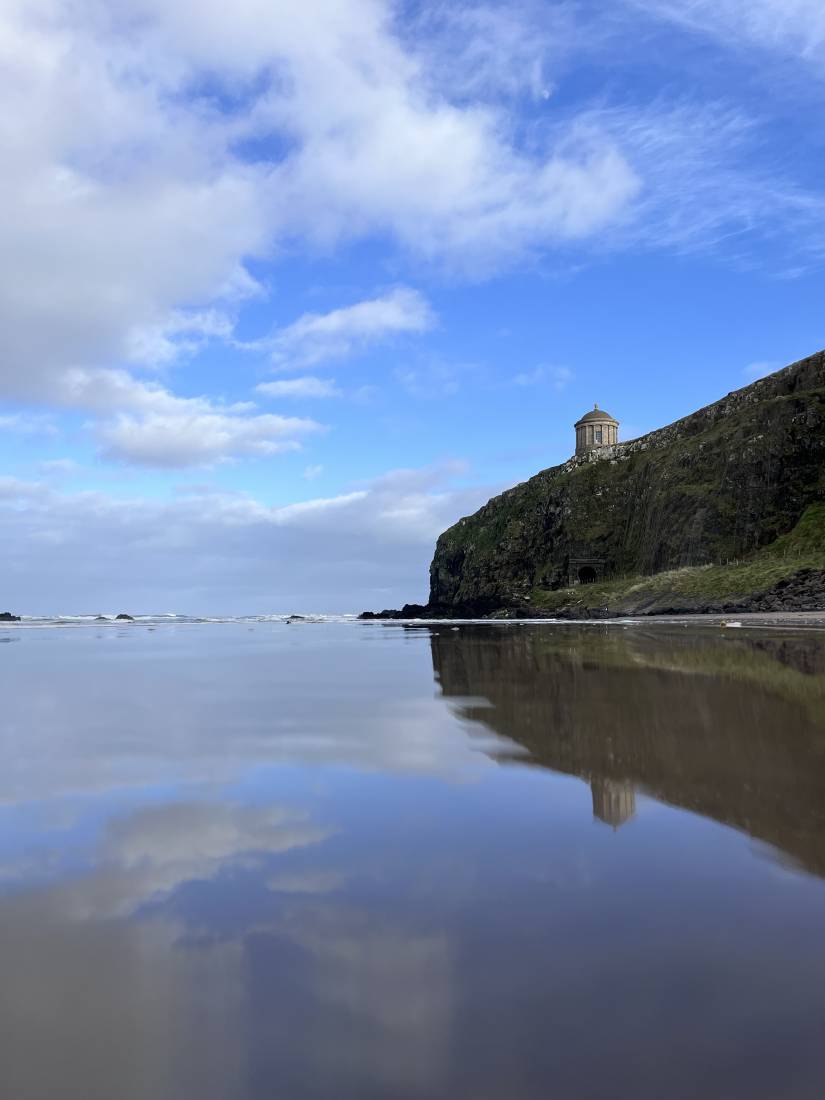
I took some time after the photo walk to visit Downhill Beach, situated just below Mussenden. There is also an old graveyard across the road from Mussenden that I visited. It’s fascinating to read the gravestones and learn about those who are laid to rest in such a stunning location.
Student’s Work
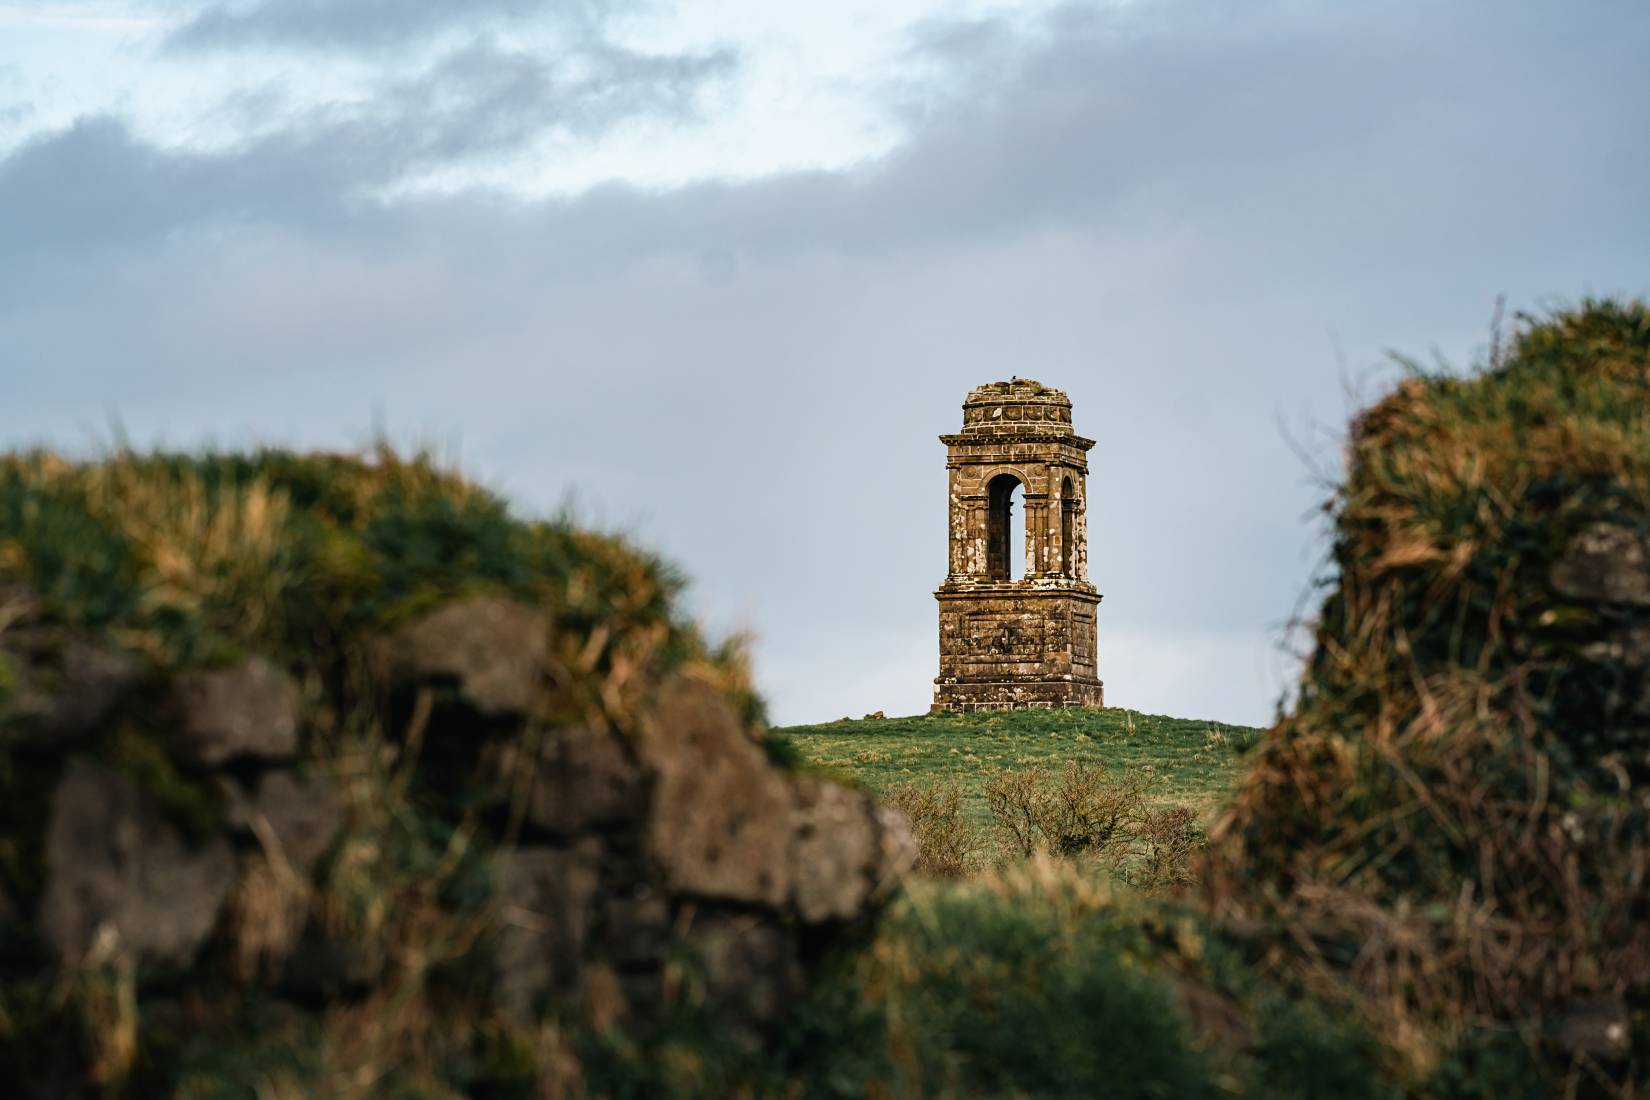
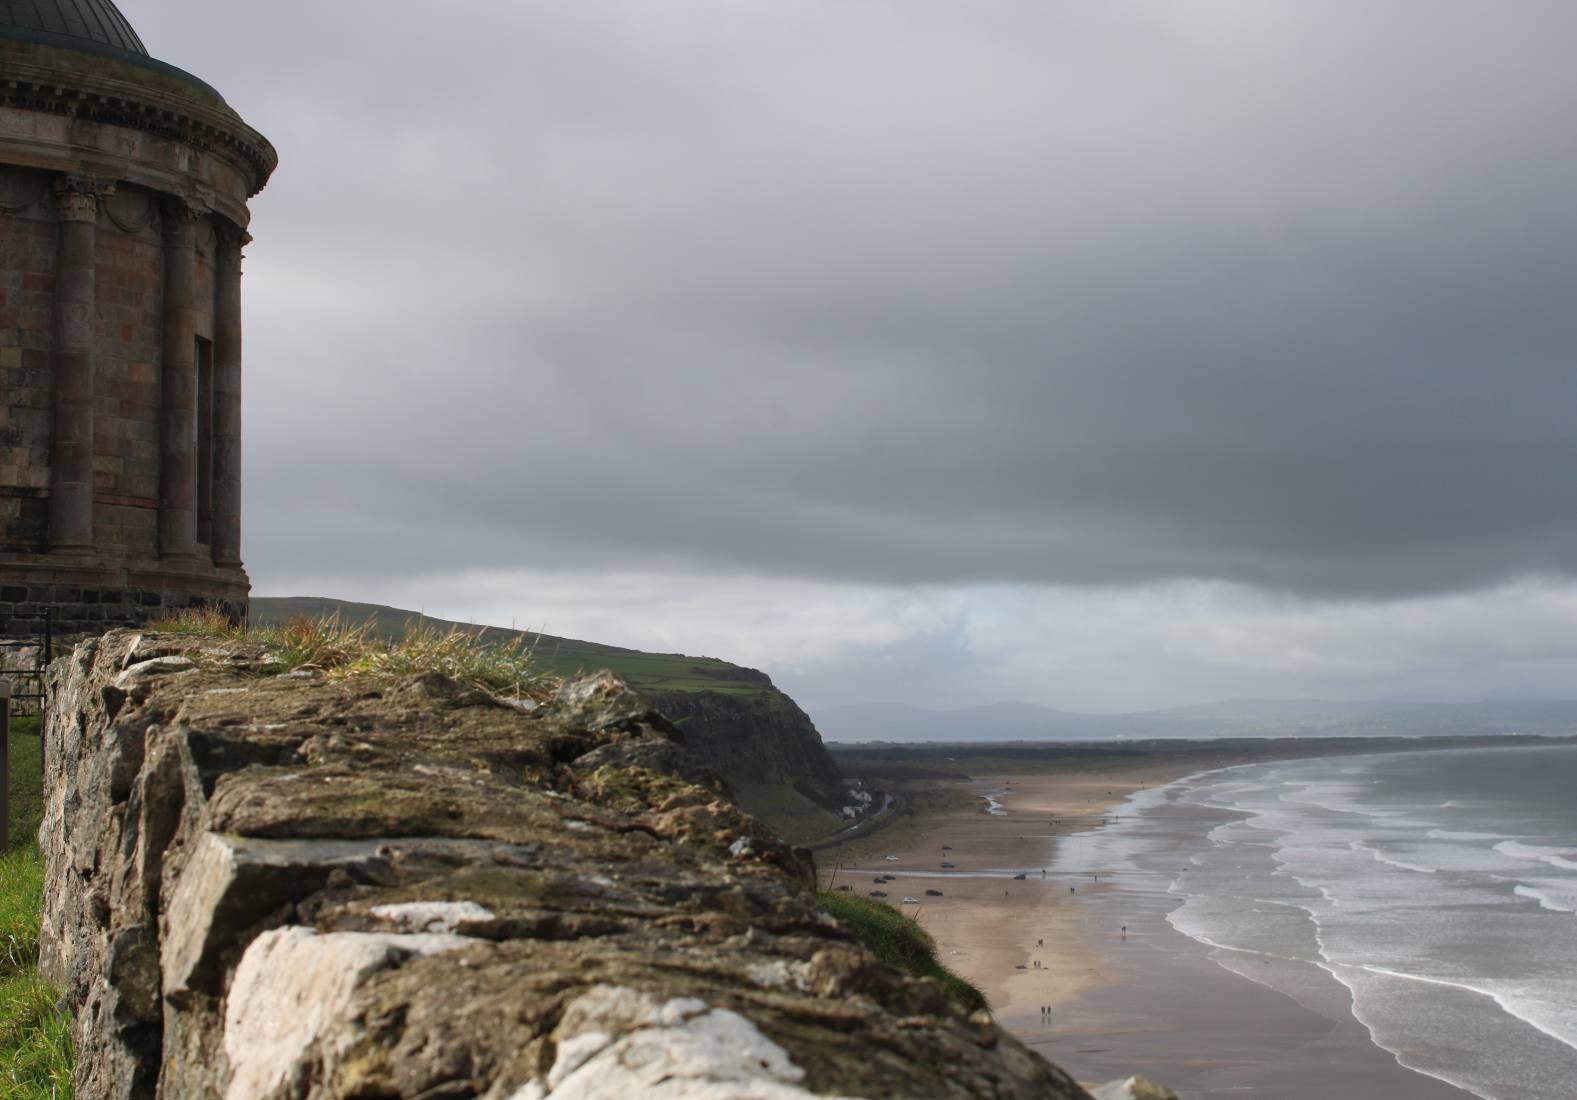
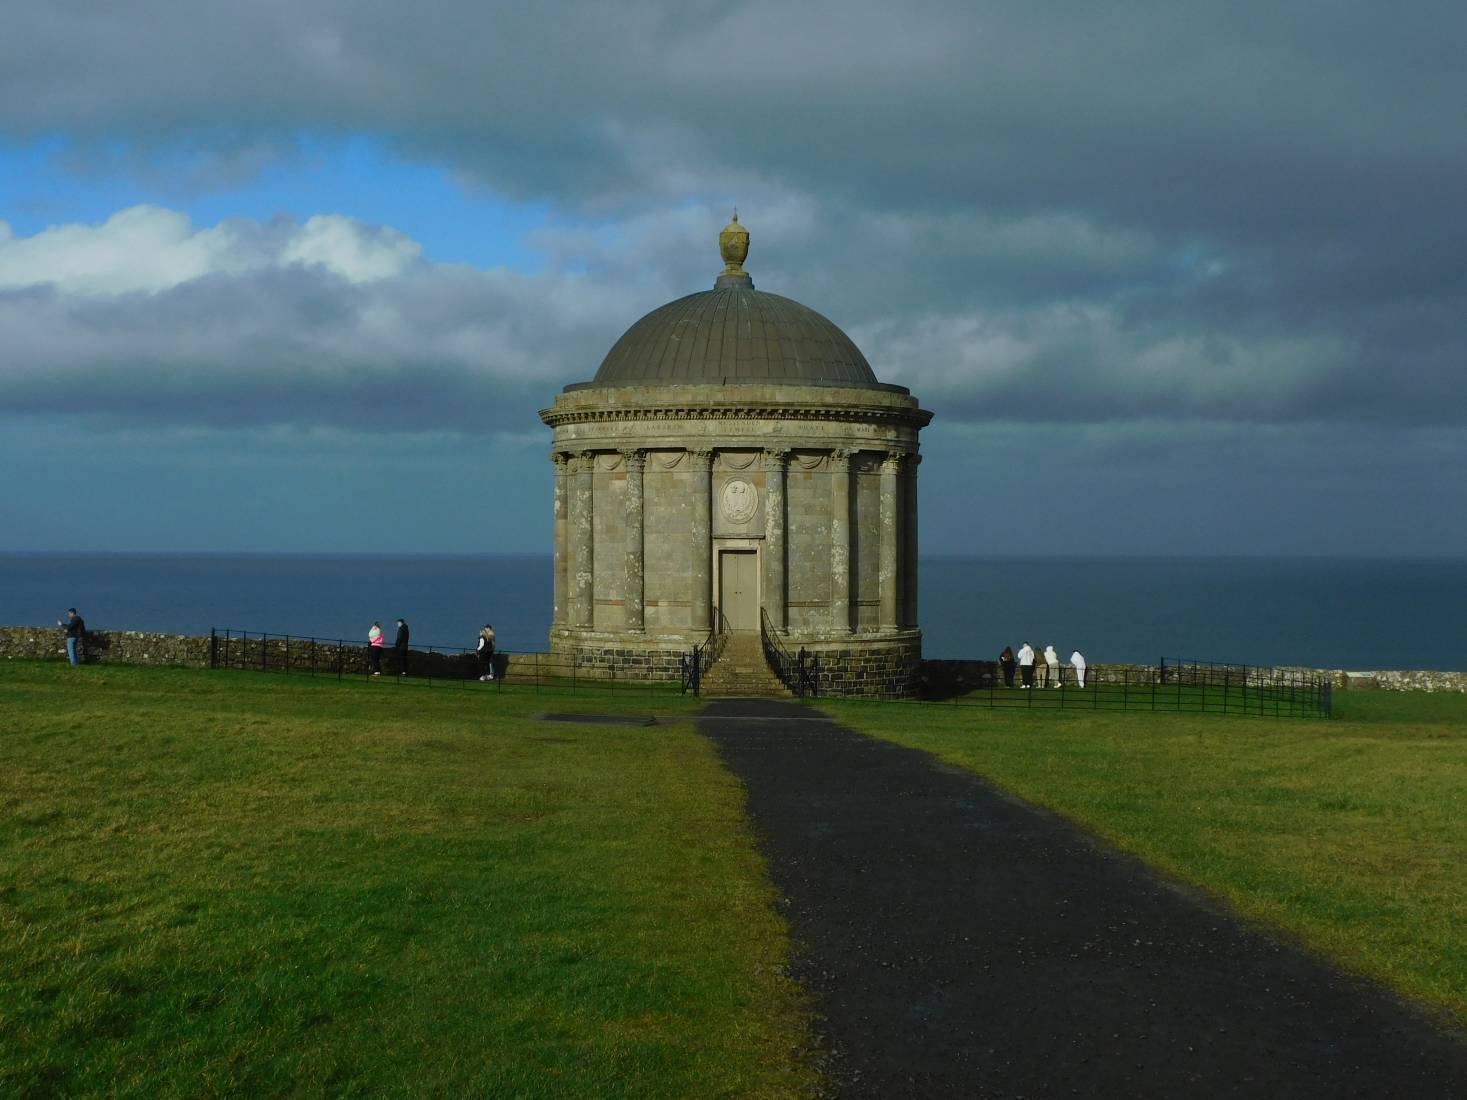
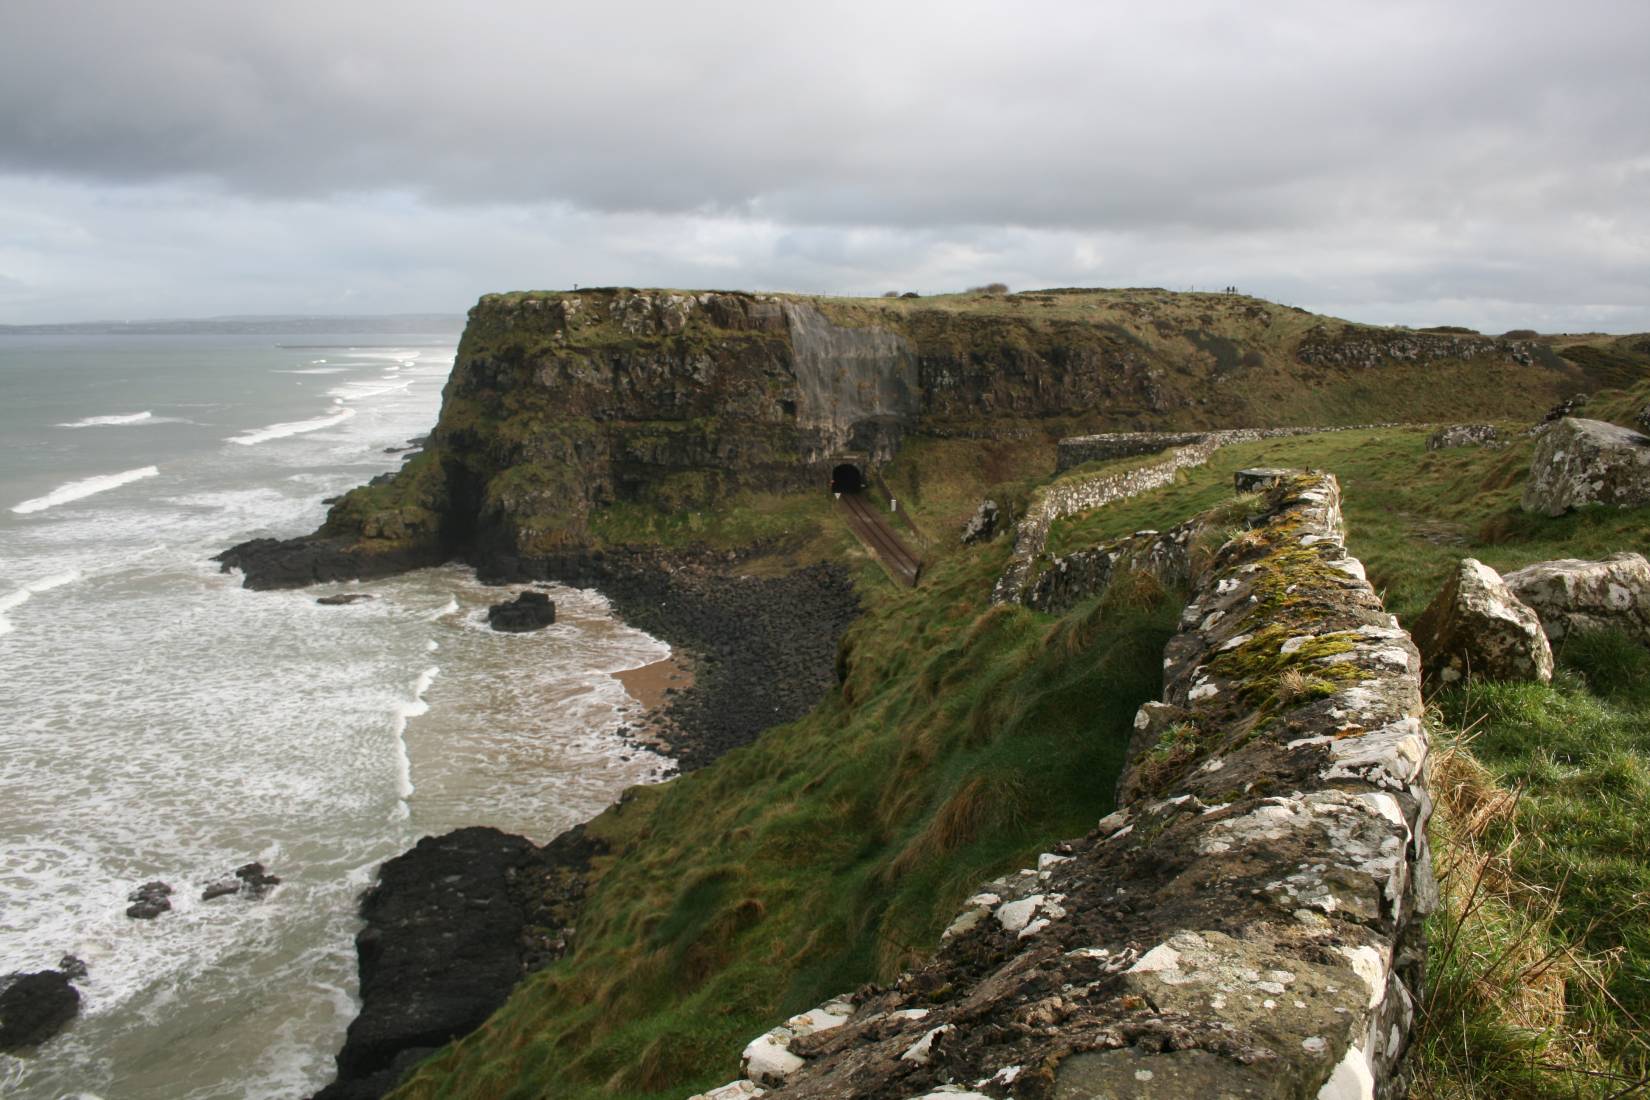
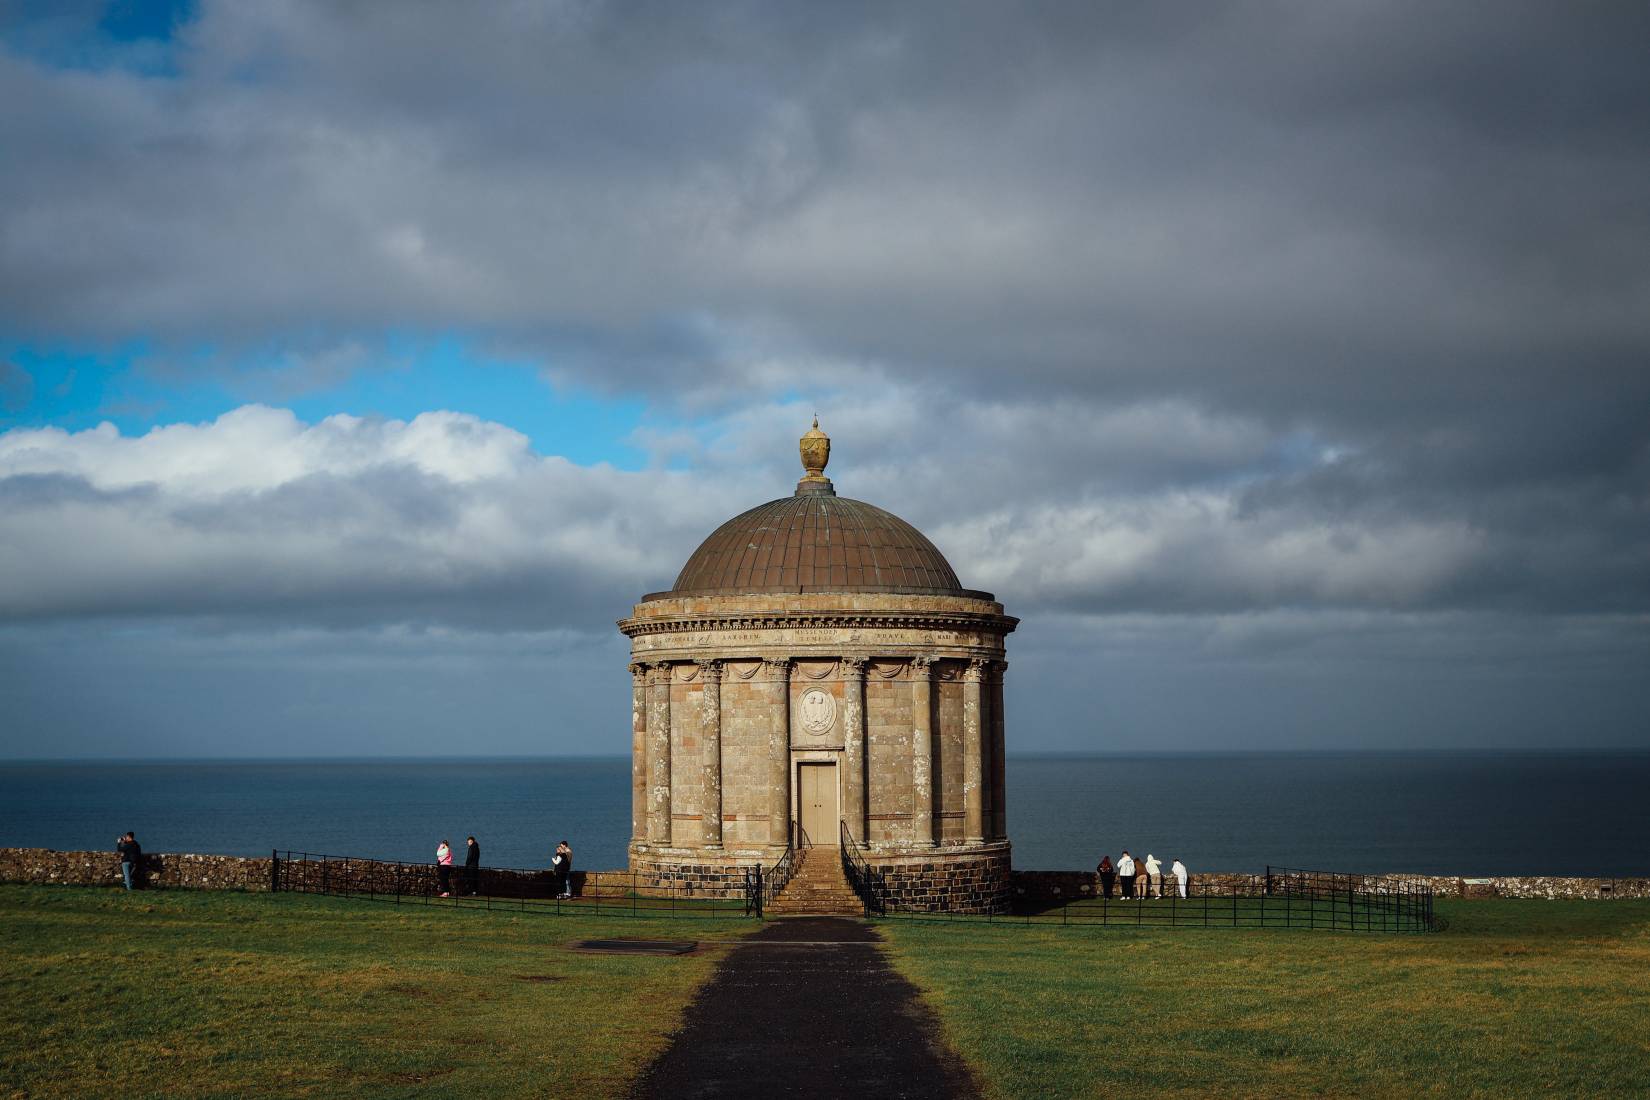
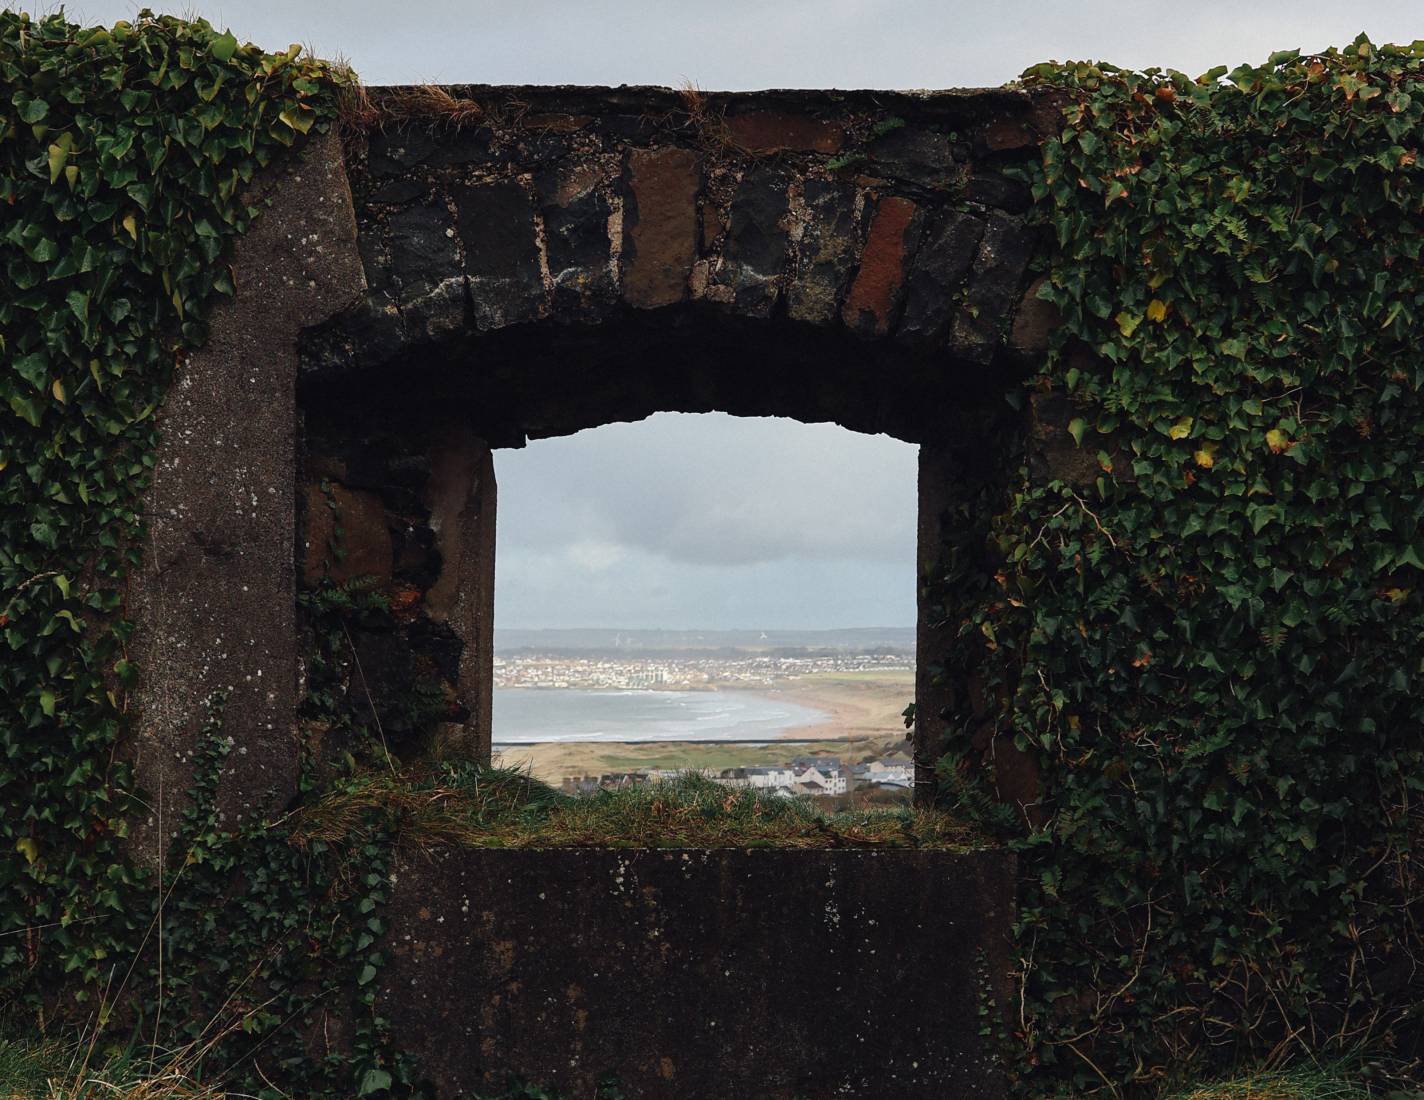
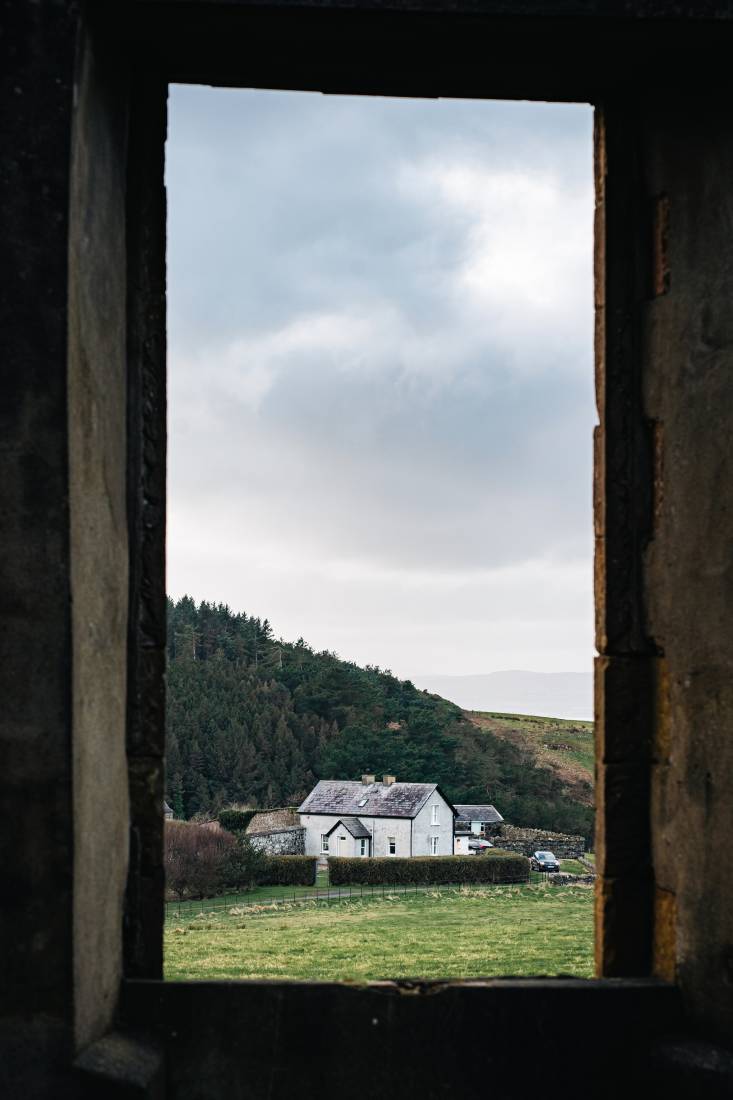
Here are some of the images taken on the day by the students …
Want to get more regular photography practice in?
If you have a real interest in photography, why not sign up to our free 52 Week Photo Challenge, 52 Creative. You can join at any time and take part when you have time. I provide a topic every week and also offer top tips to help you take better photos with your smartphone or camera. You can learn more or sign up by clicking here.

If you would like to come along to our next photo walk, you can keep in touch via the website or follow me on Instagram where new dates are shared..
 Previous post
Aurora Borealis – The Northern Lights – 10th May 2024