Beginners Photography Equipment – Essential Kit List

The Complete Beginners Photography Equipment Guide
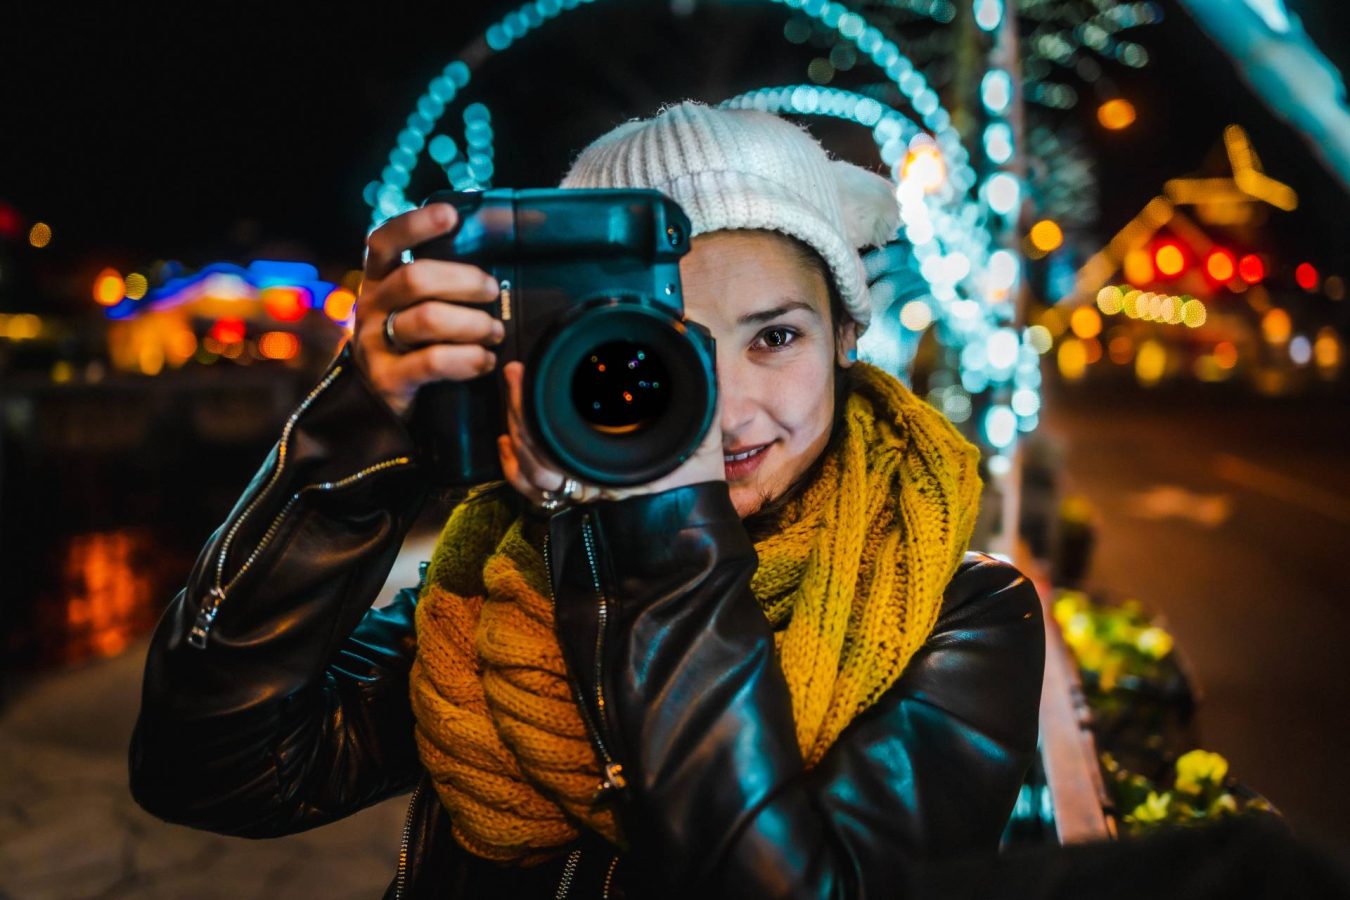
Beginners Photography Equipment – When a lot of my students book in for a 1-2-1 with me or book onto a course, they often ask what type of camera should they use. Or I get a lot of questions from people with an interest in photography asking the same question. Sometimes my followers online want help purchasing a camera or accessories for someone they love. That’s why I’ve decided to pull together a guide reference guide to help.
It can be confusing as there are so many makes and models of beginners photography equipment out there. My aim is to help guide you in the right direction and offer suggestions were you can purchase equipment online and in person.
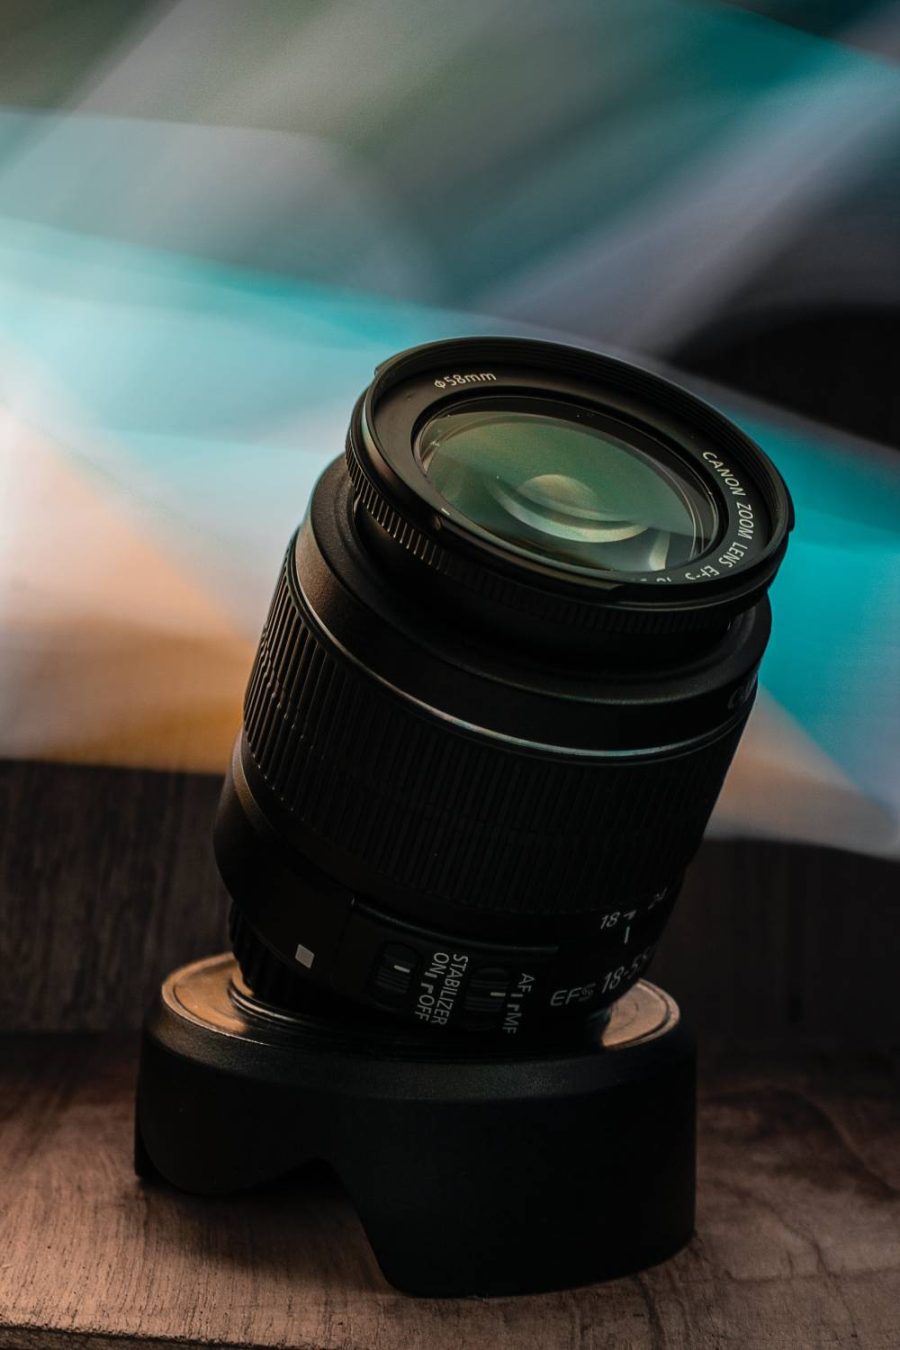
The Essentials – What Beginners Photography Equipment do I need to get started?
There are a few items that I would recommend for anyone with an interest in photography to have in their kit bag. You need a camera body, at least one lens, memory cards, a tripod and maybe a filter or two. We are going to look at some examples of each below…
1. Camera Body
There are a wide variety of camera makes and models on the market, ranging in price from £350 upwards. I always tell my students that you don’t need the most expensive camera to get started. What you do need is to know how to use it. Depending on your budget and what type of photography you want to shoot, then your equipment will vary. You can also decide whether you wish to purchase new or second hand from a reputable dealer.
Most expensive cameras will obviously have a wide range of settings and features but with the right lens and skills, you can get into the world of photography with a more entry level camera body.

The first thing you need to take into consideration is the type of camera you want to go for. You can choose from an SLR camera, a mirrorless camera or bridge / advanced compact camera. Mirrorless cameras are becoming increasing popular and some manufacturers have ceased production of new models of SLR cameras.
I personally shoot with Sony and used to shoot with a Canon SLR. I made the switch over in 2020 for a couple of reasons – Mirrorless cameras are smaller, mostly lighter and the focusing features and functionality is excellent. I do miss elements of my Canon SLR, the notoriously smooth bokeh and dreamy skin tones, but overall I’m really happy with my move across.
Whilst mirrorless cameras are becoming more and more popular, the entry level options do tend to be more expensive than SLR alternatives. The question you have to ask yourself is whether you are serious enough about photography to make a bigger investment. Or if you budget allows for it, then you may want to consider the mirrorless route as SLR cameras may potentially leave the market.
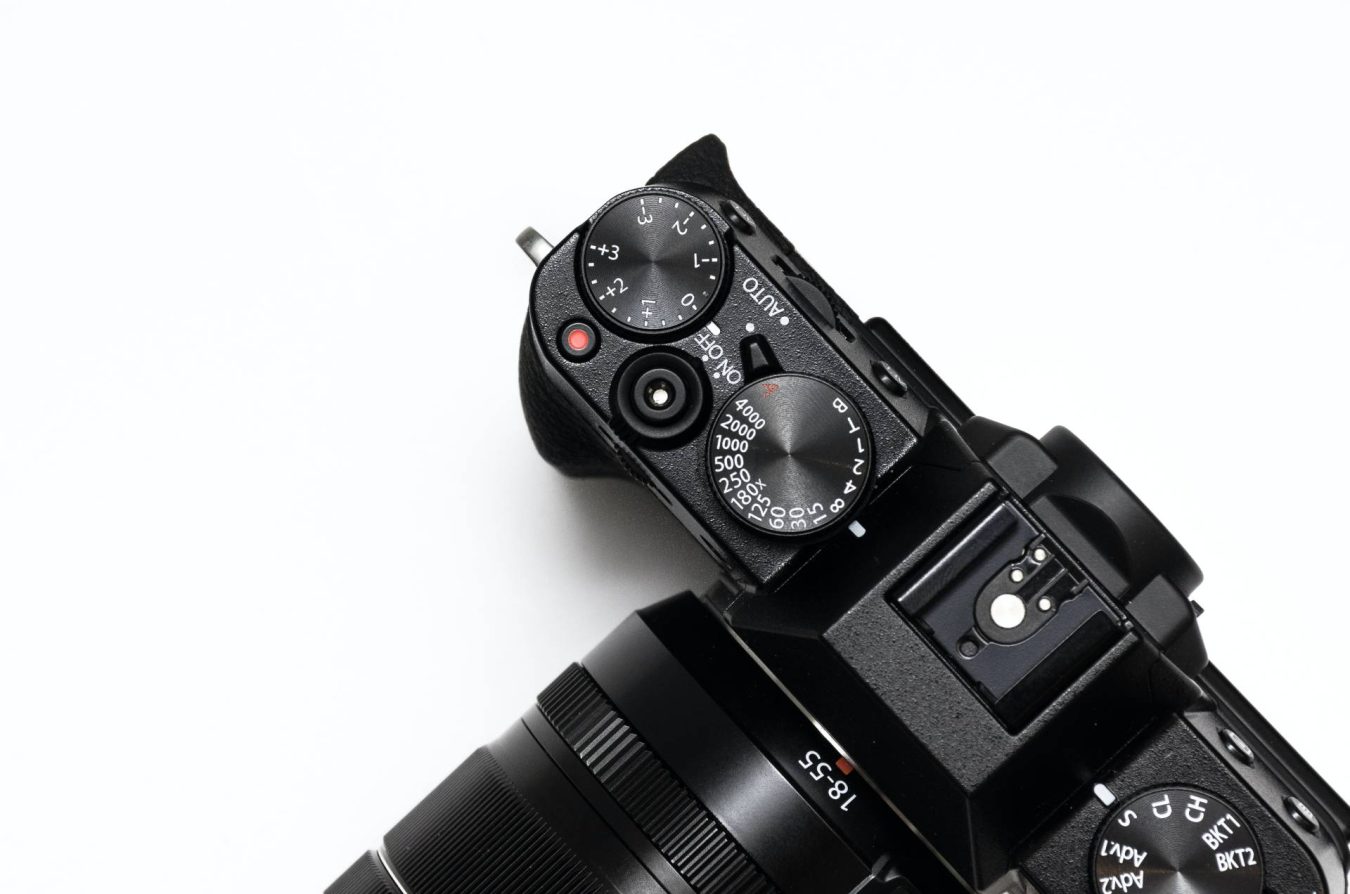
So what do I need to keep in mind when choosing a camera body?
Sensor size – Different models of cameras have different sizes of sensors. Mirrorless and SLR cameras have sensors that fall into the categories of Micro Four Thirds, APS-C, Full Frame or 35mm. You will find that the price increases and image quality tends to improve as the sensor size gets bigger. Whilst cameras with Micro Four Thirds and APS-C sensors are absolutely fine for beginners, if you decide to swap to a full frame camera down the line then you lens may not be compatible.
Speed of camera – Remember to look at the burst speed of your camera (written as fps – frames per second). This is particularly important if you like taking photos of faster moving subjects e.g. action, sports, wildlife etc – aim for 10fps and above is budget permits for these genres of photography
RAW – it’s best if you can get a camera with the option to shoot in RAW file format. This allows you more room for adjustment if you make an exposure error and retains more information in the file. You probably may not shoot in RAW file format when starting out but it’s good to have the option down the line.
Manual Shooting Mode – When you first get your camera you will probably shoot in Automatic mode before progressing into Aperture Priority or Shutter Priority mode. As you progress on photography journey you will more than likely want to try shooting in manual mode. In this setting, you select all the exposure settings yourself – ISO, Aperture and Shutter Speed. That’s why it’s important that you get a camera that allows you to do so.
SLR Cameras
Canon EOS 2000D with 18-55mm Lens
Canon EOS 250D + Canon 18-55mm Lens
Mirrorless Cameras
Sony Alpha 7 II with 28-70mm Lens
Canon R10 with RF-S 18-45mm Lens
Bridge Cameras
Panasonic Lumix DMC-FZ330EBK Bridge Camera with 25 – 600 mm
2. Lenses
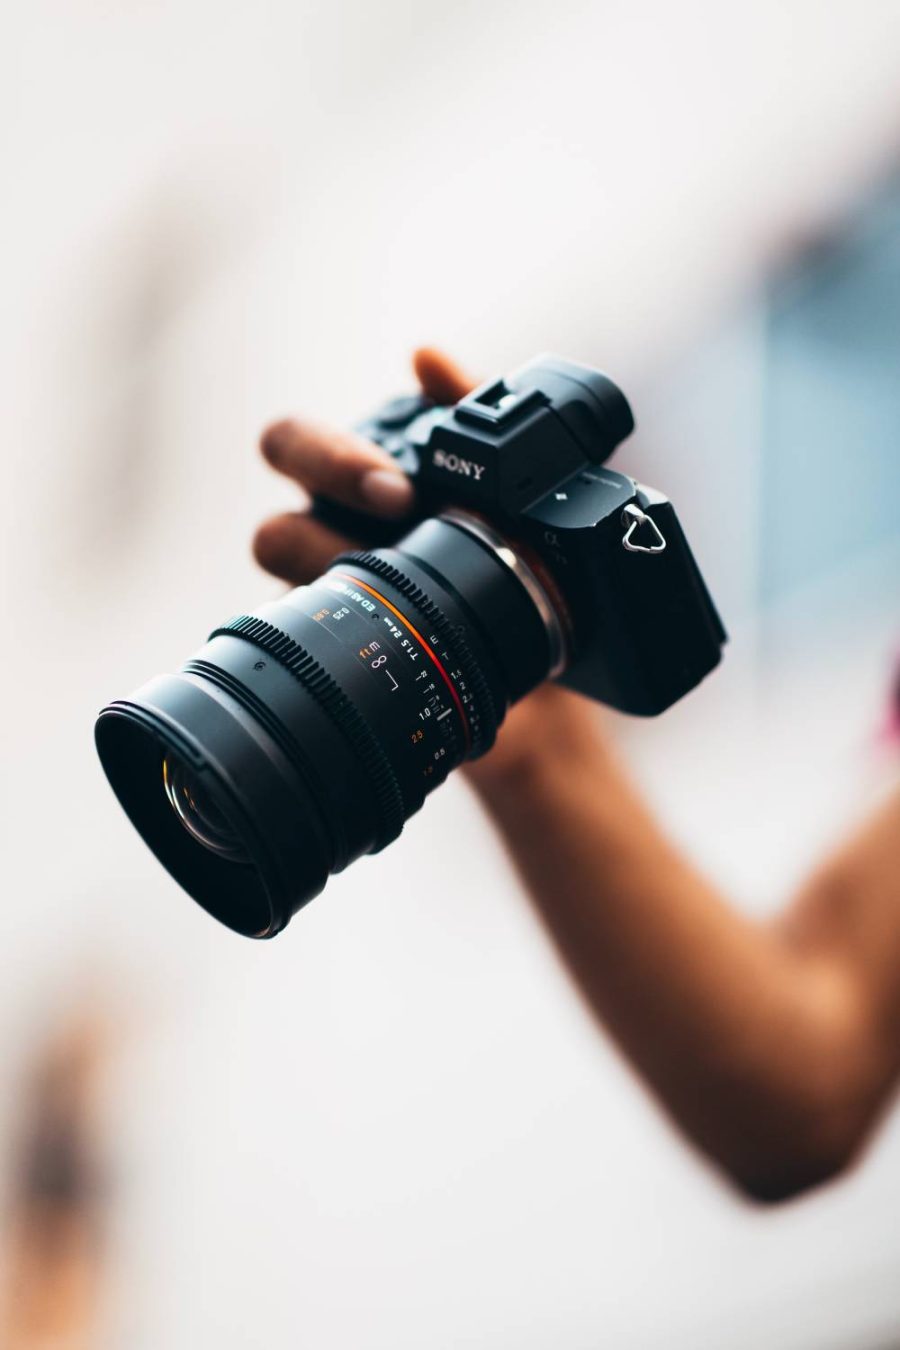
In my opinion, the lens is equally if not more important than the camera body in photography. They can totally transform your image and change the quality of the shot. The focal length determines how much of a scene is captured – the smaller the focal length e.g. 18mm the wider the angle of capture. Useful for architecture, landscapes and larger group shots of people.
Lenses can be zoom or prime / fixed focal length. Zoom lenses such as an 18-55mm lens allow you stand in one position and optically make your subject larger or smaller in the frame. Prime or fixed focal length lens only have one focal length e.g. 50mm but they tend to be afford sharper and better quality shots.
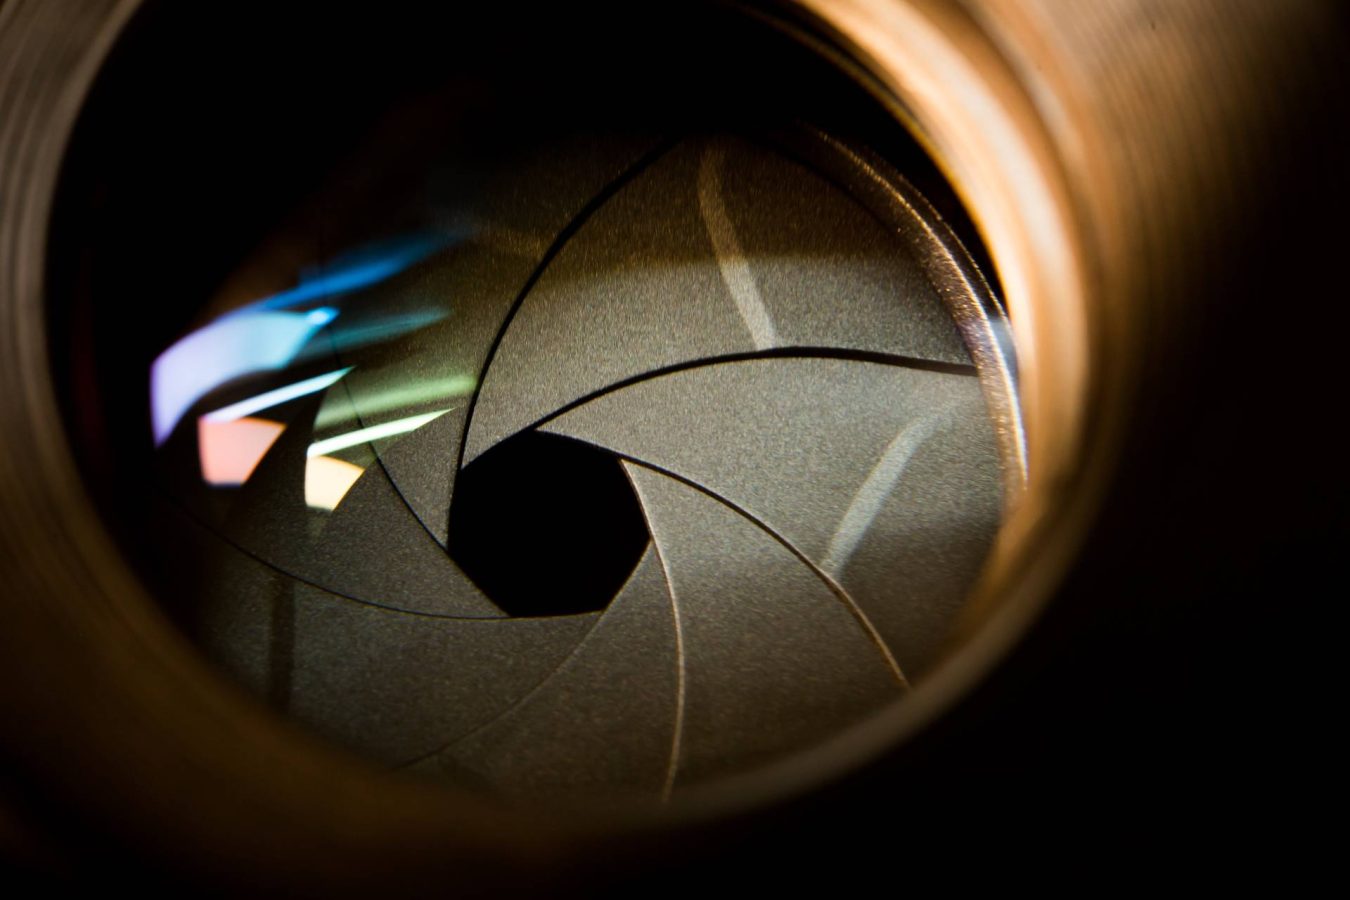
Depending on the lens that you purchase, you will have the option of a wide aperture range in your camera. Most entry level lenses allow you to shoot around f3.5 or f5.6 aperture upwards. However, if you want to be able to achieve a more pronounced background blur effect in your work, then you will need to invest in a lens that allows you to set small f numbers e.g. f1.8.
They are other specialist lens available as well such as fisheye and macro – not something a beginner necessarily needs so we won’t go into them right now. Most entry level cameras tend to come with a standard kit lens of 18-55mm with a minimum aperture range of f3.5 to f5.6 which is absolutely fine for starters. You may want to consider some of the following lens down the line …
50mm Lens
Yongnuo 50mm f1.8 Lens for Canon
70-300mm Lens or Similar Telephoto Lens
Canon EF 70 – 300 mm f/4-5.6 IS II USM Lens
Nikon AF-P DX Nikkor 70-300 mm f/4.5-6.3G ED
Tamron 70-300mm F/4.5-6.3 Di III RXD for Sony
FUJIFILM Fujinon XF70-300mmF4-5.6 R LM OIS
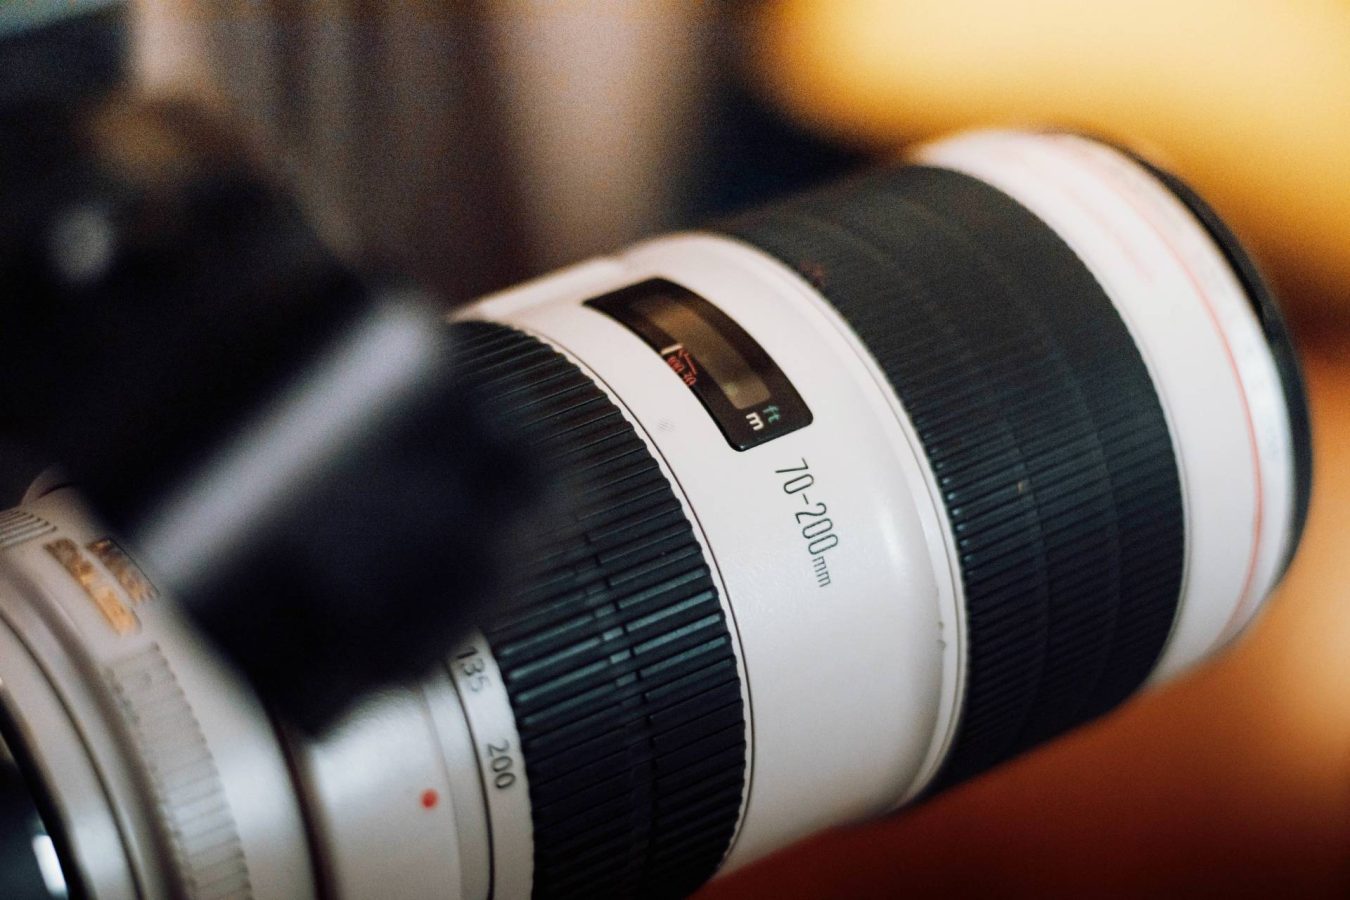
Things to keep in mind when purchasing a lens
Check the widest aperture option on the lens – if you want to take photos with a more pronounced background blur, then you need to consider purchasing a lens that allows you to shoot at smaller f numbers. Some dedicated macro lens and telephoto lens don’t necessarily require you to shoot at very small f numbers (aperture setting) to achieve background blur but they do tend to be more expensive.
Ensure that the lens is compatible with your make / model of camera. If you aren’t purchasing an ‘own brand’ lens, such as a Canon lens for a canon camera, then make sure that the alternative brand is the correct ‘fit’ for your camera. For example, Sigma produce lenses for a wide range of brands. When purchasing a lens from them ensure it’s ‘Canon fit’ if you shoot with a Canon camera body.
Also, check if the lens is manual focus only or if it has autofocus functionality. If it’s manual focus only, then it won’t work with autofocus system in your camera. This isn’t ideal for most genres of photography so it’s best to get a lens that is compatible with your camera’s autofocus system.
3. Memory Cards
Consider purchasing a couple of memory cards for your kit bag. It’s important to have a back up card is case you run out of space to store images or the card becomes damaged or corrupted. All purchase from a reputable source as there are a lot of fake or unreliable cheaper cards on the market.
When you are purchasing your card, keep in the mind the storage space on the card, the speed of the card and that it’s the correct one for your camera.
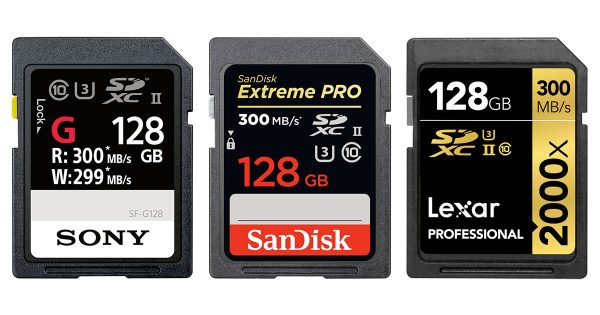
Storage Space on the Memory Card – they tend to come 2GB, 8GB, 16GB, 64GB, 128G size etc. Keep in mind the following information when purchasing your card. Firstly, the megapixel size of your camera – the more expensive the camera, the bigger the file size, the fewer images you can store on a card. Then consider if you shoot in RAW file format or JPEG. RAW files take up more space than JPEG so you would need a large GB card in this case.
Card Compatibility – check which type of card goes in your camera from the manual or search online if you aren’t sure. Most cameras now use SD Cards (SDXC or SDHC) whilst some use CF Cards.
Speed of Card – The slower the speed of the card, the longer it takes the card to save the images to your card and show the images on the back of the LCD screen. I would recommend something like the SanDisk Extreme PRO 64GB SDXC Memory Card to begin with.

4. Tripod
Depending on what type of photography your enjoy, a tripod might be a necessity. If you love landscape images, astro photography, using slower shutter speeds or shoot with heavier lenses then a tripod is a must.
Tripods allow you to shoot in low light conditions better and ensure that your images are sharper without any camera shake. When using slower shutter speeds, your images could potentially appear out of focus due to slight movement of the camera during the exposure. Using a tripod keeps the camera steady and allows photographers to produce really creative results when ‘light painting’.
When purchasing your tripod, think about where you will be using it and how heavy it is. If you are going travelling you may want to invest in a lighter option. If you shoot a lot of landscapes in the locations where it tends to be windier, then choose a sturdier tripod. Ensure that you also get one that’s the right height for you.
To give you a couple of suggestions that are currently available, you may consider a K&F Concept 64 inch/163cm Camera Tripod, Neewer 77 Inch Tripod or Manfrotto Small Traveler Tripod.
Here is a link to a website with further information about the best tripods for beginners that you may find useful. Or alternatively call into your local camera shop where they can help guide you.

5. Flash
Most entry level cameras come with their own built in pop-up flash. Once you progress on your photography journey, you will probably find that you wish to consider investing in a separate flash gun to use with your camera as part of your beginners photography equipment.
Flash can be used for a number of different reasons and purposes. Primarily, it’s to add light to a scene. You can also use the flash to fill in the shadows or for more creative images. The beauty of using an external flash gun is that you can use it on the camera or off camera, along with a trigger to fire the flash.
For someone first using a flash gun, I would recommend one with TTL (Through The Lens) Metering. Much like you can shoot in ‘AUTO’ mode on your camera, TTL Metering in terms of flash is really like using flash auto. There are lots of different brands of flash on the market. You can use the camera body’s own brand e.g. Sony Flash for Sony Camera Body.
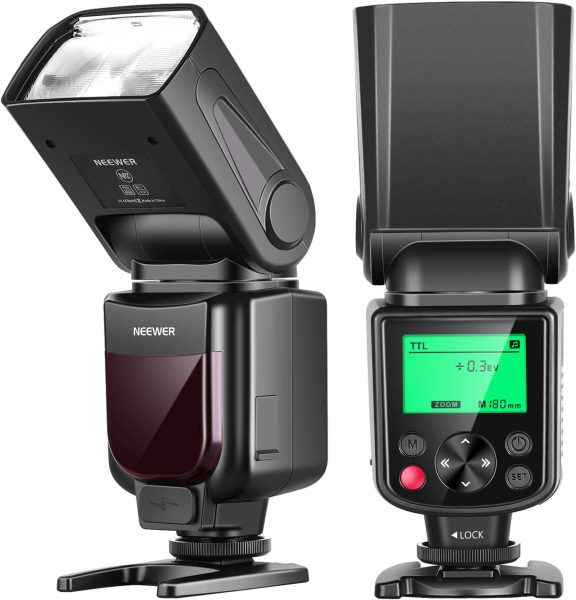
Alternatively, you can choose a brand that works your make of camera. Brands such a Yongnuo, Godox and Neewer offer more cost effective options to use with your camera. Just ensure that the one you choose is compatible with your make and model of camera and includes the TTL option.
Some additional things you may want to consider purchasing
I would recommend getting a camera bag for your gear as part of your beginners photography equipment. I prefer to use a backpack style bag but you may like a bag that goes over your shoulder instead. Why not visit a local camera store and try them out to see which one works best for you.
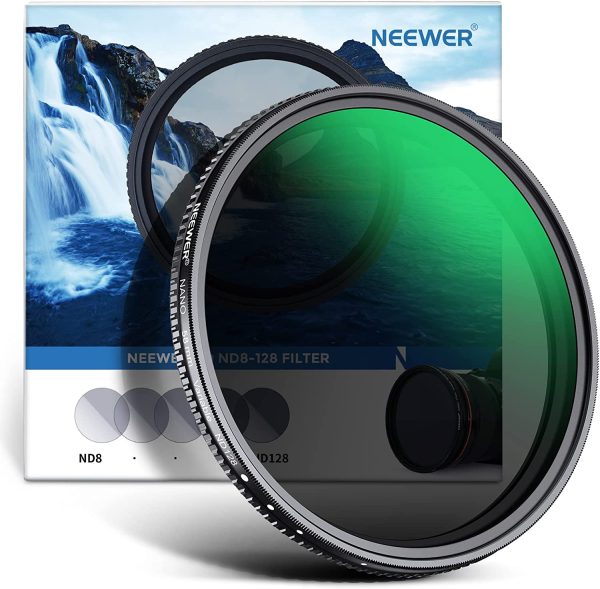
Filters are another useful piece of kit to have in your arsenal. I normally recommend investing in a UV filter for your lens. Not only does it help improve image quality and improves contrast, the filter helps protect the front of your lens. If you like taking landscape photographs or using slower shutter speeds in daytime, you will need to consider investing in polarizing filters and ND (neutral density) filters.
An external hard drive is something to consider as well. By storing your images and files externally, it prevents your computer from slowing down and also can be used as a backup for the other information held on your computer.
Editing Your Images
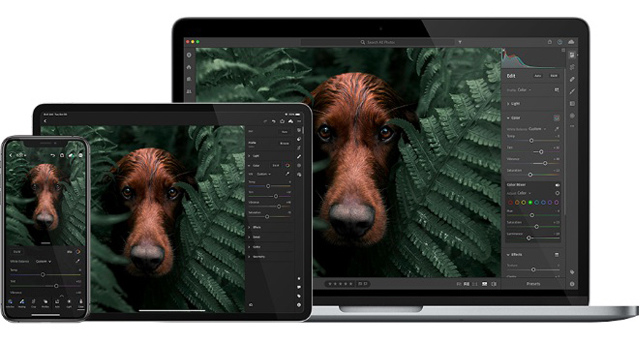
Another important thing to take into consideration in photography is editing your images. There are a lot of editing software programmes to choose from. My preference is Adobe Lightroom and Adobe Photoshop. I carry out the bulk of my editing in Lightroom and fine tune things in Photoshop. Current monthly subscription to both is around £10. Free options include GIMP and PhotoDirector Essential. Backing up your images is something I always actively encourage my students to do.
You may also want to consider using some of the new AI editing technology available for retouching portraits and other adjustments to your images. I have been using Evoto AI for a range of different genres of photography and it has been so useful in speeding up my workflow, as well as providing great results. You can claim 30 free credits to use with Evoto AI by clicking on this link – CLICK HERE.
Beginners Photography Equipment – what next?
I hope you found this blog feature useful when purchasing your beginners photography equipment. It can be daunting but don’t overthink it. Think about your budget, what type of photography you enjoy shooting and how committed you are to your learning.
If you need any further help with your photography, why not sign up to our Beginners Photography Course or book in for a 1-2-1 mentoring session with Catriona.
As an Amazon Associate, I earn from qualifying purchases
 Previous post
MATRIART – WOMEN IN THE WORLD OF ART
 Next post
INTERMEDIATE PHOTOGRAPHY CLASSES