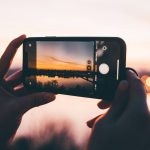
Smartphone Photography for Business – Top 10 tips guide

Smartphone Photography for Business – If you’re a small business owner or entrepreneur, chances are you’re already carrying one of the most powerful marketing tools available … your smartphone. The days of needing expensive cameras and complicated equipment to create quality content are long gone. Modern smartphones are capable of producing images that can elevate your social media platforms and website. The key is knowing how to use them effectively.
Whether you’re photographing products, capturing behind-the-scenes content or creating images for social media, mastering Smartphone Photography for Business can help you create engaging content that connects with your audience and builds trust.
In this guide, we’ll share our top 10 smartphone photography tips for business owners, helping you create professional looking images using the device that’s already in your pocket.
Why Smartphone Photography for Business Matters
Before we dive into the practical tips, it’s worth considering why Smartphone Photography for Business has become such an important skill.
Customers increasingly expect businesses to have an active online presence. They want to see who they’re buying from, understand your personality, experience your products and services, and feel connected to your brand. Authentic imagery often performs better than stock photography because it creates trust and demonstrates credibility.
The good news is that you don’t need a professional studio setup to achieve this. With a little understanding of light, composition and technique, your smartphone can become one of your most valuable business tools.

Prioritise lighting above everything else
If there is one thing that will improve your smartphone photography instantly, it’s understanding light.
No amount of editing, expensive apps or fancy accessories can compensate for poor lighting. Professional photographers often say that photography is simply the art of capturing light, and this couldn’t be more true when using a smartphone.
Natural light is usually your best option. Position yourself or your subject close to a large window and allow the light to fall gently across the scene. North-facing windows often provide soft, flattering light throughout the day, while overcast conditions outdoors create beautifully even illumination.
Avoid relying on overhead office lighting whenever possible. These lights often create harsh shadows, unflattering skin tones and distracting colour casts. Equally, avoid mixing different light sources, such as daylight and artificial lighting, as this can confuse your phone’s white balance settings (colour of light).
When photographing products or creating content for social media, consider the direction of the light. Side lighting adds depth and texture, while front lighting creates a brighter, cleaner look that works well for headshots and personal branding content.
Remember, in smartphone photography light matters just as much as the phone itself.
Keep your smartphone lens clean
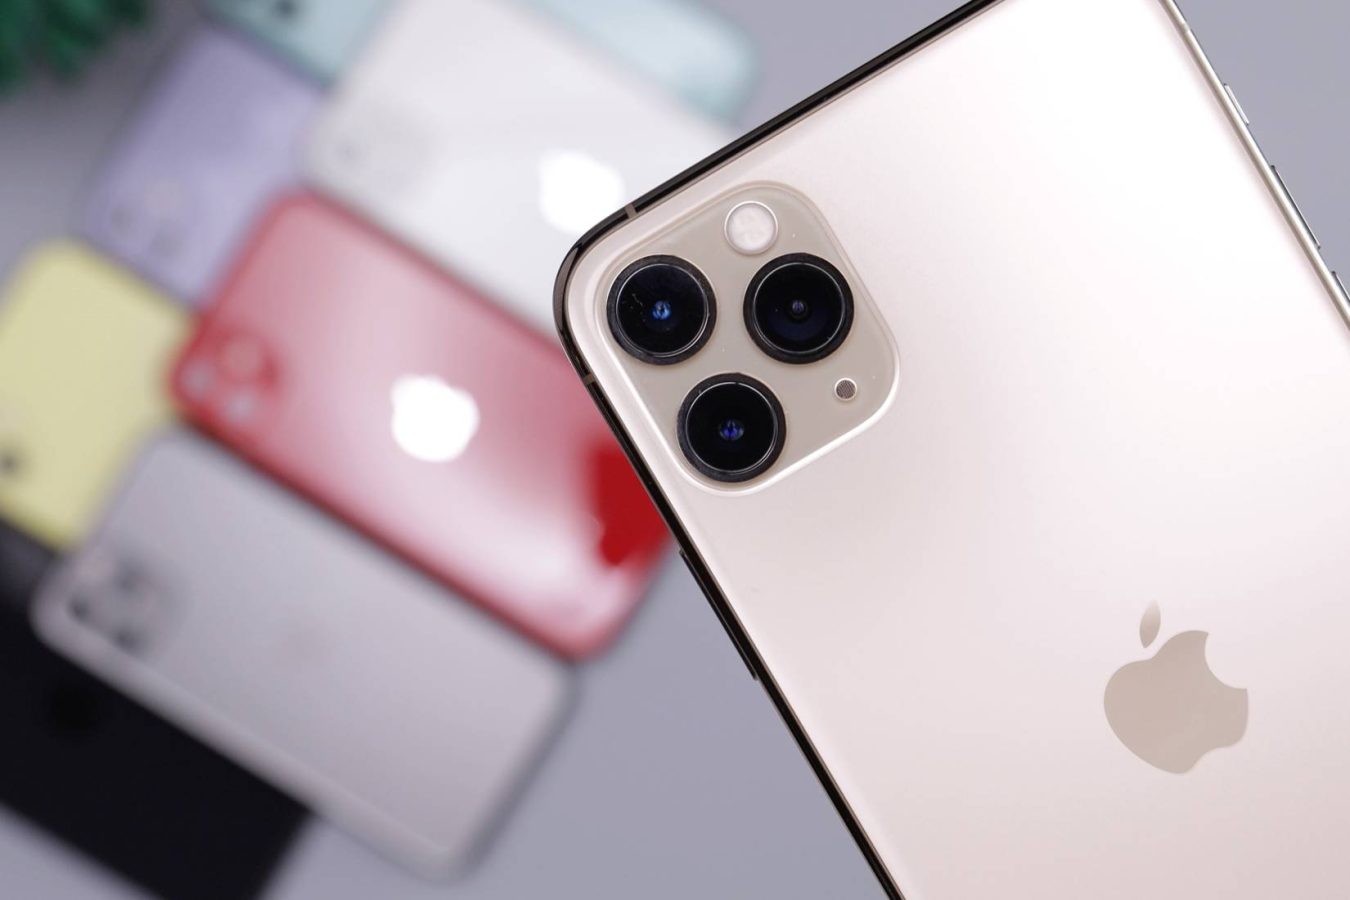
It sounds incredibly simple, but one of the biggest mistakes people make is forgetting to clean their camera lens.
Your smartphone spends most of its life in pockets, handbags, desks and hands. Fingerprints, dust and grease quickly build up on the lens, causing images to appear soft, hazy or lacking in contrast.
Before taking any photographs, take a few seconds to wipe your lens using a clean microfibre cloth or soft clothing fabric. Avoid using tissues or rough materials that could potentially scratch the lens.
You might be surprised at the difference this small habit makes. Many people assume their phone camera quality has deteriorated over time, when in reality, they simply haven’t cleaned the lens.
For anyone serious about Smartphone Photography for Business, cleaning your lens should become second nature.
Tap to focus and adjust exposure
One of the greatest advantages of smartphone photography is the ability to control focus and exposure with a simple tap.
Rather than allowing your phone to decide what is important in the scene, tap directly on your subject. This tells your smartphone camera exactly where to focus and how to expose the image.
Most smartphones also allow you to adjust brightness manually after focusing. Simply slide your finger up or down on the screen close to the sun icon, after tapping to set focus. This then allows you to adjust exposure.
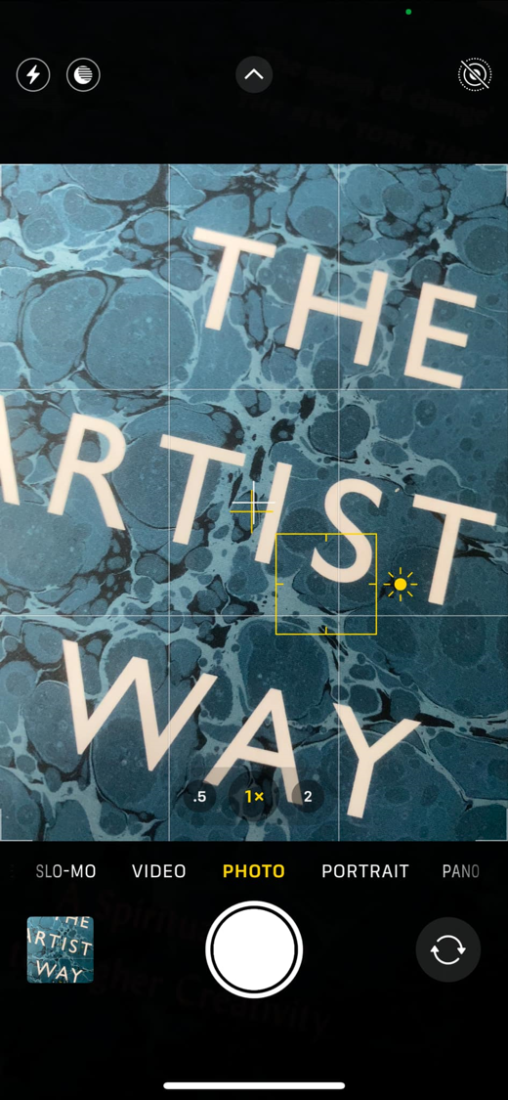
This is particularly useful when photographing people, products or food. If your image appears too bright or washed out, slightly reduce the exposure by darkening the image down a little. If important details are lost in shadow, increase it carefully.
Learning to control focus and exposure manually gives you far more creative control and helps your photographs look intentional rather than accidental.
Smartphone Photography for Business – Use the Rule of Thirds for better composition
Composition is simply the arrangement of elements within your photograph. One of the easiest composition techniques to learn is the Rule of Thirds.
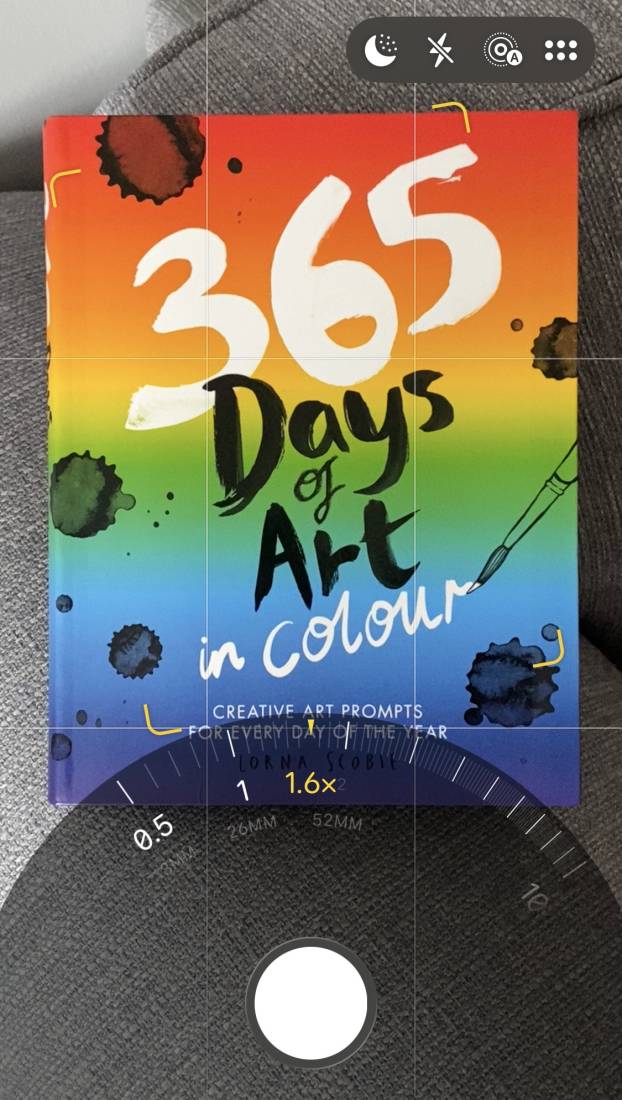
Most smartphones allow you to activate grid lines within the camera settings. Once enabled, your screen will display a grid divided into nine equal sections.
Rather than always placing your subject directly in the centre of the frame, position it along one of the grid lines or at one of the intersecting points. This often creates a more balanced and visually appealing image.

For example:
- Place a person’s eyes along the upper horizontal line.
- Position products on one of the vertical thirds.
- Align horizons with either the upper or lower horizontal line.
- Use negative space to create a cleaner, more professional appearance or leave space for text in visuals.
The Rule of Thirds isn’t a rule that can never be broken, but it’s an excellent starting point for improving your Smartphone Photography for Business.
Maintain Brand Consistency across your images
One of the biggest mistakes businesses make is creating photographs that feel disconnected from their overall brand identity.
When someone visits your website or social media profiles, they should instantly recognise your style, personality and values through your imagery.
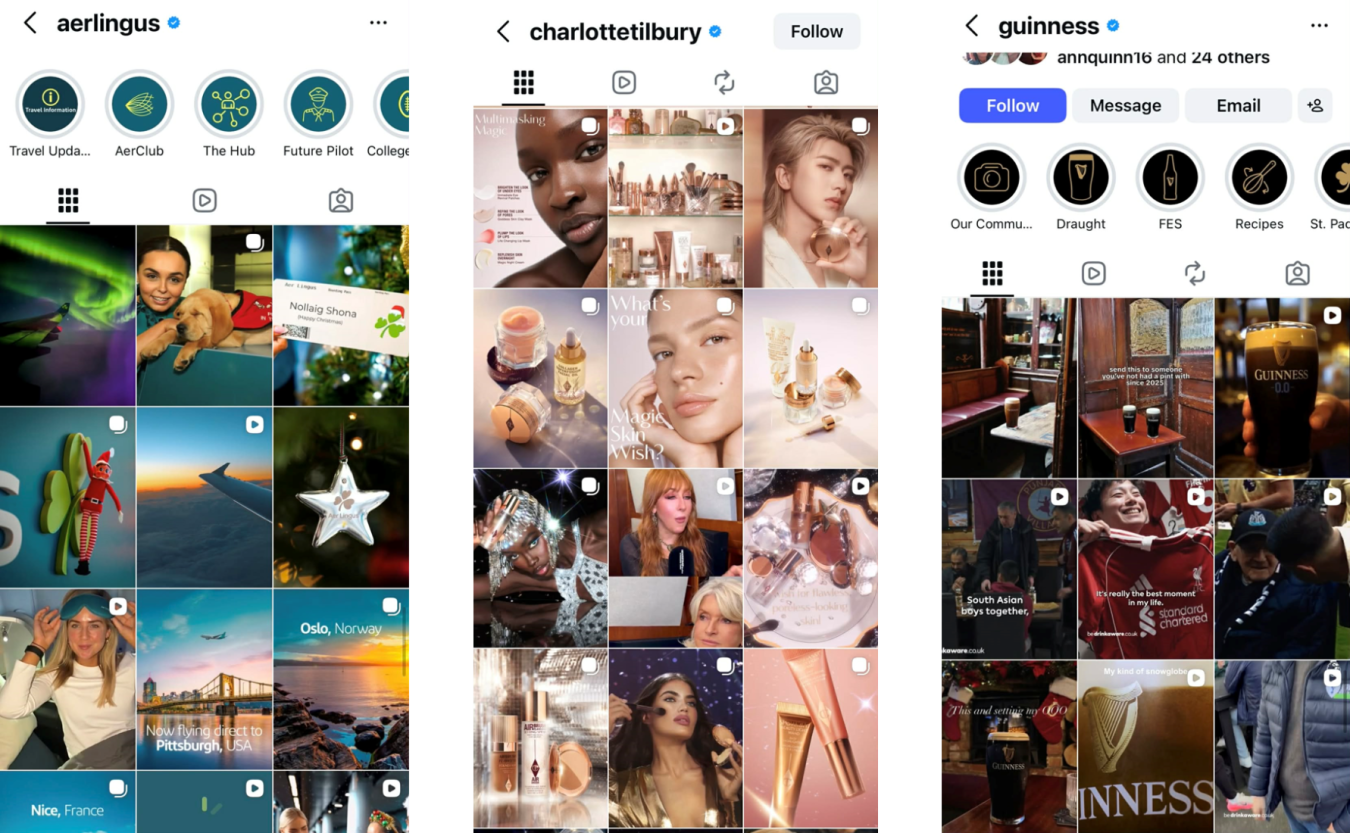
Ask yourself:
- What colours represent my brand or feature in our logo?
- Do I want my images to feel bright and energetic or calm and sophisticated?
- Should my photography be formal, creative or relaxed?
- What props, backgrounds or locations support my brand identity?
Consistency doesn’t mean every image should look identical. Instead, aim to create a recognisable visual style that reflects your business personality. For example, a wellness business might use soft natural lighting and neutral tones, while a creative agency might embrace bold colours and dynamic compositions.
Developing a consistent visual style is one of the most valuable aspects of effective Smartphone Photography for Business because it strengthens brand recognition and builds audience trust.

Experiment with different shooting angles
One of the easiest ways to improve your smartphone photography is to stop photographing everything from eye level. Changing your perspective can dramatically alter the mood, impact and professionalism of an image.
From above
Perfect for food photography, flat lays and workspace imagery.
From below
Creates a sense of importance, confidence and power, making it particularly effective for personal branding photography.
At table level
Adds depth and visual interest to product photographs.
Through objects
Photographing through flowers, windows or foreground objects can create natural framing and a more professional appearance.
Close-up – Filling the Frame
Moving physically closer to your subject or using the different lens choices on your smartphone often creates stronger, more engaging images.
When creating content for your business, challenge yourself to capture the same subject from at least three different angles before deciding which image works best.
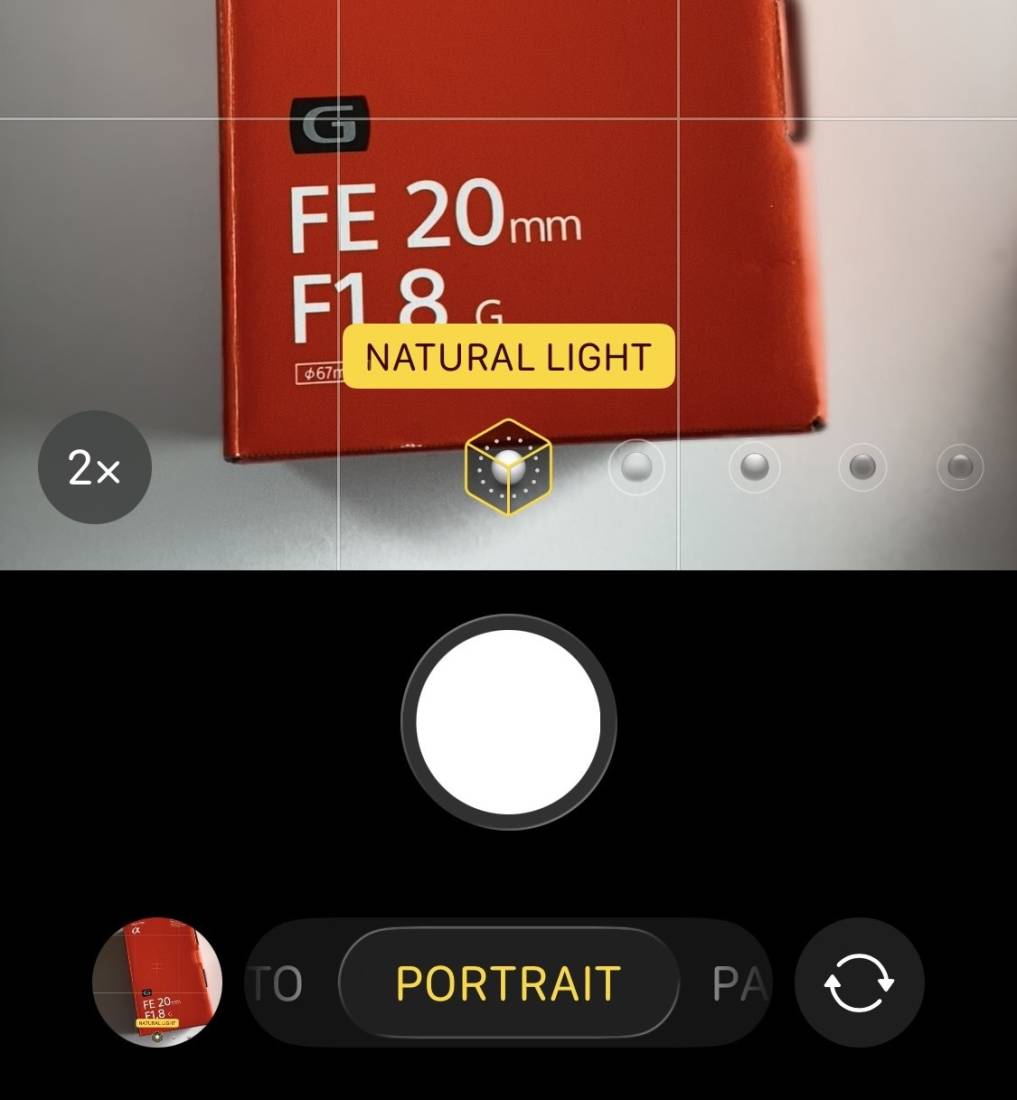
Use Portrait Mode for more professional-looking images
Portrait Mode has transformed smartphone photography over the last few years. Available on most modern smartphones, Portrait Mode artificially blurs the background while keeping the subject sharp, creating an effect similar to professional camera lenses.
For business owners, this feature can be particularly valuable for:
- Headshots
- Product photography
- Behind-the-scenes content
To get the best results, ensure there is sufficient distance between your subject and the background. This helps your smartphone create a more convincing depth effect. You also need to be around 1m to 1.5m from your subject for Portrait Mode to engage and work effectively.
It’s also important to remember that Portrait Mode isn’t always perfect. Hair, glasses and intricate details can occasionally confuse the software, so always check your images carefully after capturing them.
When used correctly, Portrait Mode can significantly elevate your Smartphone Photography for Business content.

Smartphone Photography for Business – Invest in a some smartphone accessories
While you don’t need expensive equipment to create excellent content, a few carefully chosen accessories can make a significant difference.
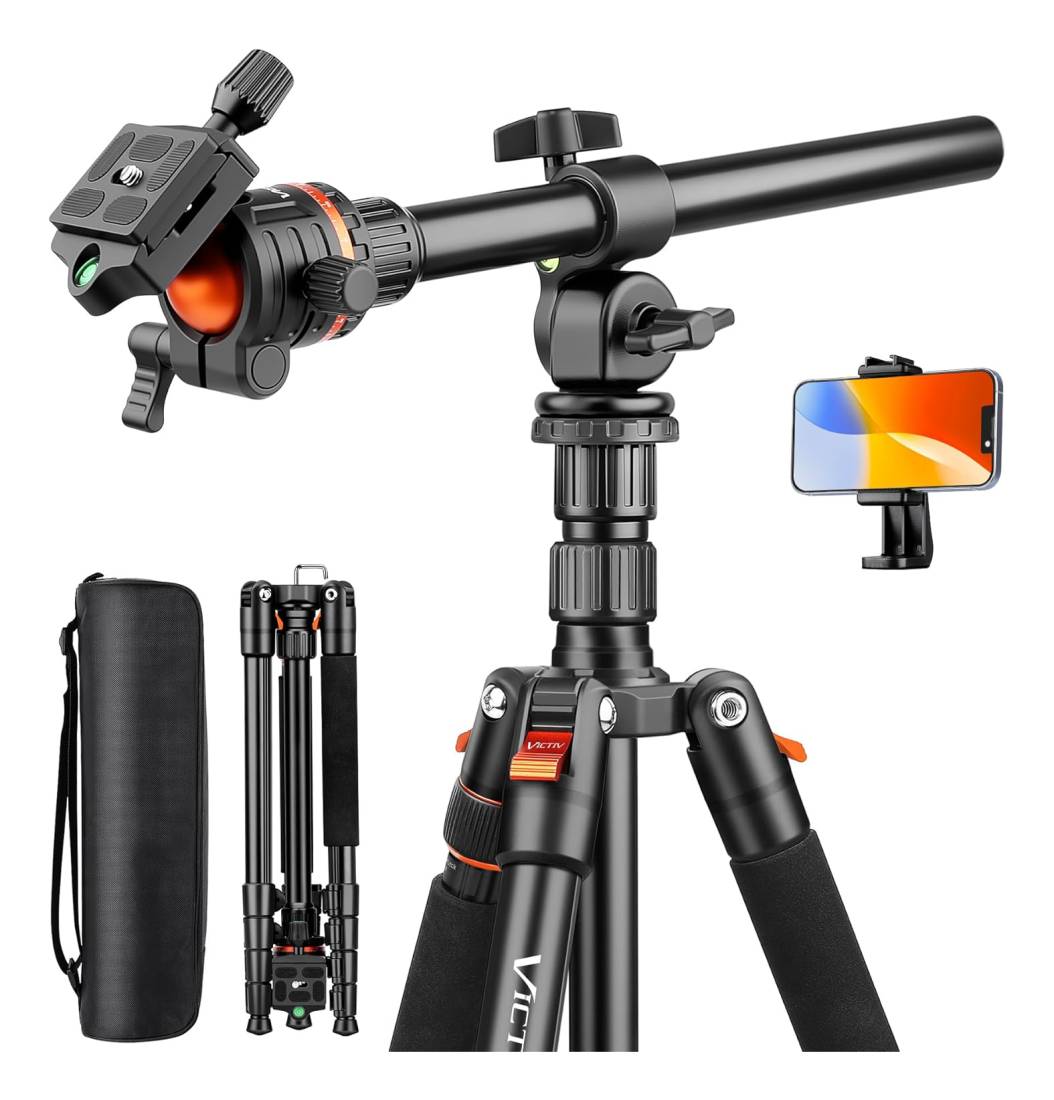
A smartphone tripod is perhaps the most useful accessory you can buy. It improves sharpness, allows you to shoot better self-portraits and helps create consistent content without relying on someone else to hold the camera. It can be used for both photography and video, making it a must in my smartphone photography kit. Here are some examples of the different types of tripod available.
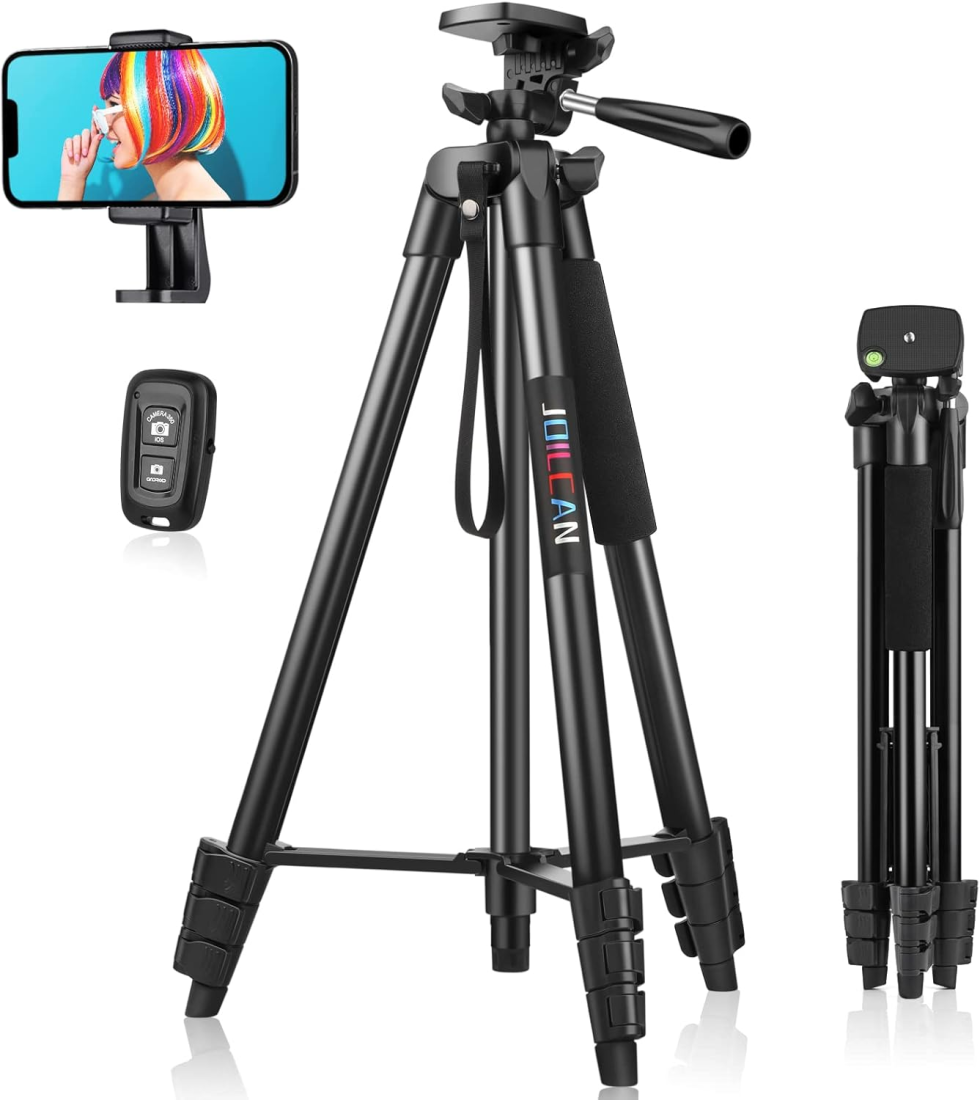
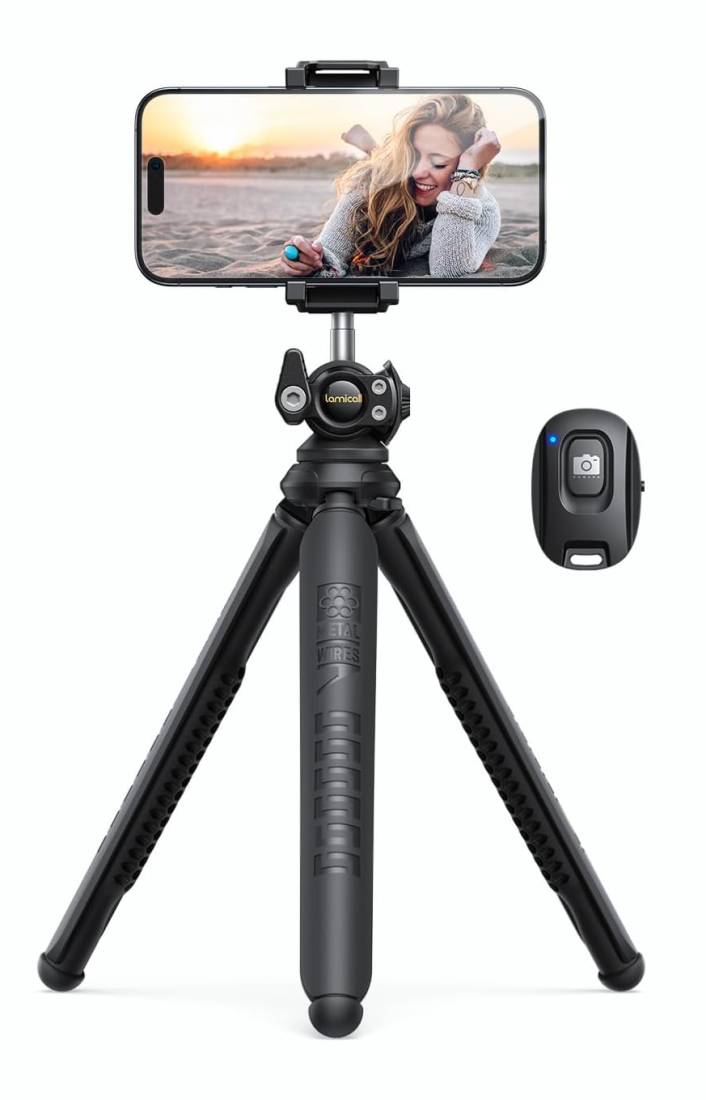
A Bluetooth remote shutter is another affordable investment, making it easier to photograph yourself or group shots. Some tripods come with a remote shutter as part of the kit.
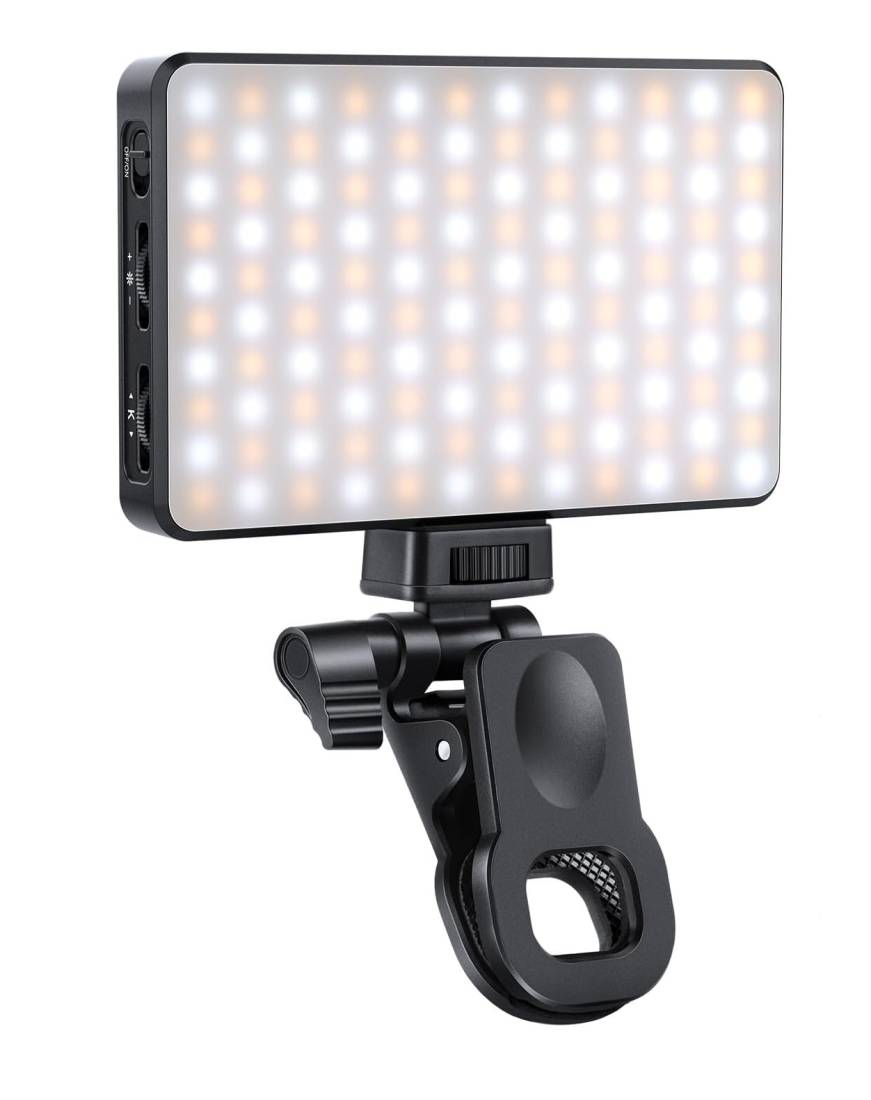
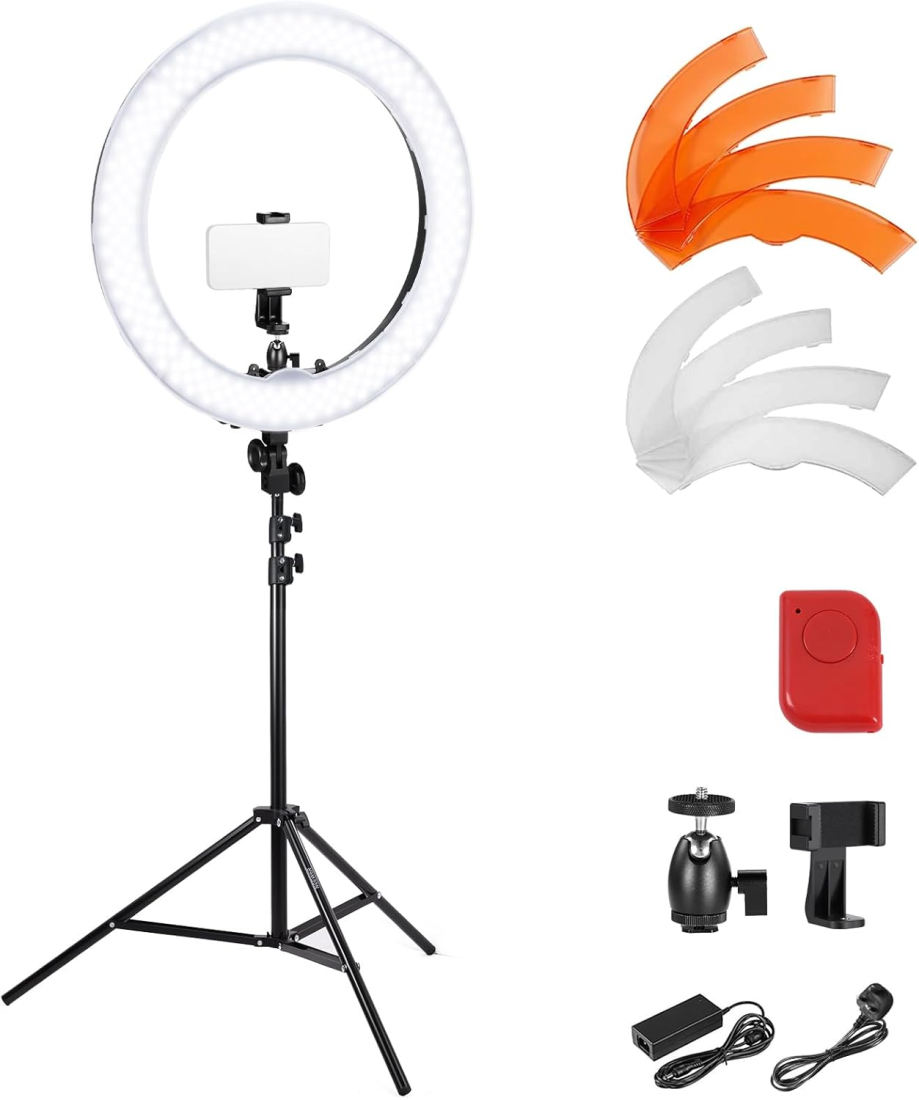
Portable LED or constant lighting can help when natural light isn’t available, particularly when shooting indoors. They are great for all types of photography, but very helpful at events or when shooting images or video indoors in lower light conditions. Here are a few examples of what’s available.
Microphones are also a must for shooting video. They can really transform the quality of video content and create more professional videos to share online. These are some of the mics that I have used and found reliable for quality sound in my work.
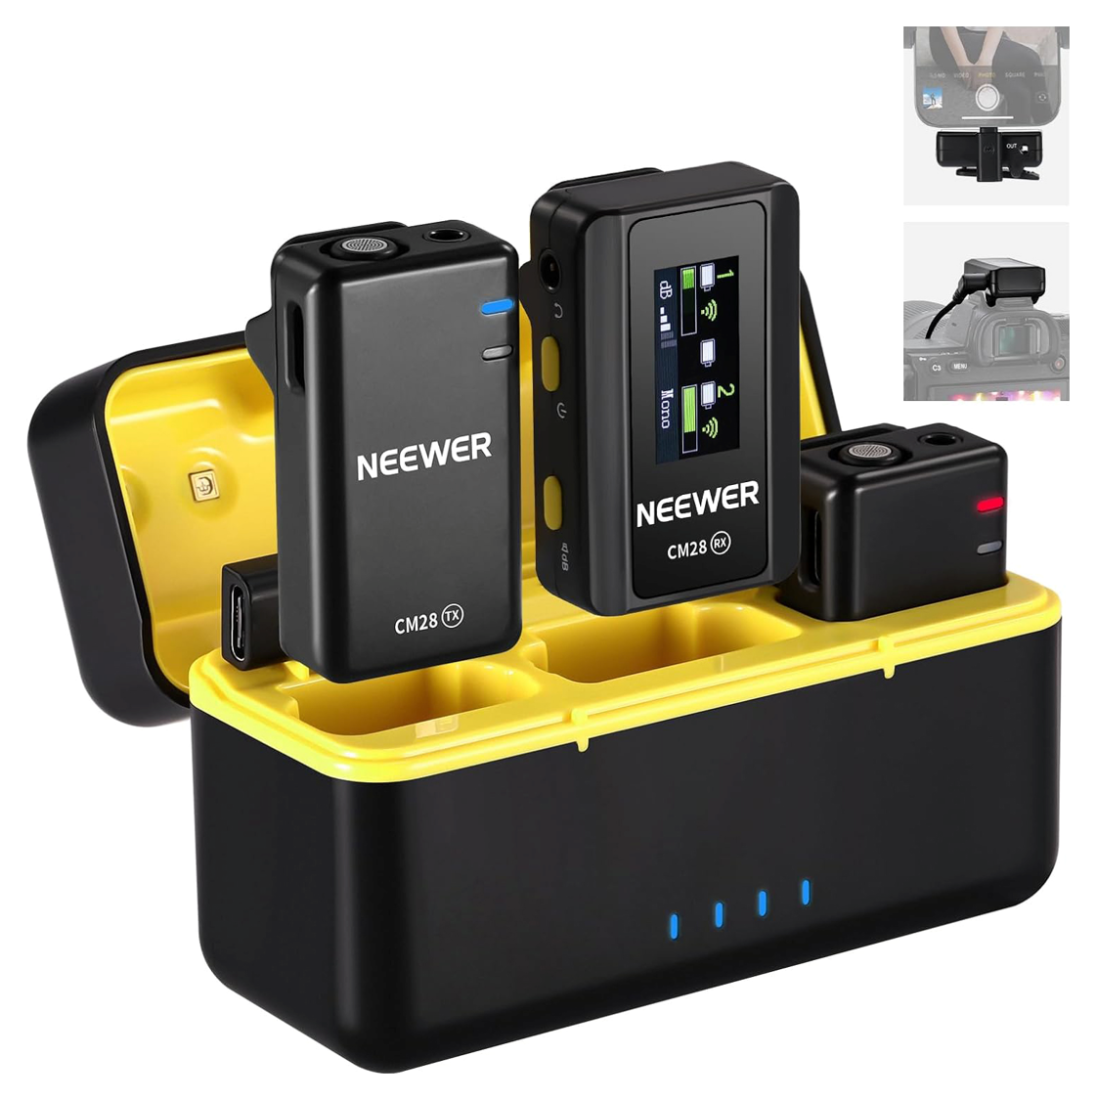
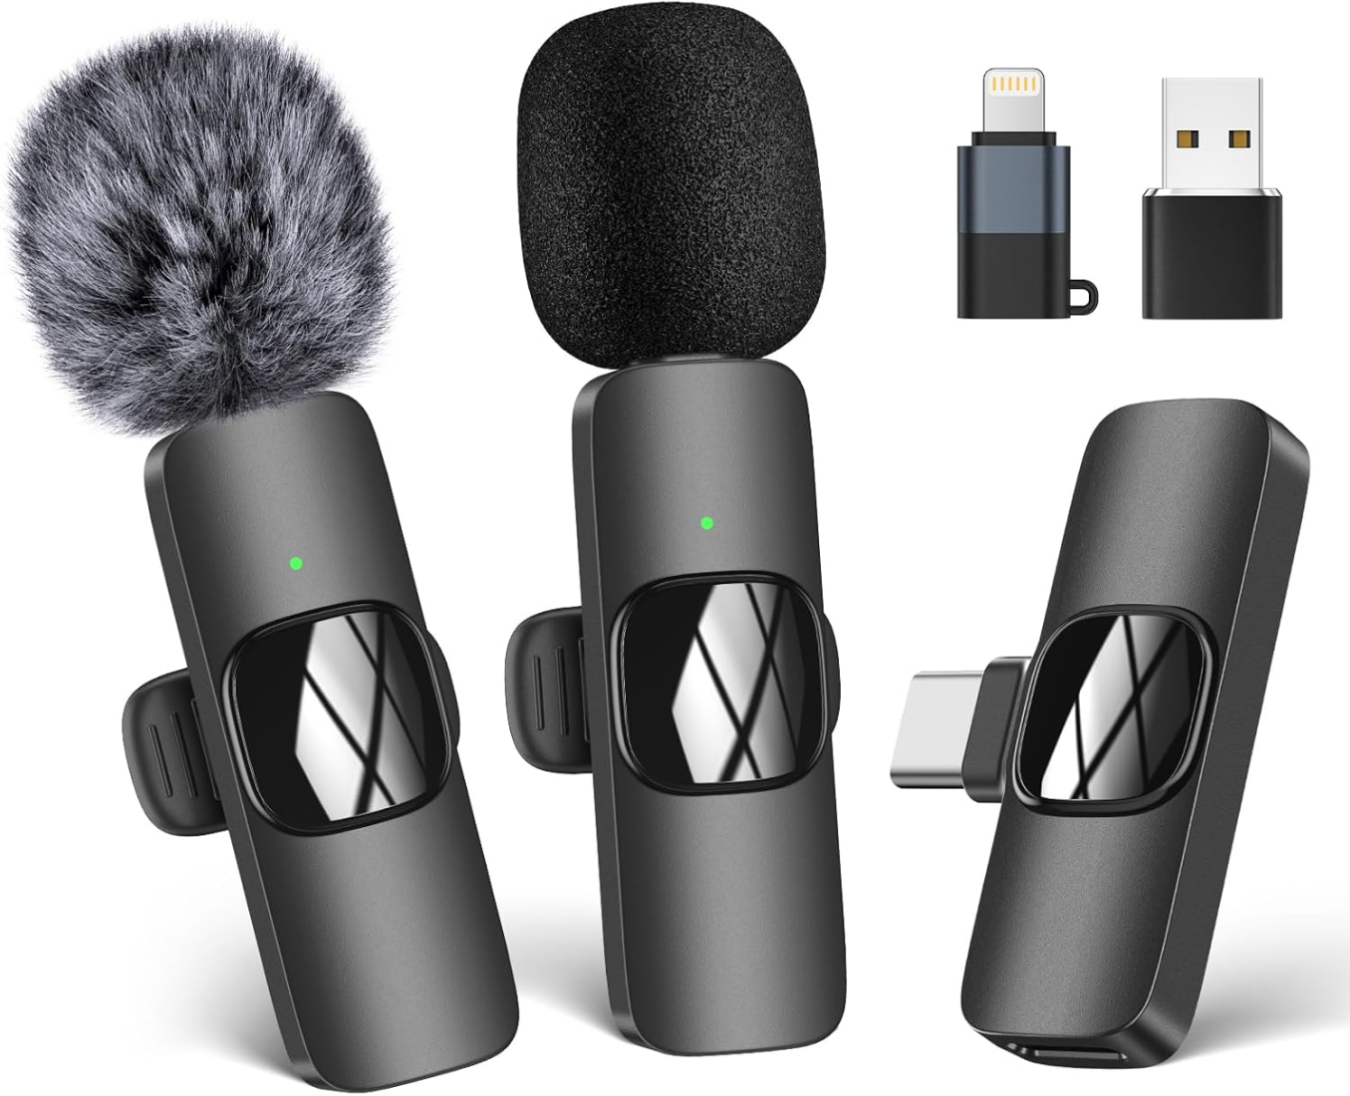
For product photography and educational content creation, consider using:
- A smartphone tripod
- Bluetooth shutter remote
- Portable LED light
- Phone grip or mount
- Small reflector
- Power bank for extended shoots
The goal isn’t to accumulate equipment but to remove barriers that prevent you from creating regular, high-quality content.
Avoid using Digital Zoom
One of the quickest ways to reduce image quality is by using digital zoom. Most smartphones come with a choice of lens and if you have a Pro version of phone, one of the lens choices will normally be a telephoto lens e.g. 2X, 5X, 8X lens etc.
A telephoto lens magnifies or enlarges your subject in the frame without you having to move physically closer to the subject. This is known as ‘optical zoom’ allowing you to zoom in without the quality of the image dropping.
When you pinch on the screen to zoom in, this is known as digital zoom. This simply enlarges the pixels already captured by your sensor, often resulting in softer, lower-quality images.
If you phone doesn’t have a telephoto lens choice, try moving physically closer to your subject whenever possible. After taking your photograph, you can always crop the image later during editing while maintaining better overall quality.
This simple adjustment alone can dramatically improve your Smartphone Photography for Business images.

Smartphone Photography for Business – Edit your images consistently
Professional-looking photographs normally have some basic editing adjustments made to them. Editing doesn’t mean heavily manipulating your images or creating unrealistic results. Instead, editing should enhance your photographs while maintaining authenticity.
Applications such as Lightroom Mobile, Snapseed and even your smartphone’s built-in editing app (Photos or Gallery) provide useful tools for improving your images.
Basic adjustments often include:
- Brightness and exposure
- Contrast
- White balance
- Highlights and shadows
- Cropping and straightening
The key is consistency. Applying a similar editing style across your photographs helps strengthen your visual brand identity and creates a more professional appearance.
Remember that editing should support your photography, not rescue poor images. Focus on capturing the best possible photograph at the time of capture.
Smartphone Photography for Business – Want to Take Your Skills Further?
If you’ve found these tips helpful and would like to learn more about creating quality images with your phone, our Snapshot Smartphone Photography Course is designed specifically for beginners, business owners and content creators who want to feel more confident using their smartphone camera.
The course takes a deeper dive into Smartphone Photography for Business, covering everything from understanding your phone’s camera settings and using different lenses, to composition techniques, lighting, portrait mode and creating engaging content for social media and marketing.

One of the areas many people struggle with is editing their images, which is why Snapshot also includes dedicated training on how to enhance your photographs using simple editing techniques. You’ll learn how to improve exposure, colour, contrast and composition, helping your images look polished and professional while still maintaining a natural feel.
Whether you’re using an iPhone, Samsung, Google Pixel or another smartphone, the course is designed to help you make the most of the camera you already have.
Find out more about the Snapshot Smartphone Photography Course by clicking here.

Smartphone Photography for Business – Final thoughts
Remember, successful Smartphone Photography for Business isn’t about having the latest phone. It’s about understanding light, composition, storytelling and editing. With practice, consistency and the right guidance, you can create professional content that truly represents your brand.